Anderson WildFire Details
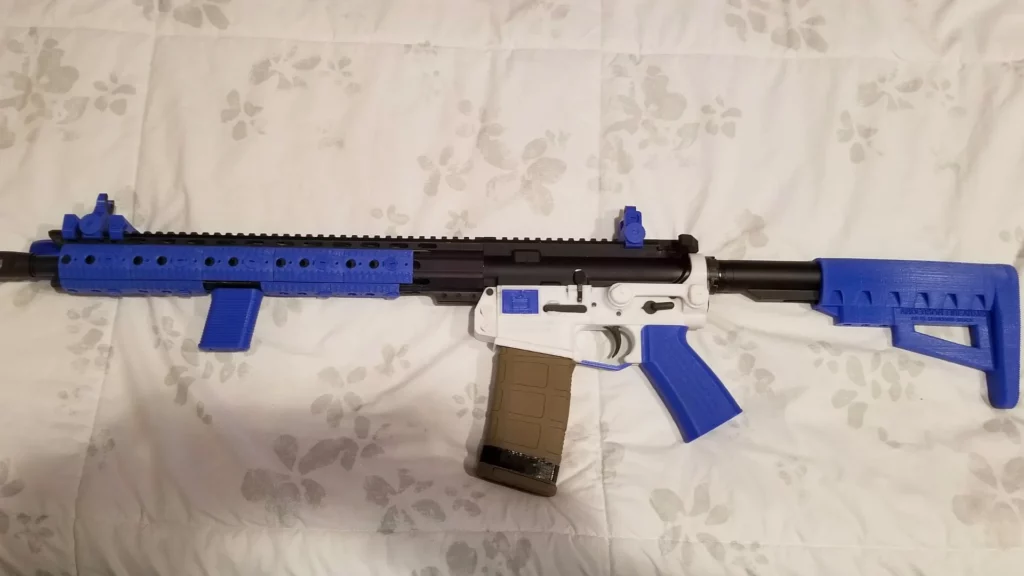
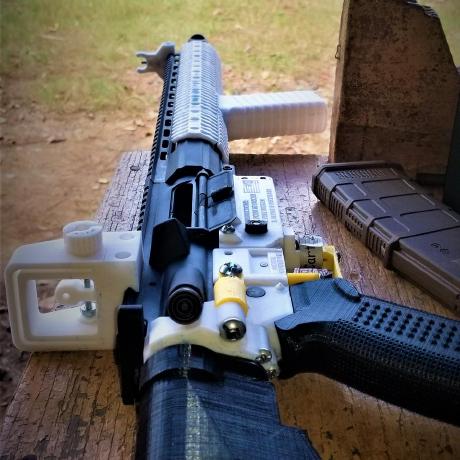
The Anderson Firearms WildFire is a 3D printed “battle ready” AR15 rifle that seeks to fix what other 3D rifle designs made previously difficult.
While many AR15 designs, such as the UBar and Firebolt require extensive amounts of parts and trips to the hardware store, the WildFire is a PLA ready printed AR that goes together with ease.
Another unique benefit of the Anderson WildFire is that in prints without supports or a brim which often leads to issues when it comes time for removal.
Between the extensive WildFire instruction manual and versatility of this 3D design it is a very desirable choice when it comes to 3D printed AR15 lowers.
Anderson WildFire in the Wild
Photos
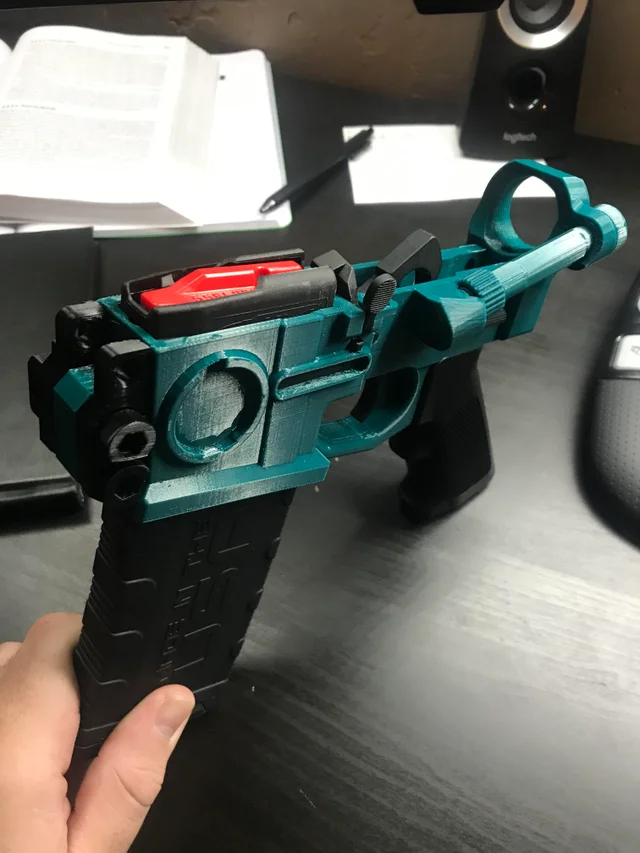
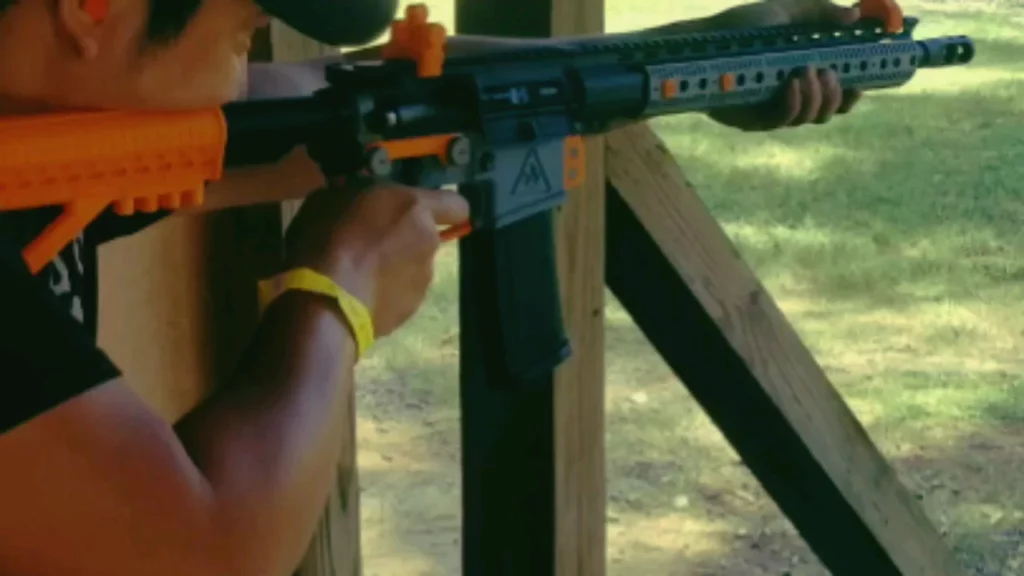
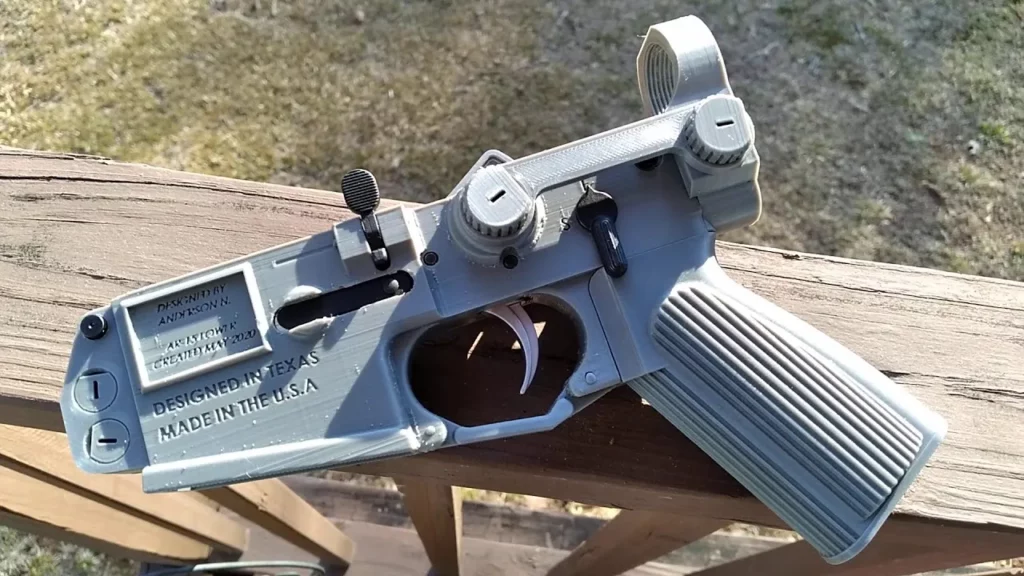

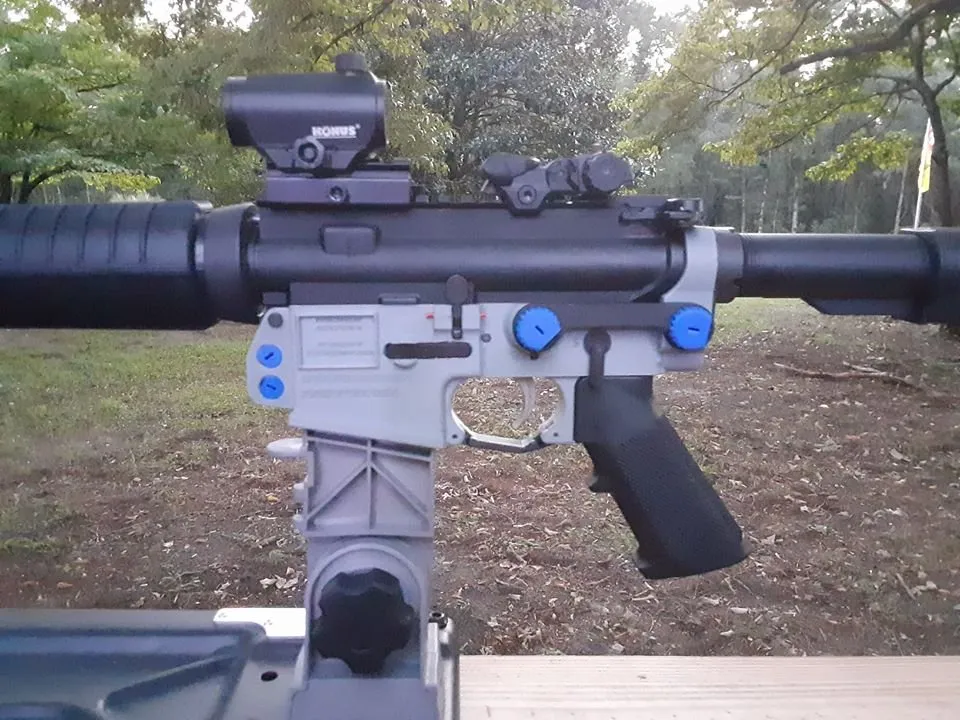
Video
WildFire AR15 History
The WildFire was released in late 2020 and has still maintained it’s popularity through today in December 2022.
Anderson WildFire Tech Specs
The WildFire AR15 is not only a lower receiver but an entire rifle kit.
The WildFire by Anderson Firearms includes the following STL 3D print files:
- WildFire Lower
- Adjustable Ghost ring sights, front, and rear (“Iron sights”)
- Pistol Grip
- Stock
- Keymod only Thermal Covers (Barrel Covers)
- Keymod only Vertical Foregrip
- Flashlight attachment
- Custom Side Plate
Required Parts for the WildFire
There are very few non-printed parts required to complete the WildFire, which is one of the main benefits of this design.
You will need the following AR compatible parts for the WildFire:
AR15 Lower Parts Kit and a Buffer Tube Assembly:
We sell kits that include both the LPK and Buffer Tube Assembly here:
Materials Required
- PLA or Suggested PLA+ Filament
Tools Required
At a minimum the following tools are needed to complete the WildFire:
- Pliers
- 4.0 Flat Head Screwdriver (Slotted Screwdriver)
- Lighter or small handheld butane torch
- Steel or brass pin punch (to clean/refine holes for the pivot and takedown pins)
- (Optional) Super Glue or Epoxy Glue
- 1.75mm filament (for use as rivets)
- Any tool you will use to clean built in supports for the file “AF-WF-LR-PRT-001” or parts containing extra stringing
Suggested 3D Print Settings
- Do not print with supports
- Try not to use any infill pattern except grid
- Do not print with brims (unless you can clean it up)
- Try not to print diagonally on the print bed, unless your print bed is too small. Since I have never tested the results of a part printed diagonally, I can’t guarantee its success.
- Orientate the part to print on it’s flattest side. Refer to the “Printing Orientation” section below to see the correct orientations.
- Print at temperatures that is most optimal for you. For me, I printed at 190c for PLA, and 210c for PLA+. Your temps could be different.
- All prints were designed to work with the standard 1.75mm filament, no higher, no lower. I can’t
- guarantee the success of 3.25mm filament, but you are welcome to try
- Print at your standard layer height (normal), but if you want more details, only the AF-WF-LR-PRT-001 will benefit more from higher detail layer height.
- All of the pieces with bolts were designed to print “sideways.” Look into the “Printing Orientation” section below and you will know what I mean.
- Enable combing on all of the pieces. I have tested without combing, and while both have yielded identical results, with combing, the pieces were a lot easier to clean. Note that combing will affect appearances, but honestly, looks don’t matter when it comes to shooting.
- Some parts, such as the Ghost Ring Sights, will come in a model containing all of the pieces conveniently laid flat. This was done so that you can print the entire model in one go, rather than printing each small piece one by one.
Wrap Up
The WildFire is pushing to the limits just how much of a firearm can be 3D printed.
Even more impressive is that this is on the AR15 platform.
The WildFire has been tested heavily up to 300 rounds with many users reporting over 10000 rounds through the AR without failure.
Print your WildFire today and spread the signal!
Is something missing or incorrect?

