Biden’s Bane AR15 Upper Receiver Details
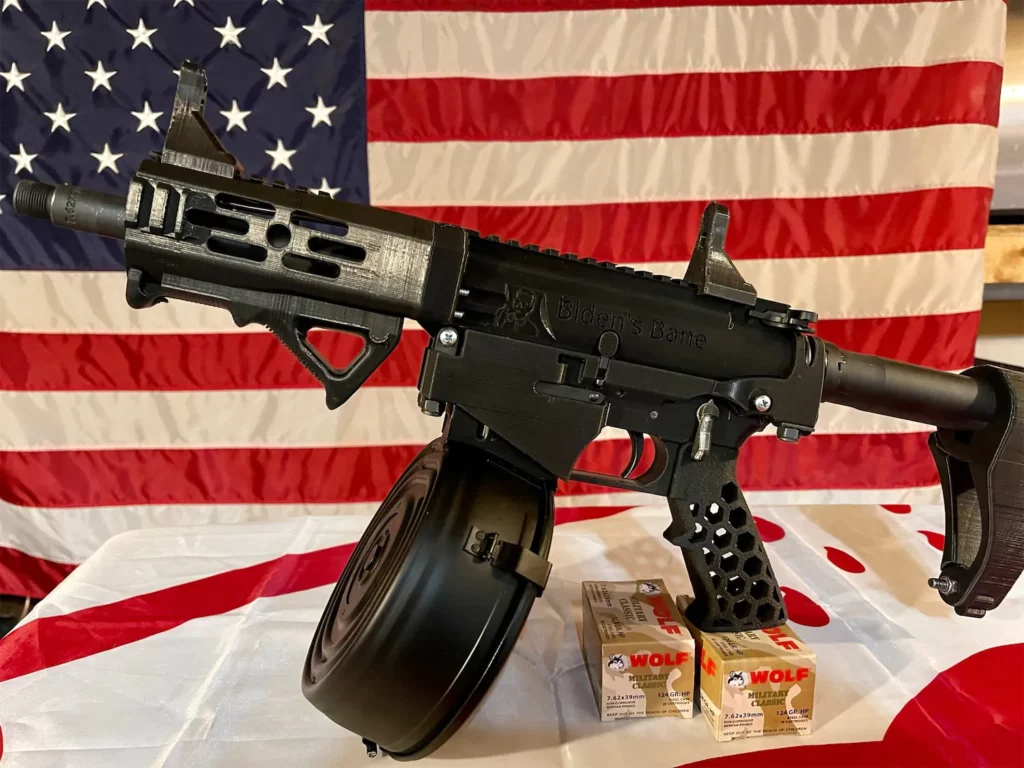
The Biden’s Bane AR15 upper receiver is a 3D printable firearm component designed to work with rifle caliber rounds, such as 223, 556, and 762×39.
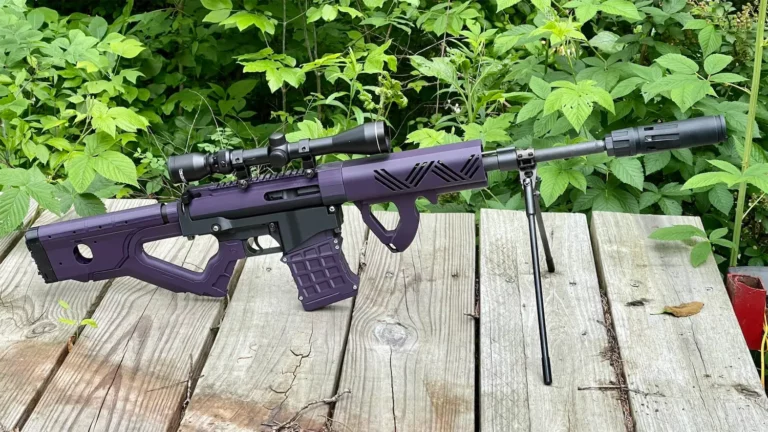
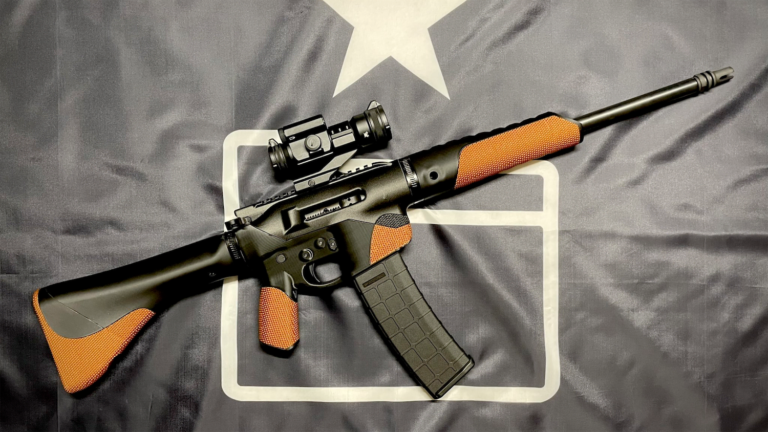
This upper receiver is a part of the growing trend of 3D printed firearms and is designed to be a DIY project for gun enthusiasts or those looking to build unserialized ghost guns.
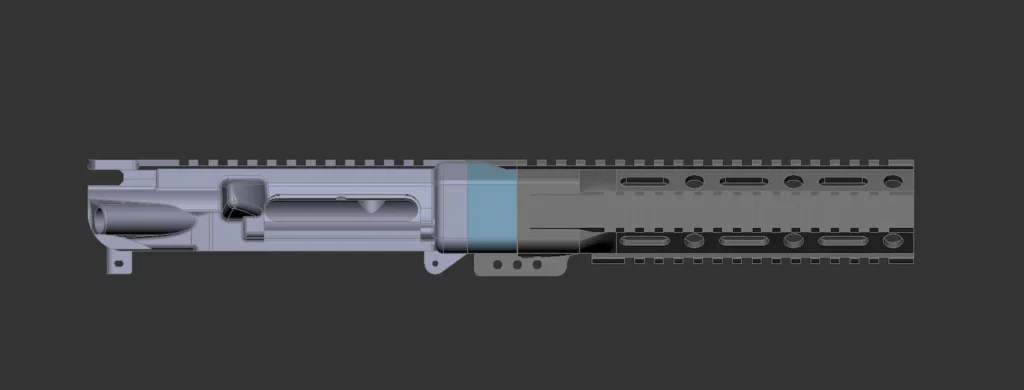
One of the key features of the Biden’s Bane AR15 upper receiver is its use of a DIY gas tube, which helps to disperse heat and prevent the printed upper receiver body from being melted or otherwise damaged during use. This makes it a more durable option than other 3D printed upper receivers on the market and is the predecessor to the fully 3D printed AR15, The Orca.
The upper receiver has been well tested and documented by gun enthusiasts, with some even conducting torture tests to assess its durability and performance. It has been found to be a reliable option for a build, particularly for use cases that involve firing between 30 to 60 rounds at a time.
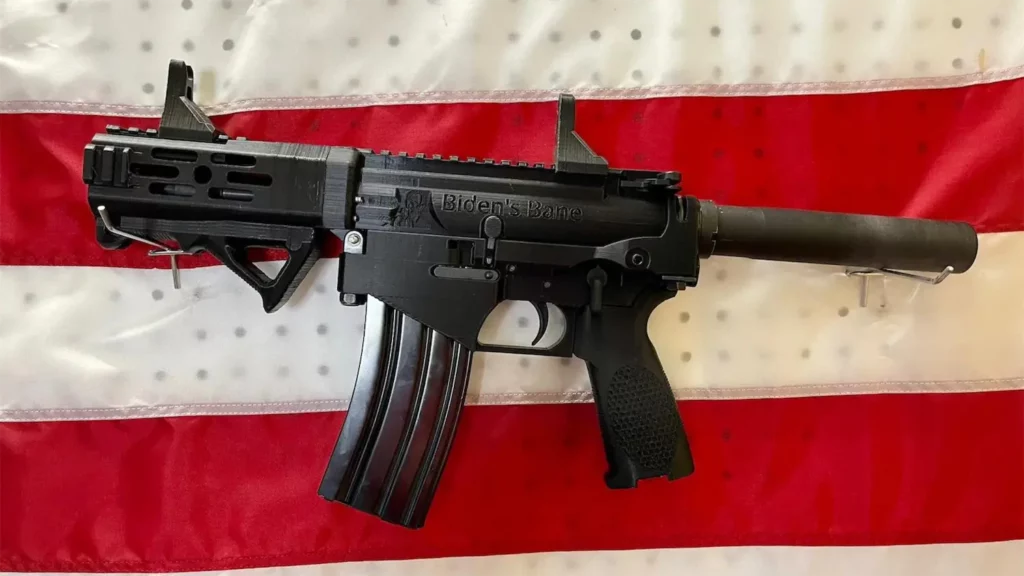
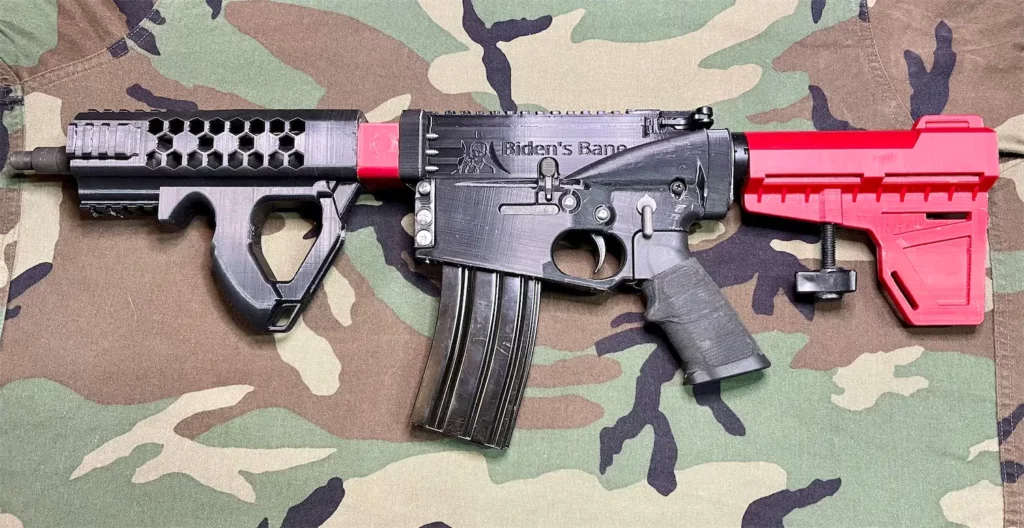
The Biden’s Bane AR15 upper receiver is also notable for its name, which references President Joe Biden’s stance on gun control. This has sparked controversy and debate among gun enthusiasts, with some seeing the name as a statement against the Biden administration’s policies on firearms.
Biden’s Bane in the Wild
Photos

Video
Biden’s Bane AR15 Tech Specs
Overall, the Biden’s Bane AR15 upper receiver is a unique and intriguing option for gun enthusiasts looking to build their own AR15 and 3D print both the lower and upper receivers.
The Biden’s Bane AR15 Upper includes the following technical specifications:
- Compatible with rifle caliber rounds, such as 223, 556, and 762×39
- Designed for use with a DIY gas tube to disperse heat and prevent damage to the printed upper receiver body
- 3D printable design for DIY enthusiasts
- Tested and documented for reliability and durability
- May be compatible with other lower receivers, such as Ubar and Hoffman Tactical AR15 lower packages
- Features an extended mag-release for easier reach
- Overhauled aesthetically for improved appearance
- May remove some unnecessary hardware, such as buffer tower reinforcements and front-takedown pin reinforcements found on other models.
Required Parts for the Biden’s Bane AR15
Prerequisites
- 5/16 OD .215ID Seamless stainless steel tubing or the equivalent metal tubing
- 8×2″ 8-32 machine screws
- Metal Bushings (can use these or any of the printed bushings)
- Black-Anodized Aluminum, 1/4″ OD, 3/4″ Long, for Number 8 Size Screw
- Black-Anodized Aluminum, 1/4″ OD, 1/4″ Long, for Number 8 Size Screw
Materials Required
Biden’s Bane AR15 upper receivers require basic gunsmithing tools and a 3D printing setup, i.e. and Ender 3.
Using a dialed-in Ender 3 with widely available PLA+ filament will get the job done in most cases.
3D Printed
- Upper receiver
- Bushings (can use metal bushings)
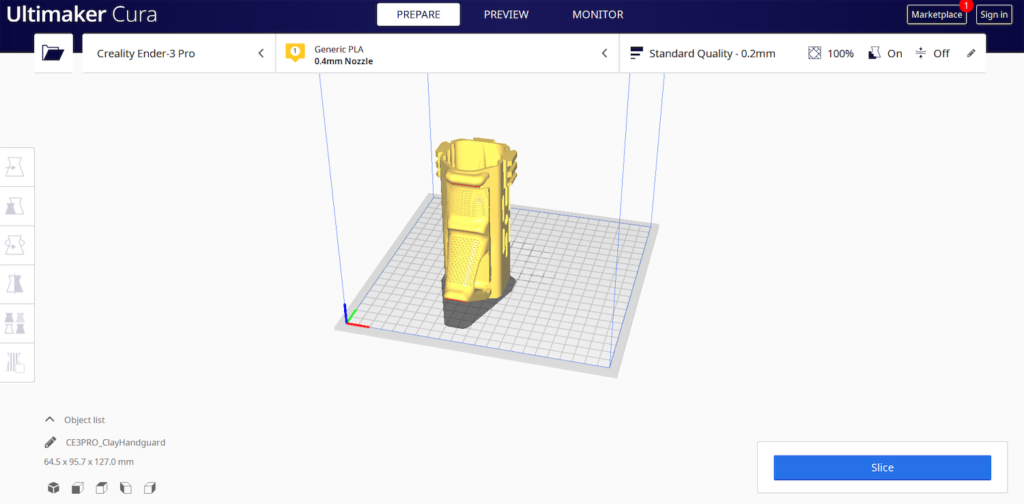
- Handguard
Tools Required
- Screwdriver
- Bandsaw/Handsaw (for metal tubing)
- File(recommended)
- Hand drill (Strongly recommended)
- 8-10 inch long Phillips driver (Strongly recommended)
- Chisels (recommended)
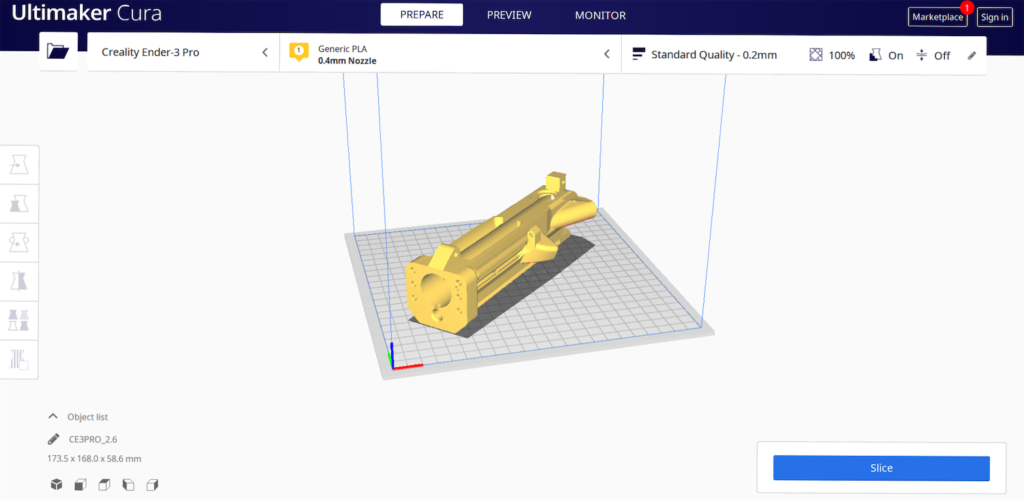
Suggested 3D Print Biden’s Bane Settings
The slicer settings for the 3D-printed Biden’s Bane AR15 are fairly standard and tested heavily by the beta testing group:
Orientation: Place the file in the slicer with the top of the receiver down on the print bed
Layer height: .2mm
Infill: 99%
Temperature: 210c (or your preferred print temp)
Walls: 4-5
Filament
- PLA+ (eSun, Polymerk or simular)
Biden’s Bane Build Tutorial (Steps)
The following steps are provided within the Readme.txt to help 3D printers complete their Biden’s Bane AR15:
- Clean off any support structure
- Test fit Charging Handle and check function. Clean or scrape if necessary
- Test fit Bolt Carrier Group and check drag. BCG should move freely
- Pre-thread all holes(get it a thread or 2 in, then run it all the way through with a hand drill)
- Drill out a hole for Stainless Tube and insert(5/16 drill bit) Tube should be flush or slightly inset from the front of the receiver.
- Test fit barrel in the handguard. Make sure the mounting ring can fit flush in the recess
- Fit barrel in the receiver. Should require moderate force to mount. A light force is ok. Too heavy force may crack the print. File/sand/dremmel if necessary
- Fit barrel nut/handguard over the barrel to the upper receiver.
- Standing the receiver up on its end, put pressure down on the handguard and begin to drive the first screw. (I like to start with the top 2, then do the middle 2, then the bottom 2) DO NOT OVERTIGHTEN THE SCREWS. Set your clutch on your drill so it slips before it overtightens. Overtightening the screws will crack the print.
- Install the gas tube and gas block
- Install the charging handle and BCG
- Attach to your lower
- Cycle the action manually (W/O ammo) to check the function.
Frequently Asked Questions
My Charging Handle is hard to install
Use a punch to press the ‘nubs’ of the handle into the channel. Make sure you are aligned with the pathway for the ‘nubs’.
My charging handle is hard to draw or has excessive drag
Inspect the channel and roof of the receiver for support remains. scrape or clean. Also, verify upper is not warped. If warped, reprint w/ gluestick.
My BCG has excessive drag or is hard to release from lockup
Again check for any support residue or warping. Apply a light coat of oil and work the action manually until the function improves.
My heat sink tube is tight. Can I use moderate to heavy force to install it?
Yes, however, check the tube and inside of the receiver for filament residue scraped off during install
My barrel is tight, and hard to install
You can sand/file/dremmel material away until fit improves. Only remove a small amount at a time and retest the fit.
My handguard will not mount flush to the receiver
Check the recess in the handguard where the barrel ring sits for support residue/trash. Scrape or sand if necessary.
Check both faces for warping/squareness. Sand or file if necessary
Inspect screw holes for excess material pushed out during the threading process. Clean if necessary
My print cracked. Will I die if I use it?
No. But be smart about what you put it through while you reprint.
Now get to printing your unregulatable 3D printed AR15 to sh** on the government today. Let’s go, Brandon!