Firebolt V2 Details
The original AR15 Firebolt was designed by 3D gun developer RollTroll.
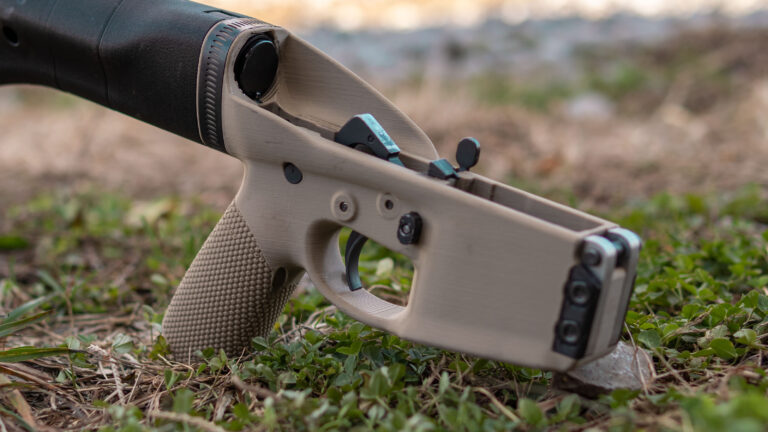
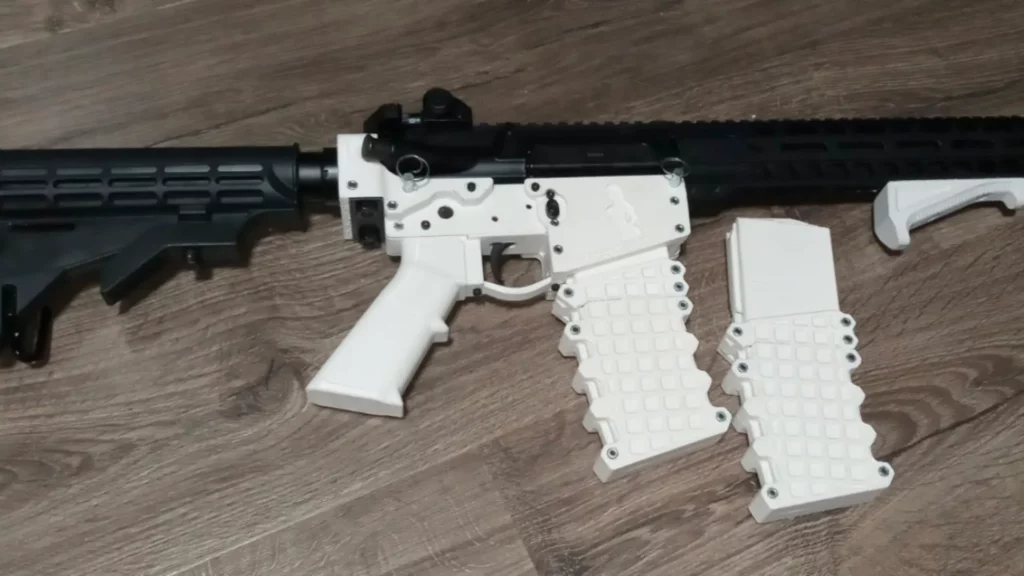
The Firebolt v2 takes all of the best parts of the original Firebolt, making this 3D-printed AR15 lower receiver more robust and durable.
The Firebolt shines when it comes to assembly.
Many 3D-printed AR15 variants are tricky and time-consuming when installing all the parts.
Just starting out? Learn how to 3D print a gun with our 3D Printing Guns 101 Guide.
The Firebolt v2 makes creating your own 3D-printed AR a breeze.
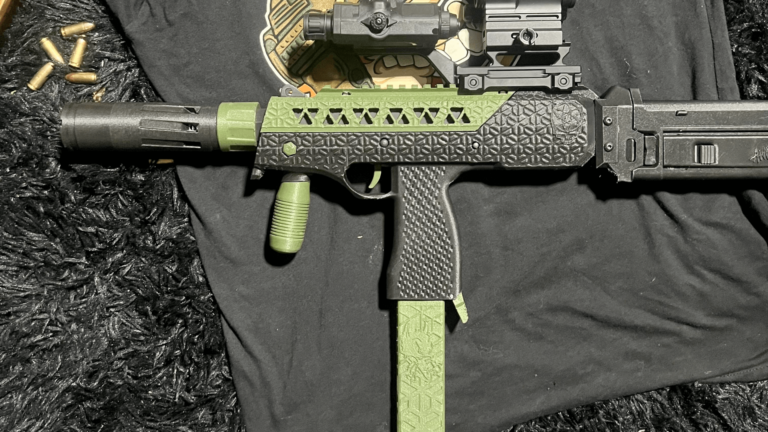
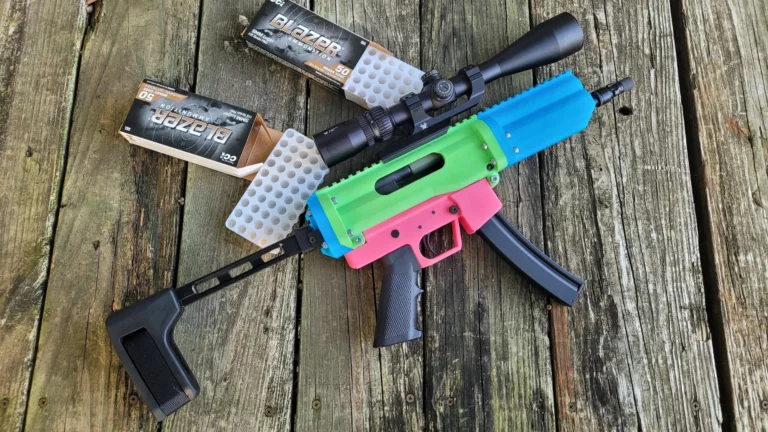
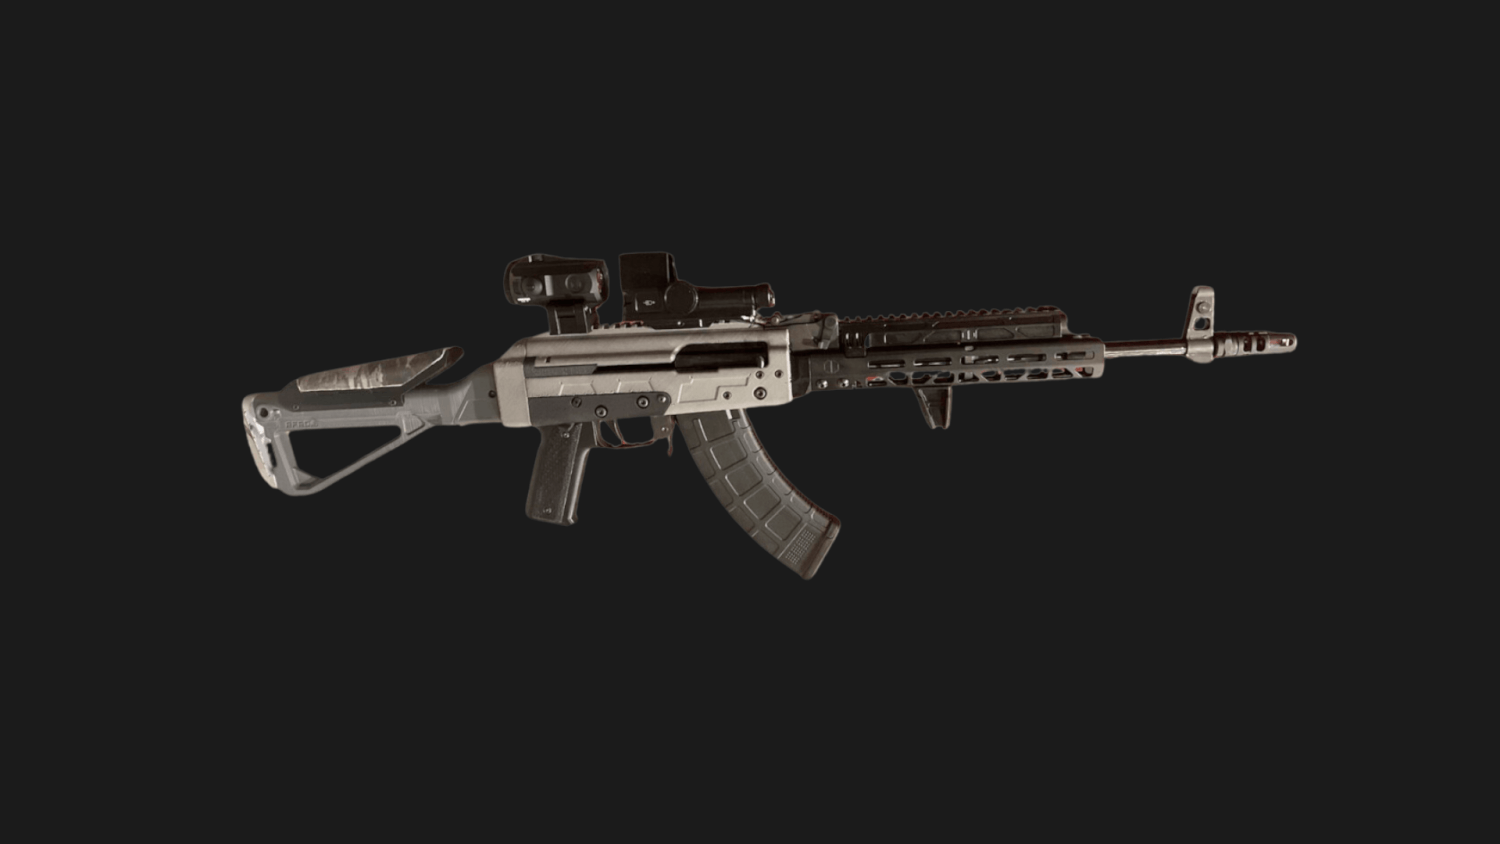
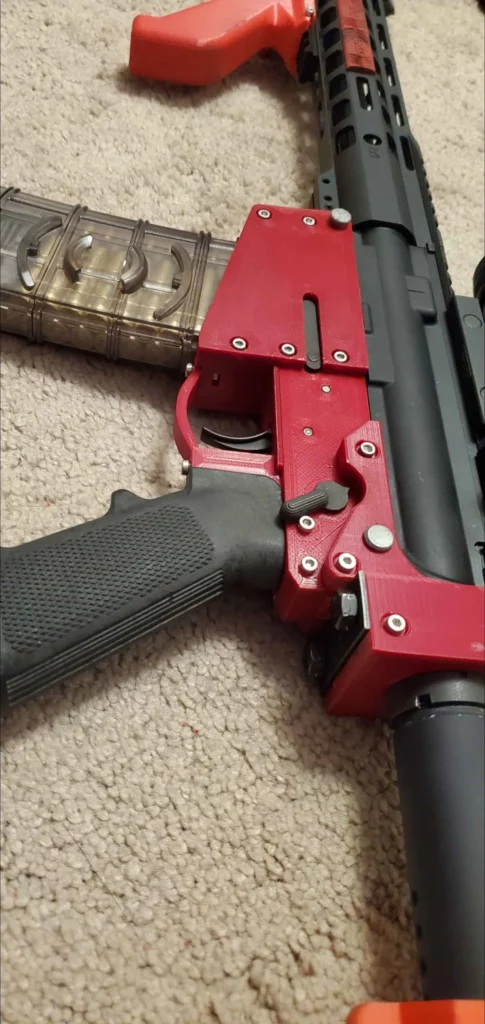
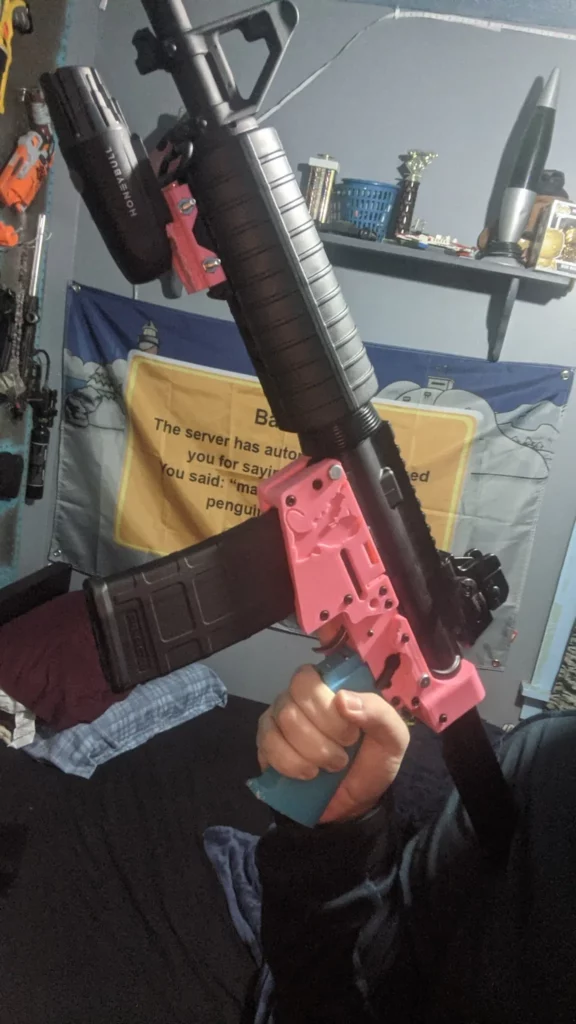
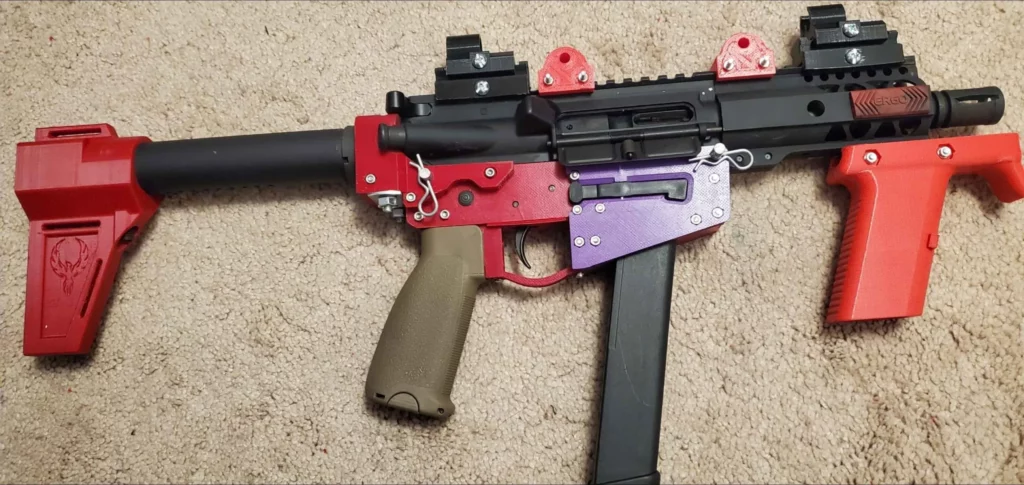
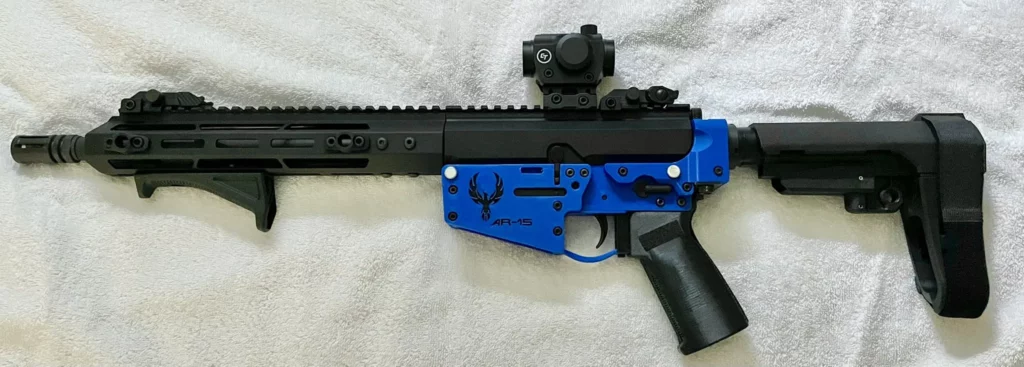
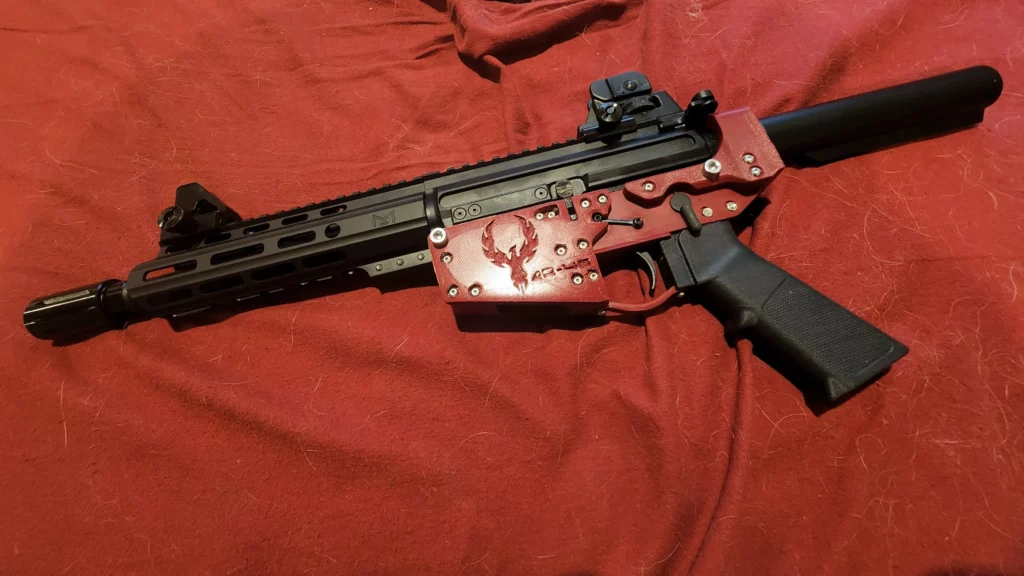
Firebolt V2 in the Wild
Photos
Video
Firebolt V2 History
The Firebolt was released by SpookySpectre on December 2, 2020.
Since then, it has exploded in popularity and is one of the most downloaded 3D-printed guns online.
The idea behind the Firebolt was simple:
- Ease of Assembly
- High Modularity
- Sleek Overall Look
The Firebolt’s modularity makes replacing damaged parts on the frame easy by simply allowing users to 3d print replacement parts.
This saves everyone a ton of time by not having to fully disassemble their AR15 and replace every part.
Firebolt V2 Tech Specs
The Firebolt v2s strength comes from the U-Bolt installed at the buffer tower.
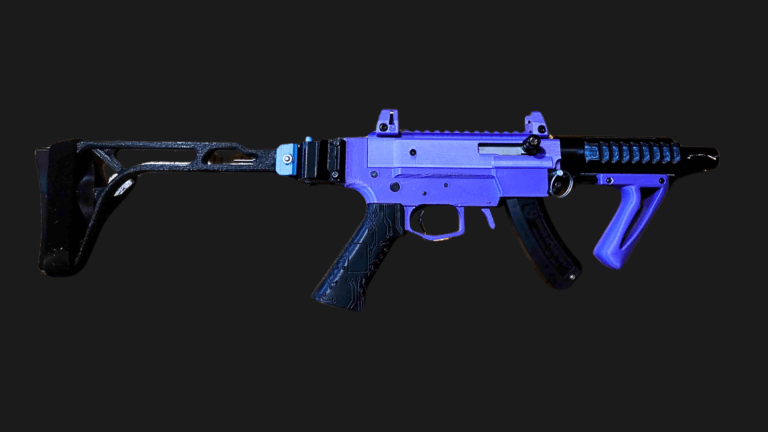
The Firebolt is available in 5.56, 9mm, and .45 ACP calibers that sync with its modularity concept.
The Firebolt is broken down into the following modular parts:
- Buffer Tower
- Grip Part
- Side Left
- Side Right
- FCG Well Bottom
- Trigger Guard
Required Parts for the Firebolt V2
- UBolt (https://www.mcmaster.com/3201T49)
- 1 x Ejector (FOR 9mm or .45 ONLY) (This can be machined or cut from metal if you have the resources to do so, the ejector file has been included for reference.) Example: https://www.newfrontierarmory.com/product/ejectorc9c45/
- 1 x 1/4″ x 1″ Self-tapping sheet metal screw (for Grip)
- 2 x 1/4″ x 2″ Pins w/ holes for either key rings or hairpins to lock in the takedown pins.
All hardware M3 sized, the minimum length required.
AR15
- Nut x18
- Trigger Guard and Grip Part 10mm x 4
- Buffer Tower Arms 12mm x 2 (DO NOT EXCEED 14mm OR THE HAMMER WILL INTERFERE)
- Mag Well to Mag Well Rear 35mm x 5
- Mag Well to Sides 10mm x 3
- Grip Part 25mm x 2
- Buffer Tower Bottom 40mm x 1
- Buffer Tower Rear 50mm x 1
AR15 w/ Bolt Catch
- Nut x18
- Trigger Guard and Grip Part 10mm x 4
- Buffer Tower Arms 12mm x 2 (DO NOT EXCEED 14mm OR THE HAMMER WILL INTERFERE)
- Mag Well to Mag Well Rear 35mm x 4
- Mag Well to Sides 10mm x 3
- Mag Well Right to Mag Well Rear (Above Magazine Release button) 14mm x 1
- Grip Part 25mm x 2
- Buffer Tower Bottom 40mm x 1
- Buffer Tower Rear 50mm x 1
AR9 and AR45
- Nut x23
- Trigger Guard and Grip Part 10mm x 4
- Buffer Tower Arms 12mm x 2 (DO NOT EXCEED 14mm OR THE HAMMER WILL INTERFERE)
- Mag Well 35mm x 8
- Mag Well to Sides 10mm x 3
- Grip Part 25mm x 2
- Buffer Tower Bottom 40mm x 1
- Buffer Tower Rear 50mm x 1
- Ejector 20mm x 2
Suggested 3D Print Settings
- All parts should be printed at a 0.16-layer height. This will retain the most detail while not extending print times too much.
- All parts should have 15-20 Top/Bottom layers, giving each part a 2.4 mm minimum top/bottom wall thickness.
- All parts should use either the triangle or cubic infill pattern. Both have shown to be the most robust patterns via testing.
- All parts should have a minimum of 25% infill.
- All parts should have a minimum of 6 perimeters, e.g., 2.4 mm wall thickness with 0.4 mm nozzle.
- The Buffer Tower should NOT be printed with outside walls first; this will cause the threads to fail.
- The Buffer Tower, the Grip Part, and the Mag Well Front and Rear should have higher perimeters and infill percentages. Everything else can be printed on the cheaper side.
Printing Orientation:
Buffer tower should be printed flat, perpendicular to the print bed, as if the stock were vertical (although you CAN print this part in normal orientation for a more substantial print, it will need supports.)
The grip part should be printed on its side, safety pinhole down. Use tree supports if possible, touching the build plate.
Mag well front should be printed on its side, with the pivot holes flat against the bed. Again, use trees, but use the everywhere option this time, so the entire flat face of the upper pivot hole is supported.
Mag well back should be printed with the largest flat side against the print bed. This is the side opposite the mag well. Use tree supports with touching build plate only.
Both mag well sides should be printed on their largest flat face, the side opposite the mag well. Since the cutouts for the screws are printed open air, use regular supports. Use support blockers on the emblem if you print that version. No, the layer lines do not interfere with the magazine.
Both left and right (rear) sides should be printed with the external walls against the print bed. This will allow for the FCG cutouts to be printed correctly.
Fire control well bottom should be printed flat, so the side facing the trigger guard is against the print bed.
Trigger guard can be printed either flat (so it looks like a bridge), or on its side (so it needs no support).
Wrap Up
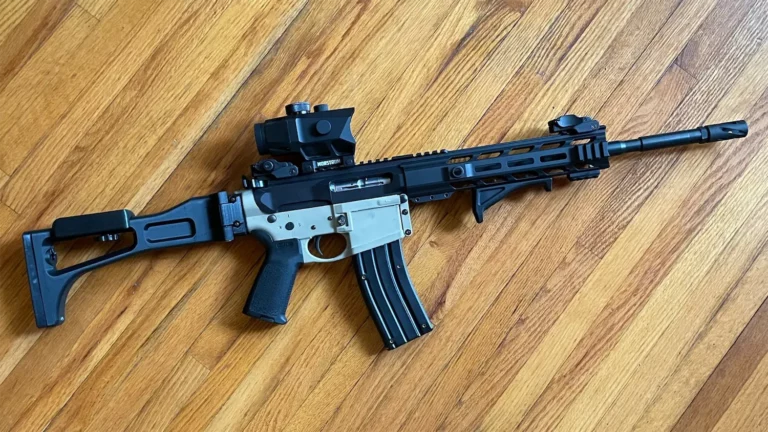
The Firebolt is an excellent option to 3D print an AR15 lower and add an Orca AR15 upper.
There are many options for the AR15 platform, whether you print a UBAR, Hoffman Tactical, or Firebolt receiver.
Download the Firebolt v2 files today and grab yourself a parts kit to get shooting.
As always, spread the signal!