The Polymer 80 Jig for the PF940v2 (Full Size), PF940C (Compact), and PF940SC(Sub Compact) was originally designed by @mrsnow_makes.
Need a New Polymer 80 Jig? Buy Here

3D Gun Builder has made some minor tolerance and speed of production tweaks to make this available for all DIY Polymer 80 builders.
Jump to Section
|

|
|
|
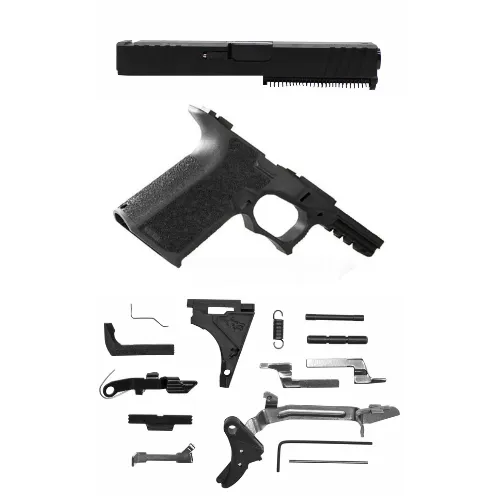
P80 Jig Parts List
The following are included when purchasing a Polymer 80 PF940v2 (Full Size) Jig, PF940C (Compact) Jig, or PF940SC(Sub Compact) Jig.
1 x 3D Printed Polymer 80 Jig – Left
1 x 3D Printed Polymer 80 Jig – Right
1 x m3 Drill Bit
1 x m4 Drill Bit
4 x m3/45 Bolts
4 x m3 Washers
4 x Nuts
1 x 3D Printed P80 Jig Instruction Guide
Common Questions
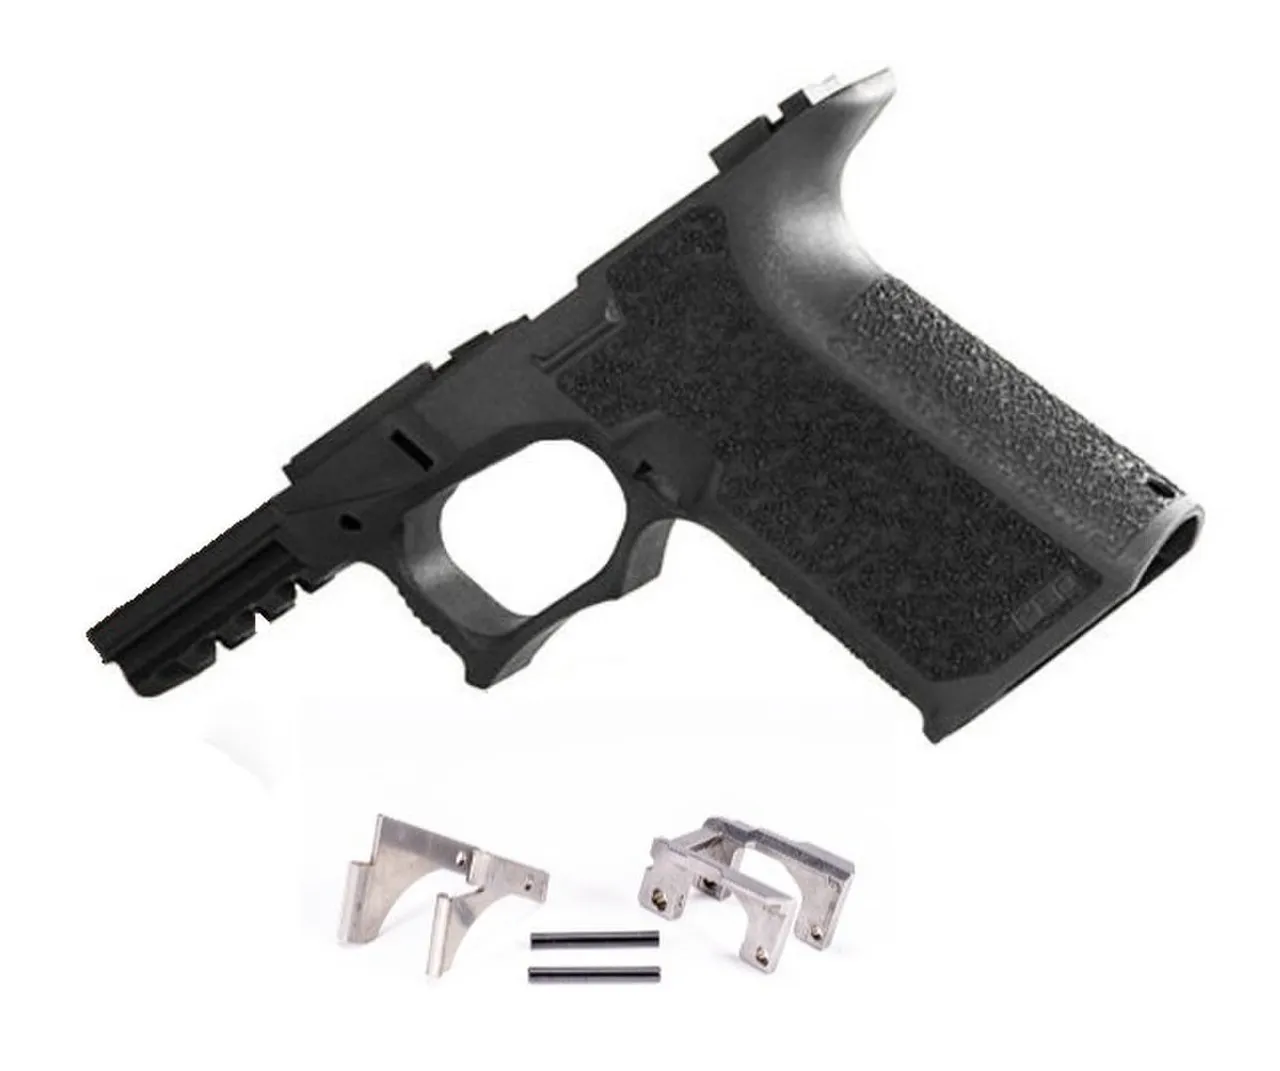
Nope! You will need to remove the tabs from your P80 frame prior to securing the drill jig.
Yes, this frame is compatible with the 26 (sub-compact), 19 (compact), and 17 (full-size). You can ignore the “G19” label.
No, you only need four bolts to fasten all of the outside holes. This has been found to be extremely secure and the tolerances are correct.
P80 Jig Instructions
Step 1
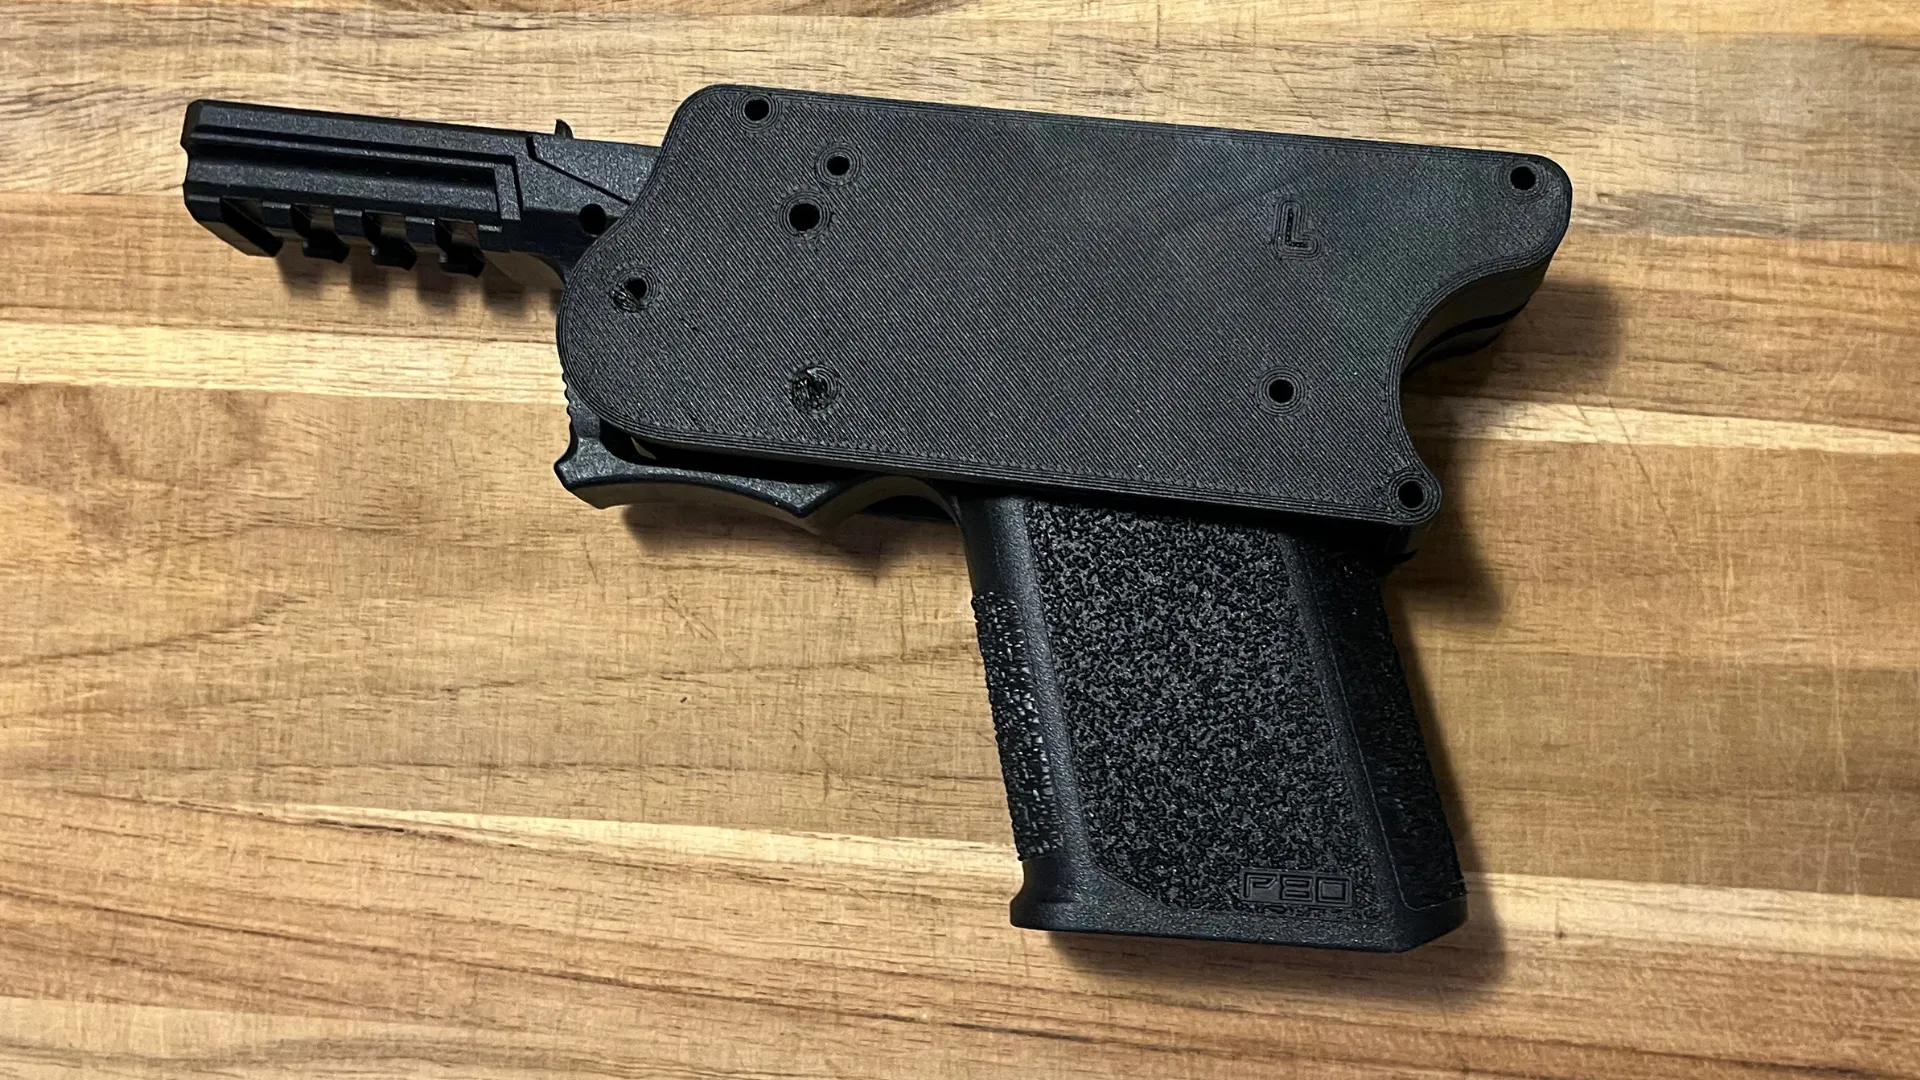
Install both the left and right Polymer 80 Jig pieces onto your P80 frame. Ensure that they are snug and aligned at the rear and in the trigger guard.
Step 2
Insert M3/45 bolts with a washer by hand tightening or utilizing an Allen wrench. These will be placed in the perimeter holes (not where you are going to drill). There are 4 outside holes that are required to be bolted for best results.
Be sure to tighten the bolt nuts onto the other side of your pistol frame once the bolts are in.
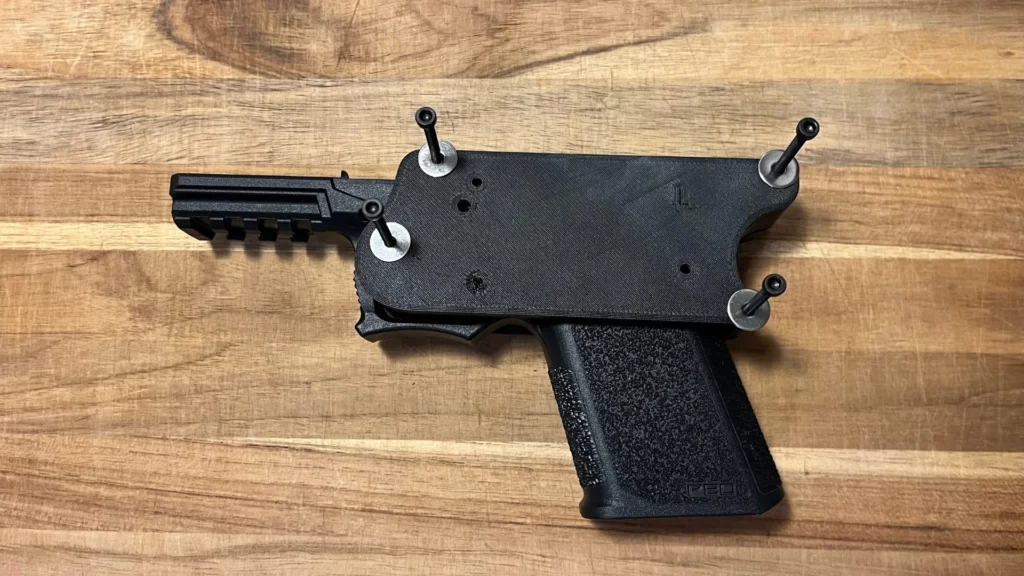
TIP: We suggest not fully tightening the bolts down until all 4 are installed. Leave a bit of room to go back around and tighten all of the bolts to best align with your Polymer 80 frame.
Step 3
We suggest using a table vise to secure your frame while drilling the side holes. You will also want to use a hand drill (not a drill press).
If you are not using a vice make sure your Polymer 80 frame and jig are on a flat and sturdy surface.
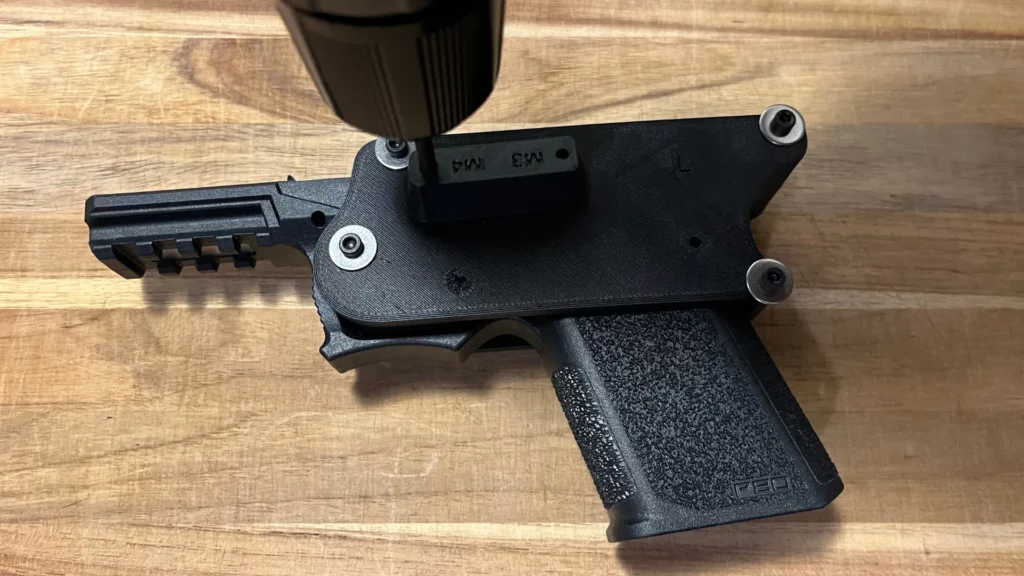
Step 4 (Optional)
We have included a drill guide that can help keep your side holes straight and centered on the P80 frame.
The Polymer 80 drill guide is marked with both m3 (3mm smaller drill bit) and m4 (4mm larger drill bit).
Note: A drill Guide is currently not needed or included
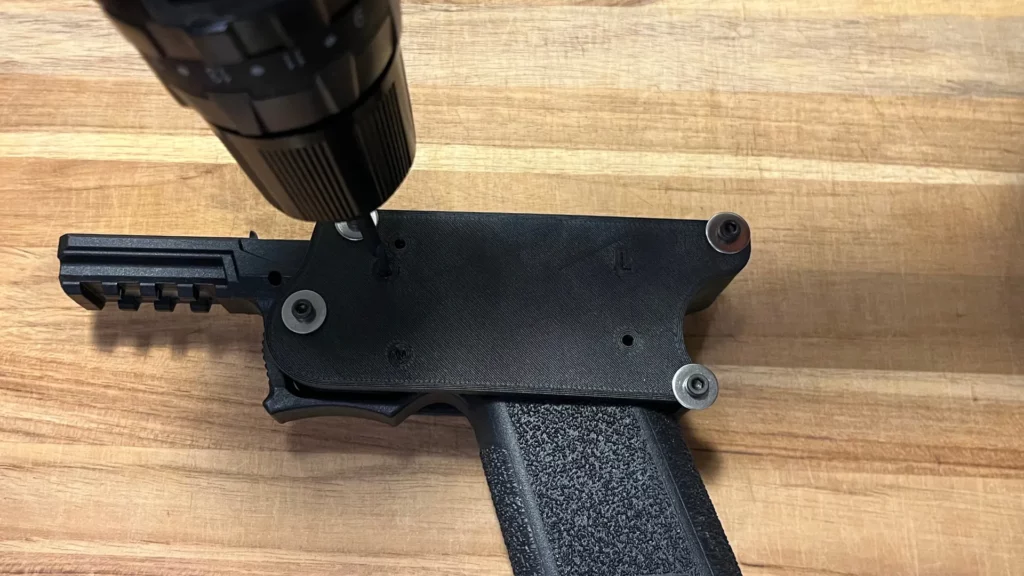
Step 5
Drill straight down and do not go all the way through to the other side. Only drill one side of your Polymer 80 frame at a time.
The holes necessary will be different depending on which frame you are using PF940v2 (Full Size), PF940C (Compact), and PF940SC(Sub Compact).
Be sure to verify which Polymer 80 frame you have and which holes are necessary.

Wrap Up
You should now have all of the required holes drilled and ready for installation of a lower parts kit.
With the recent new laws passed by the US regarding the sale of both frames and Jigs in a single kit, Polymer 80, is no longer manufacturing jigs.
We hope to keep the DIY and 80% firearms movement alive by providing an affordable 3D alternative to the classic red Polymer 80 jig.
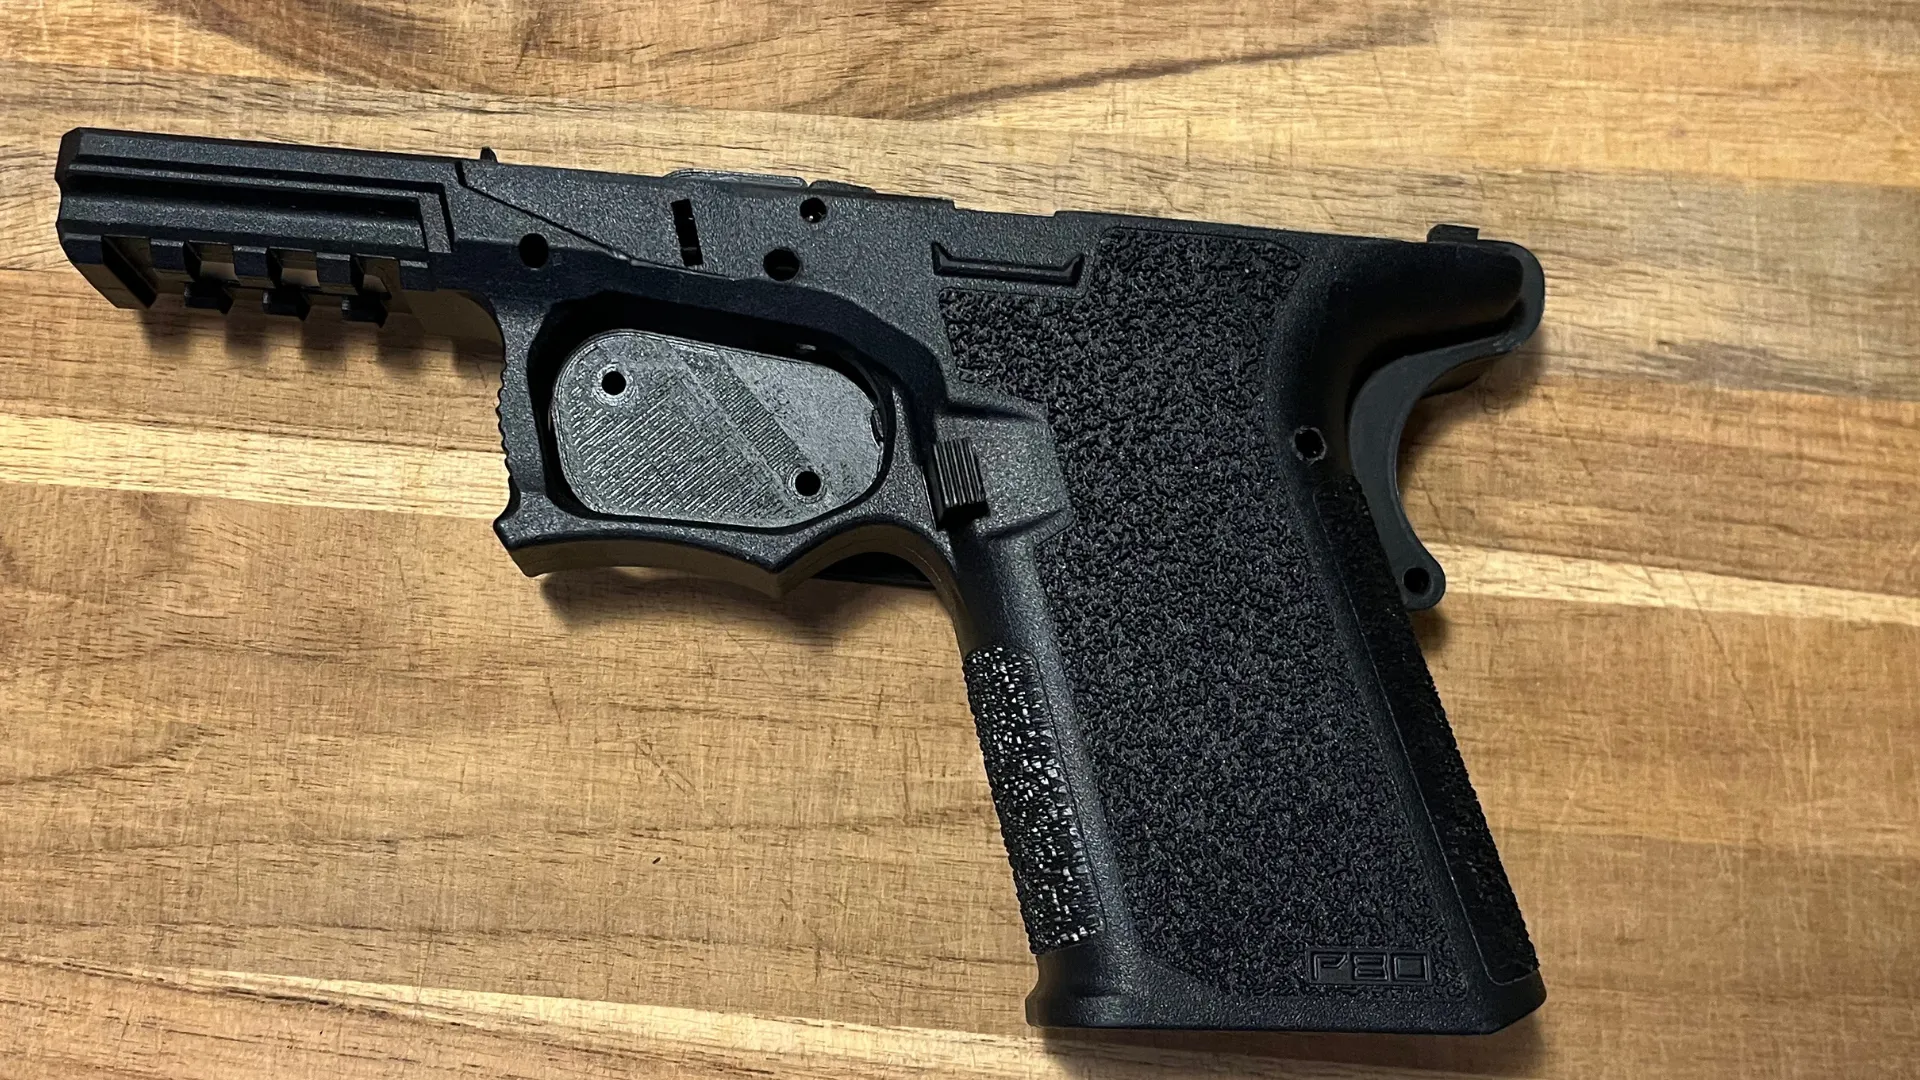
You can now move on to removing the tabs and channel area on your new P80 frame 🙂
If you have any questions please feel free to reach out to signal@3dgunbuilder.com or leave a comment down below.