FGC-9 MKII Stingray Details
The FGC-9 9mm pistol broke gun control regulations around the world.
When JStark, in cooperation with several other developers, released the FGC-9, it allowed firearms enthusiasts to build fully functioning guns with only a 3D printer, widely accessible hardware, and a guide for using an ECM process to create your own barrels.
Most 3D printed firearms up to this point required being able to purchase some finished parts i.e., Glock Slide Kits, and made it difficult to follow along in countries more regulated than the United States.
When it comes to accuracy, a 16” barrel rifle is hard to beat.
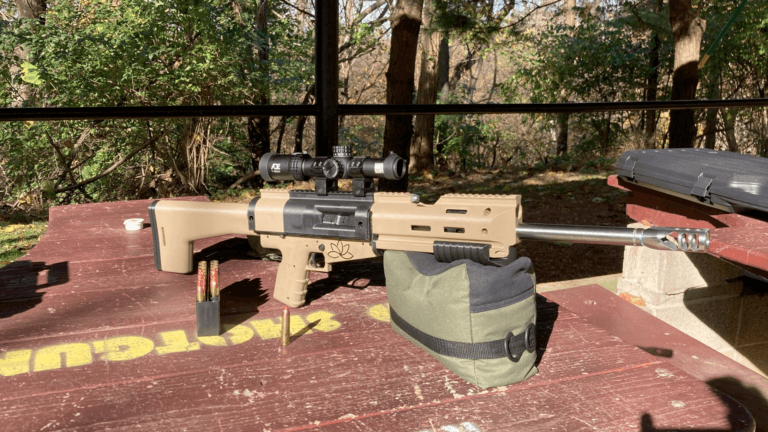
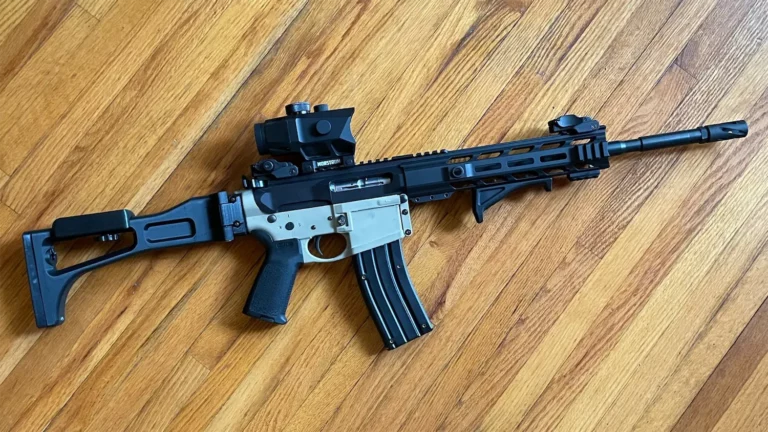
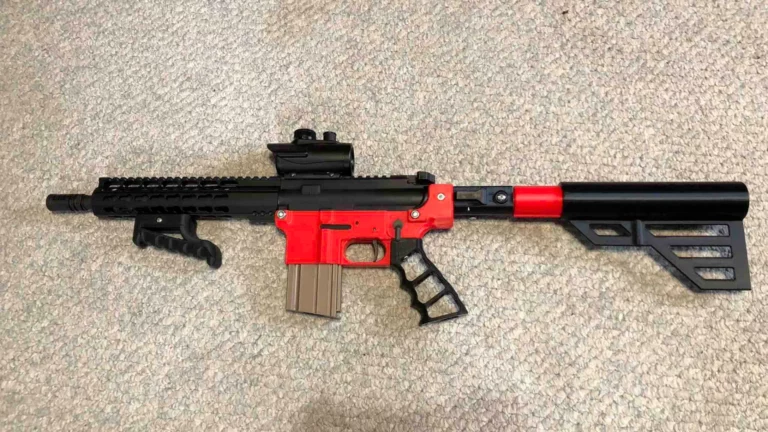
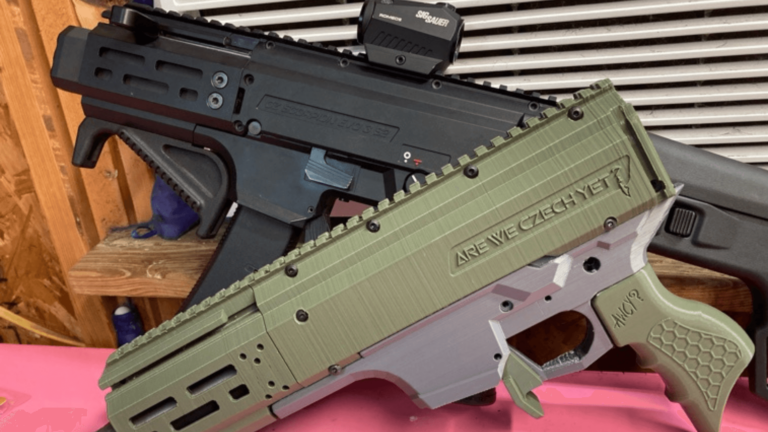
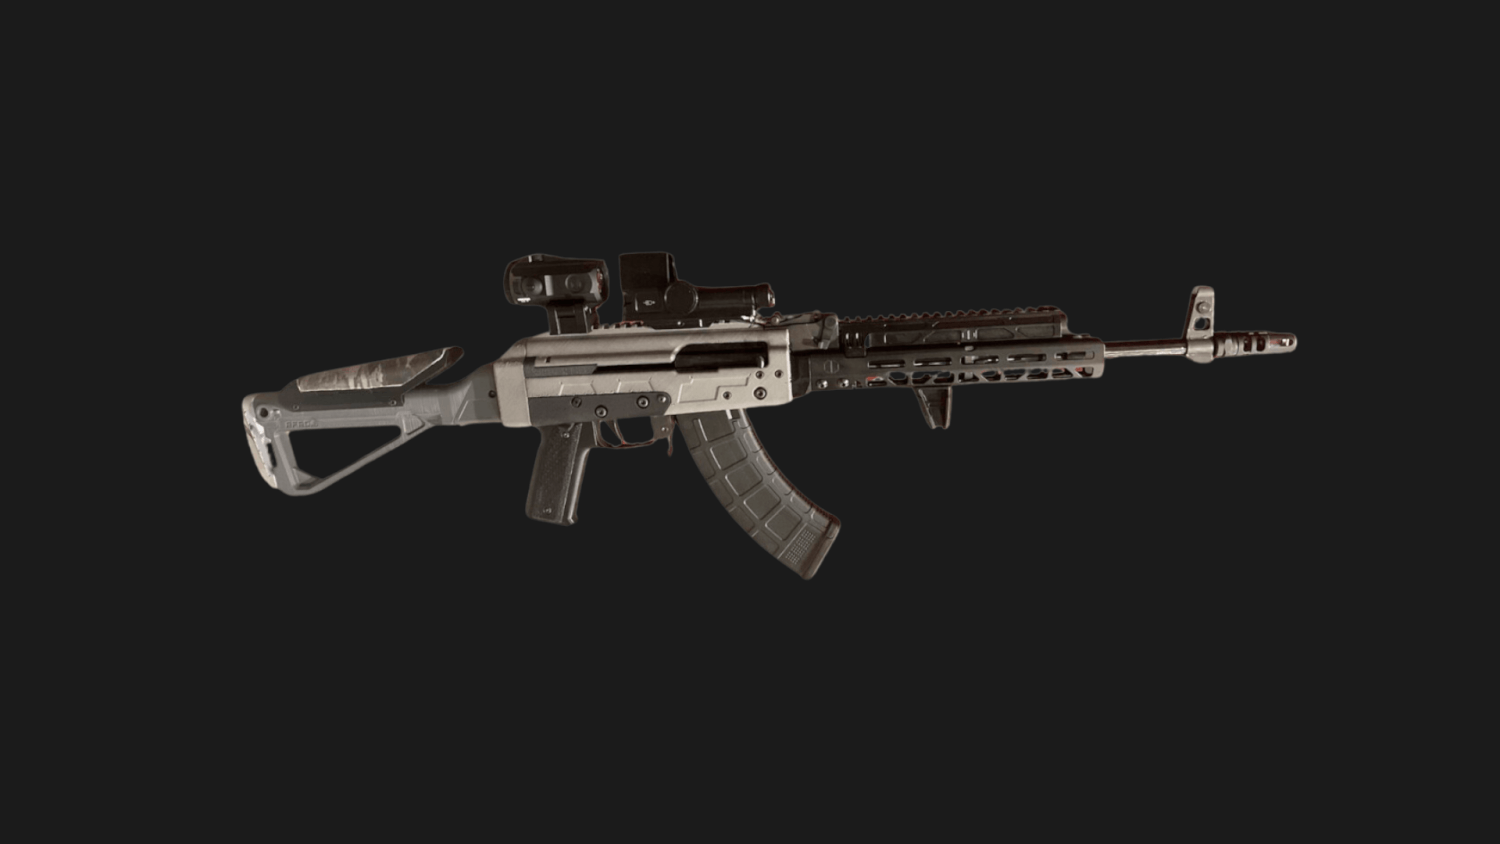
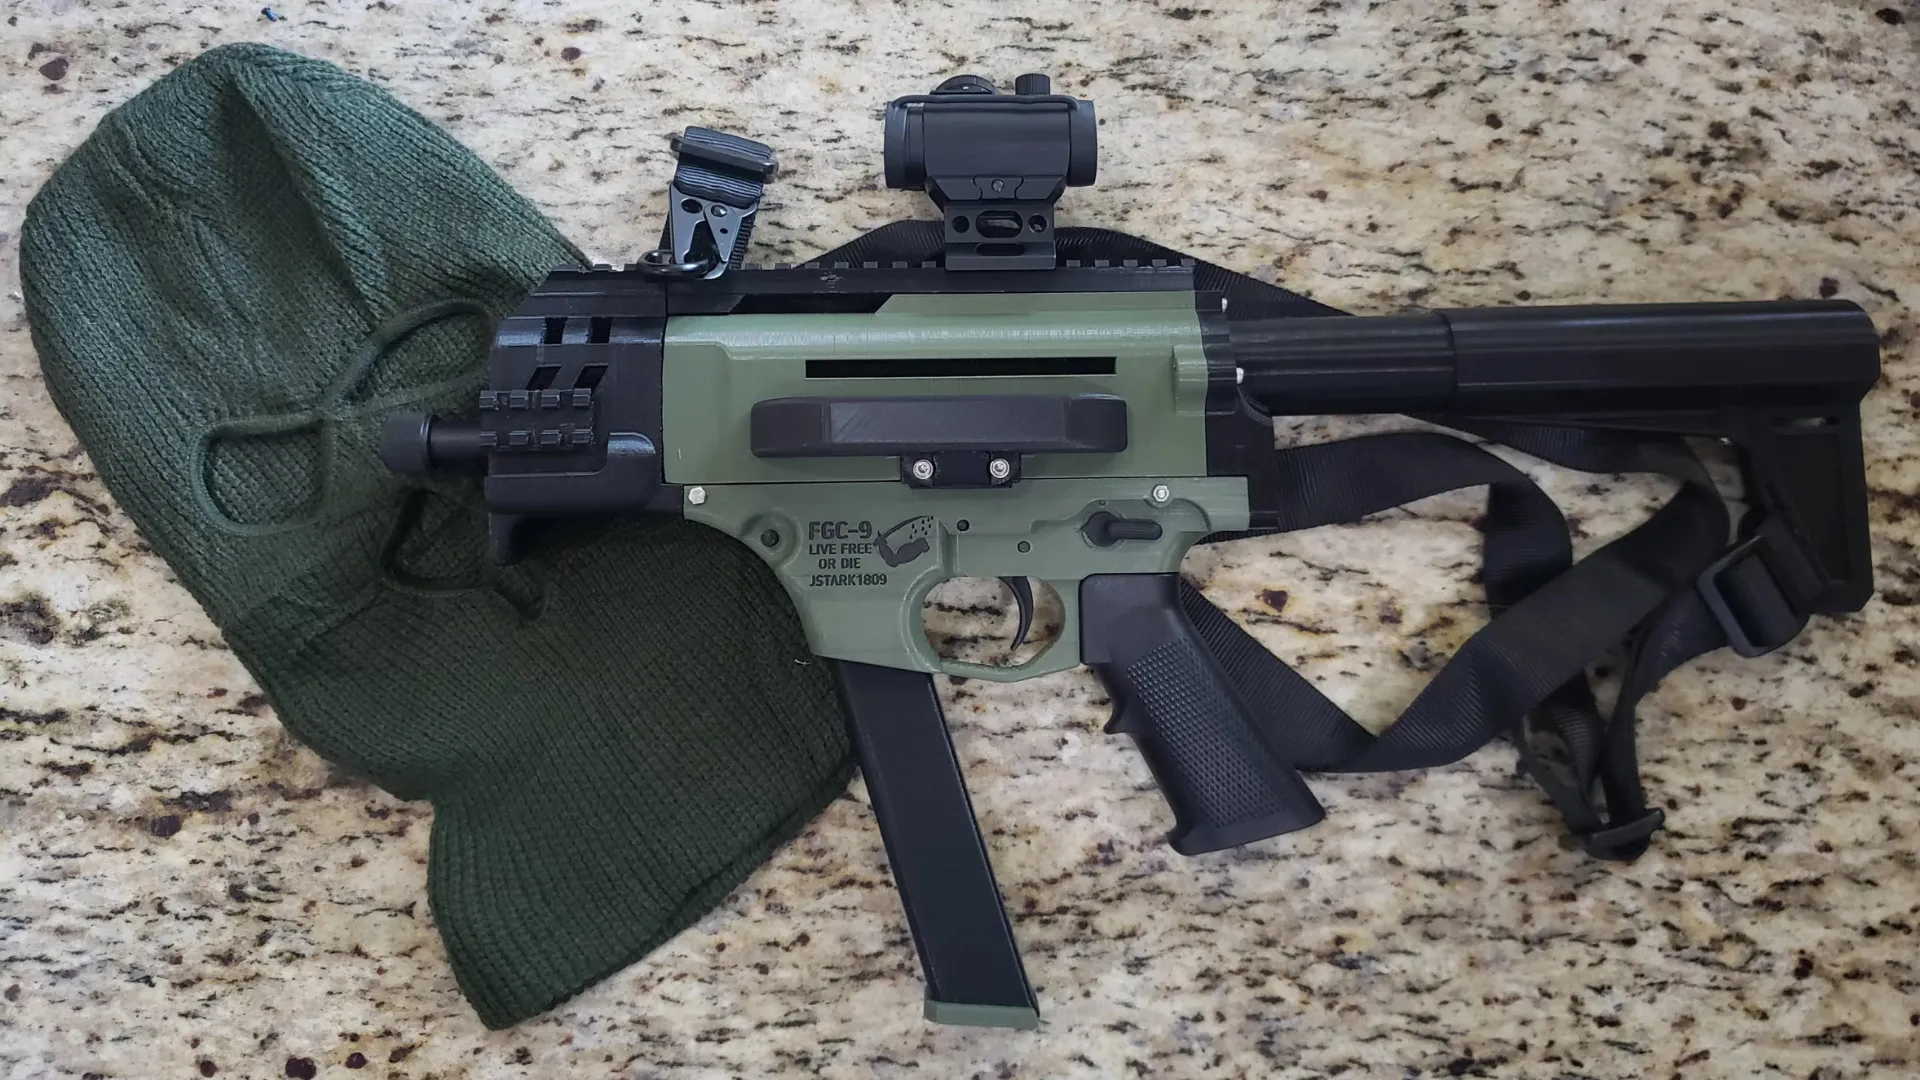
In comes the FGC-9 MK11 Stingray. This 3D gun file transforms the standard FGC-9 into a 16” Gucci rifle!
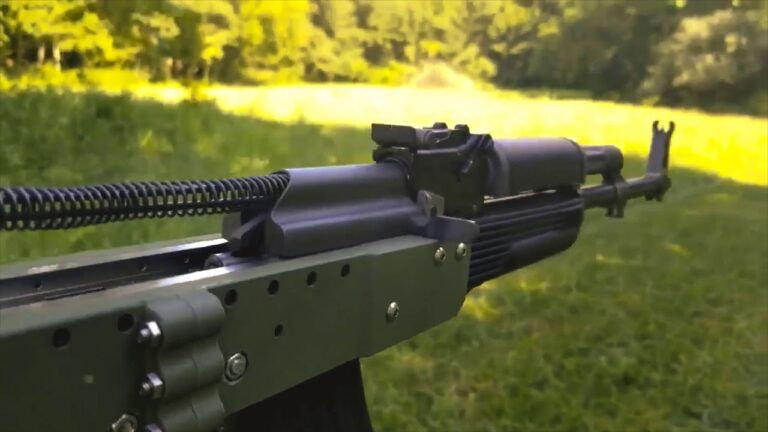
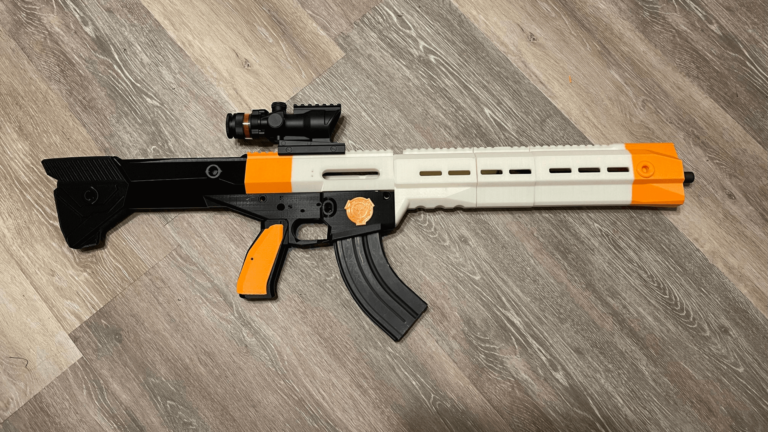
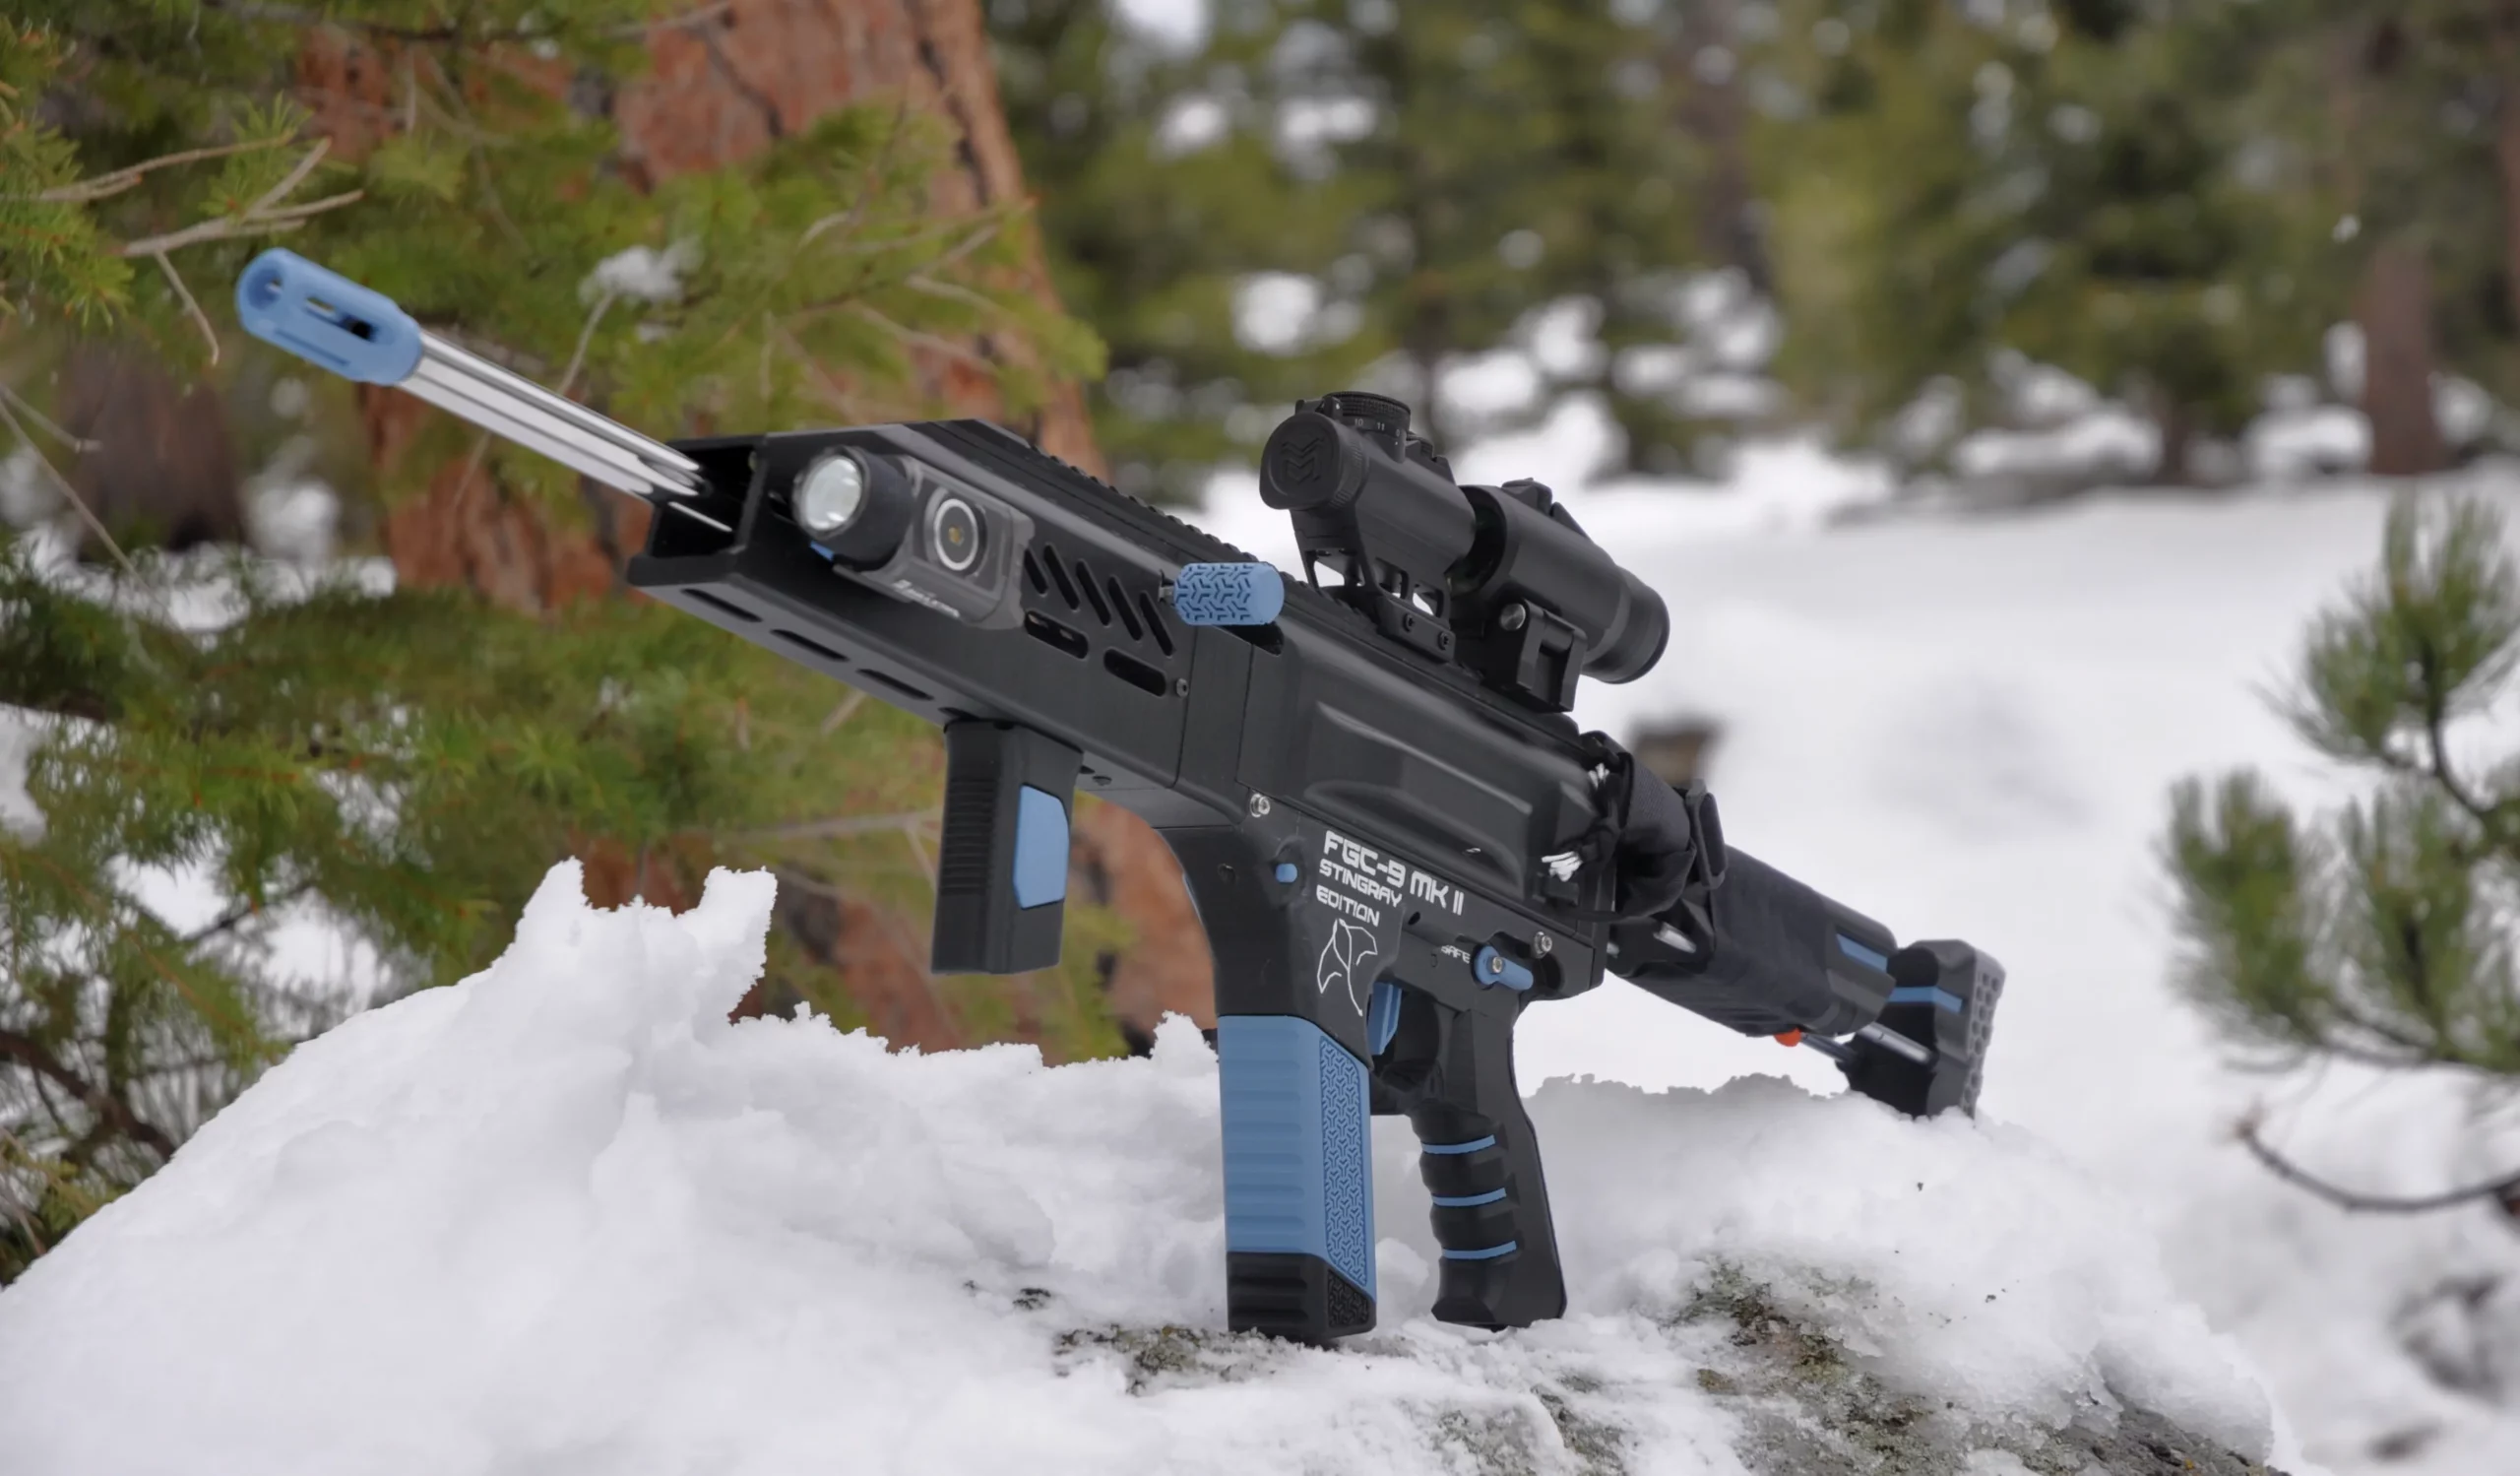
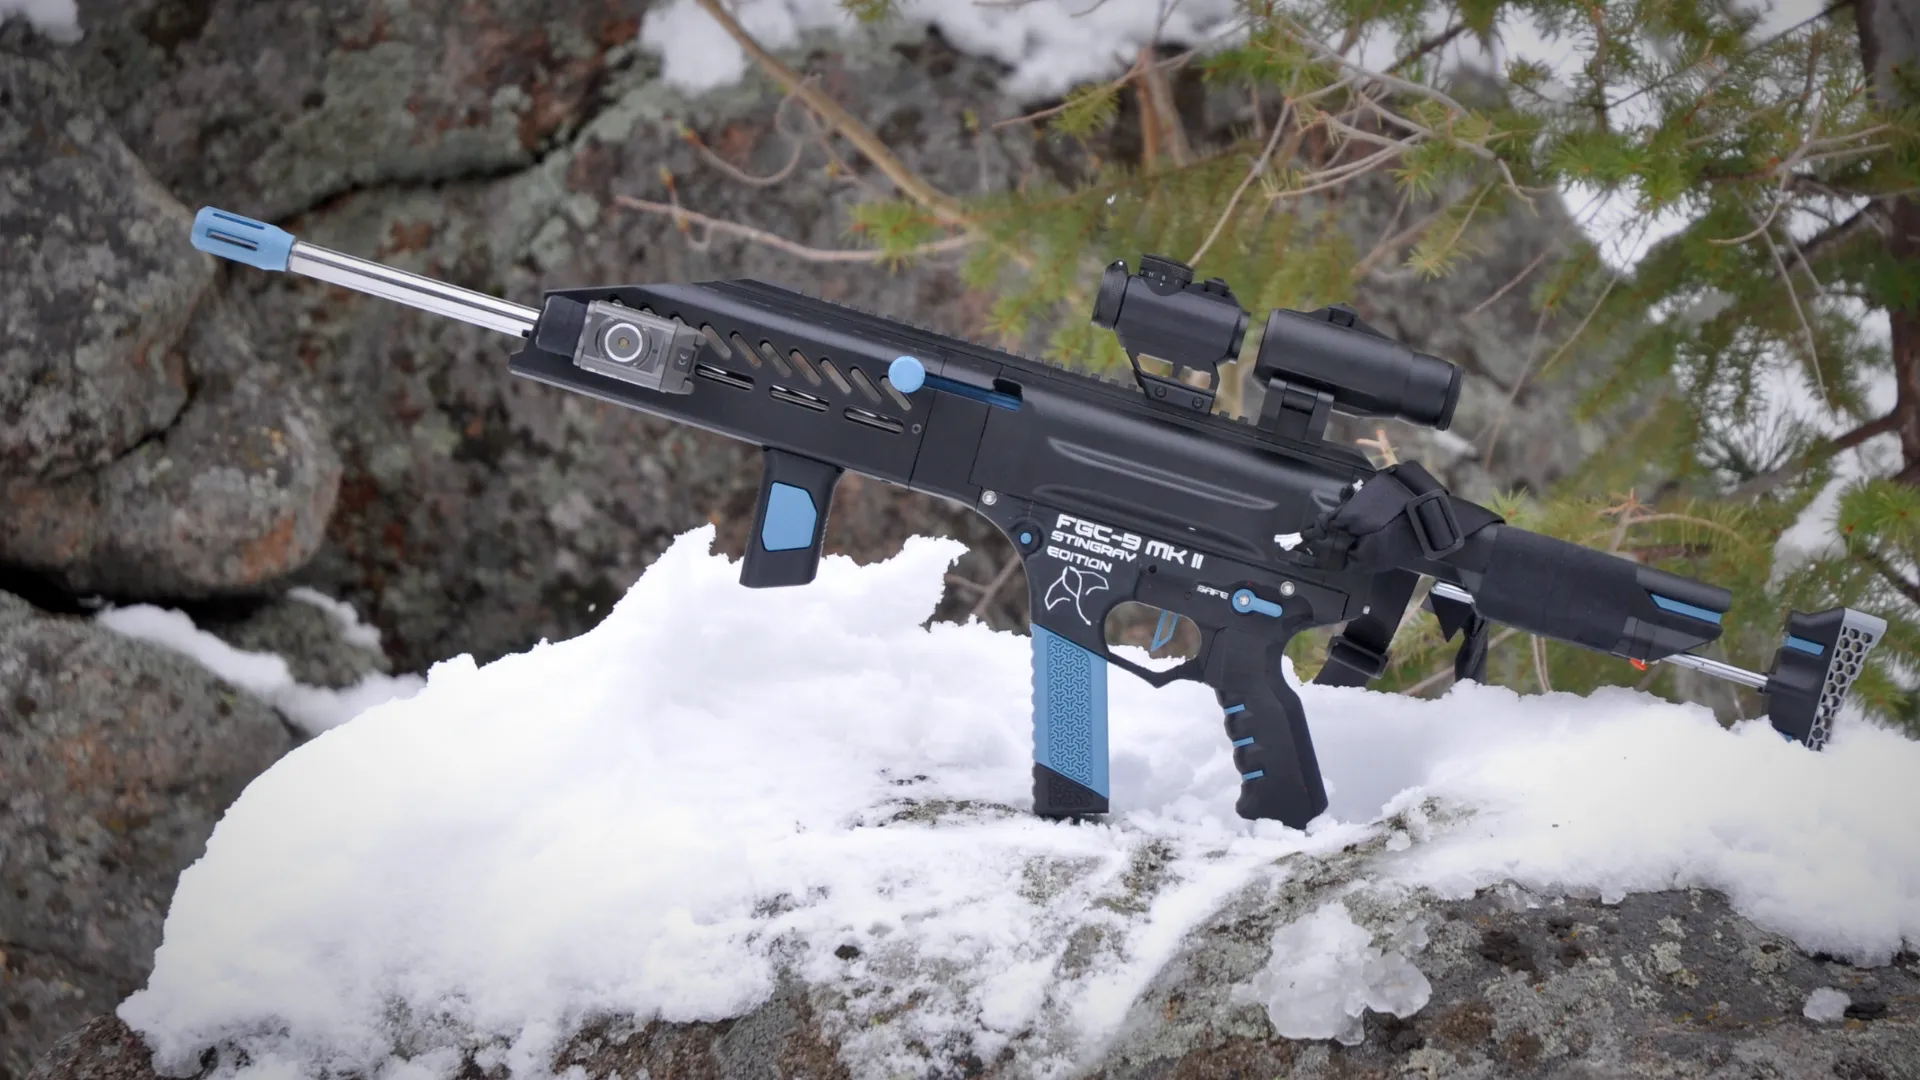
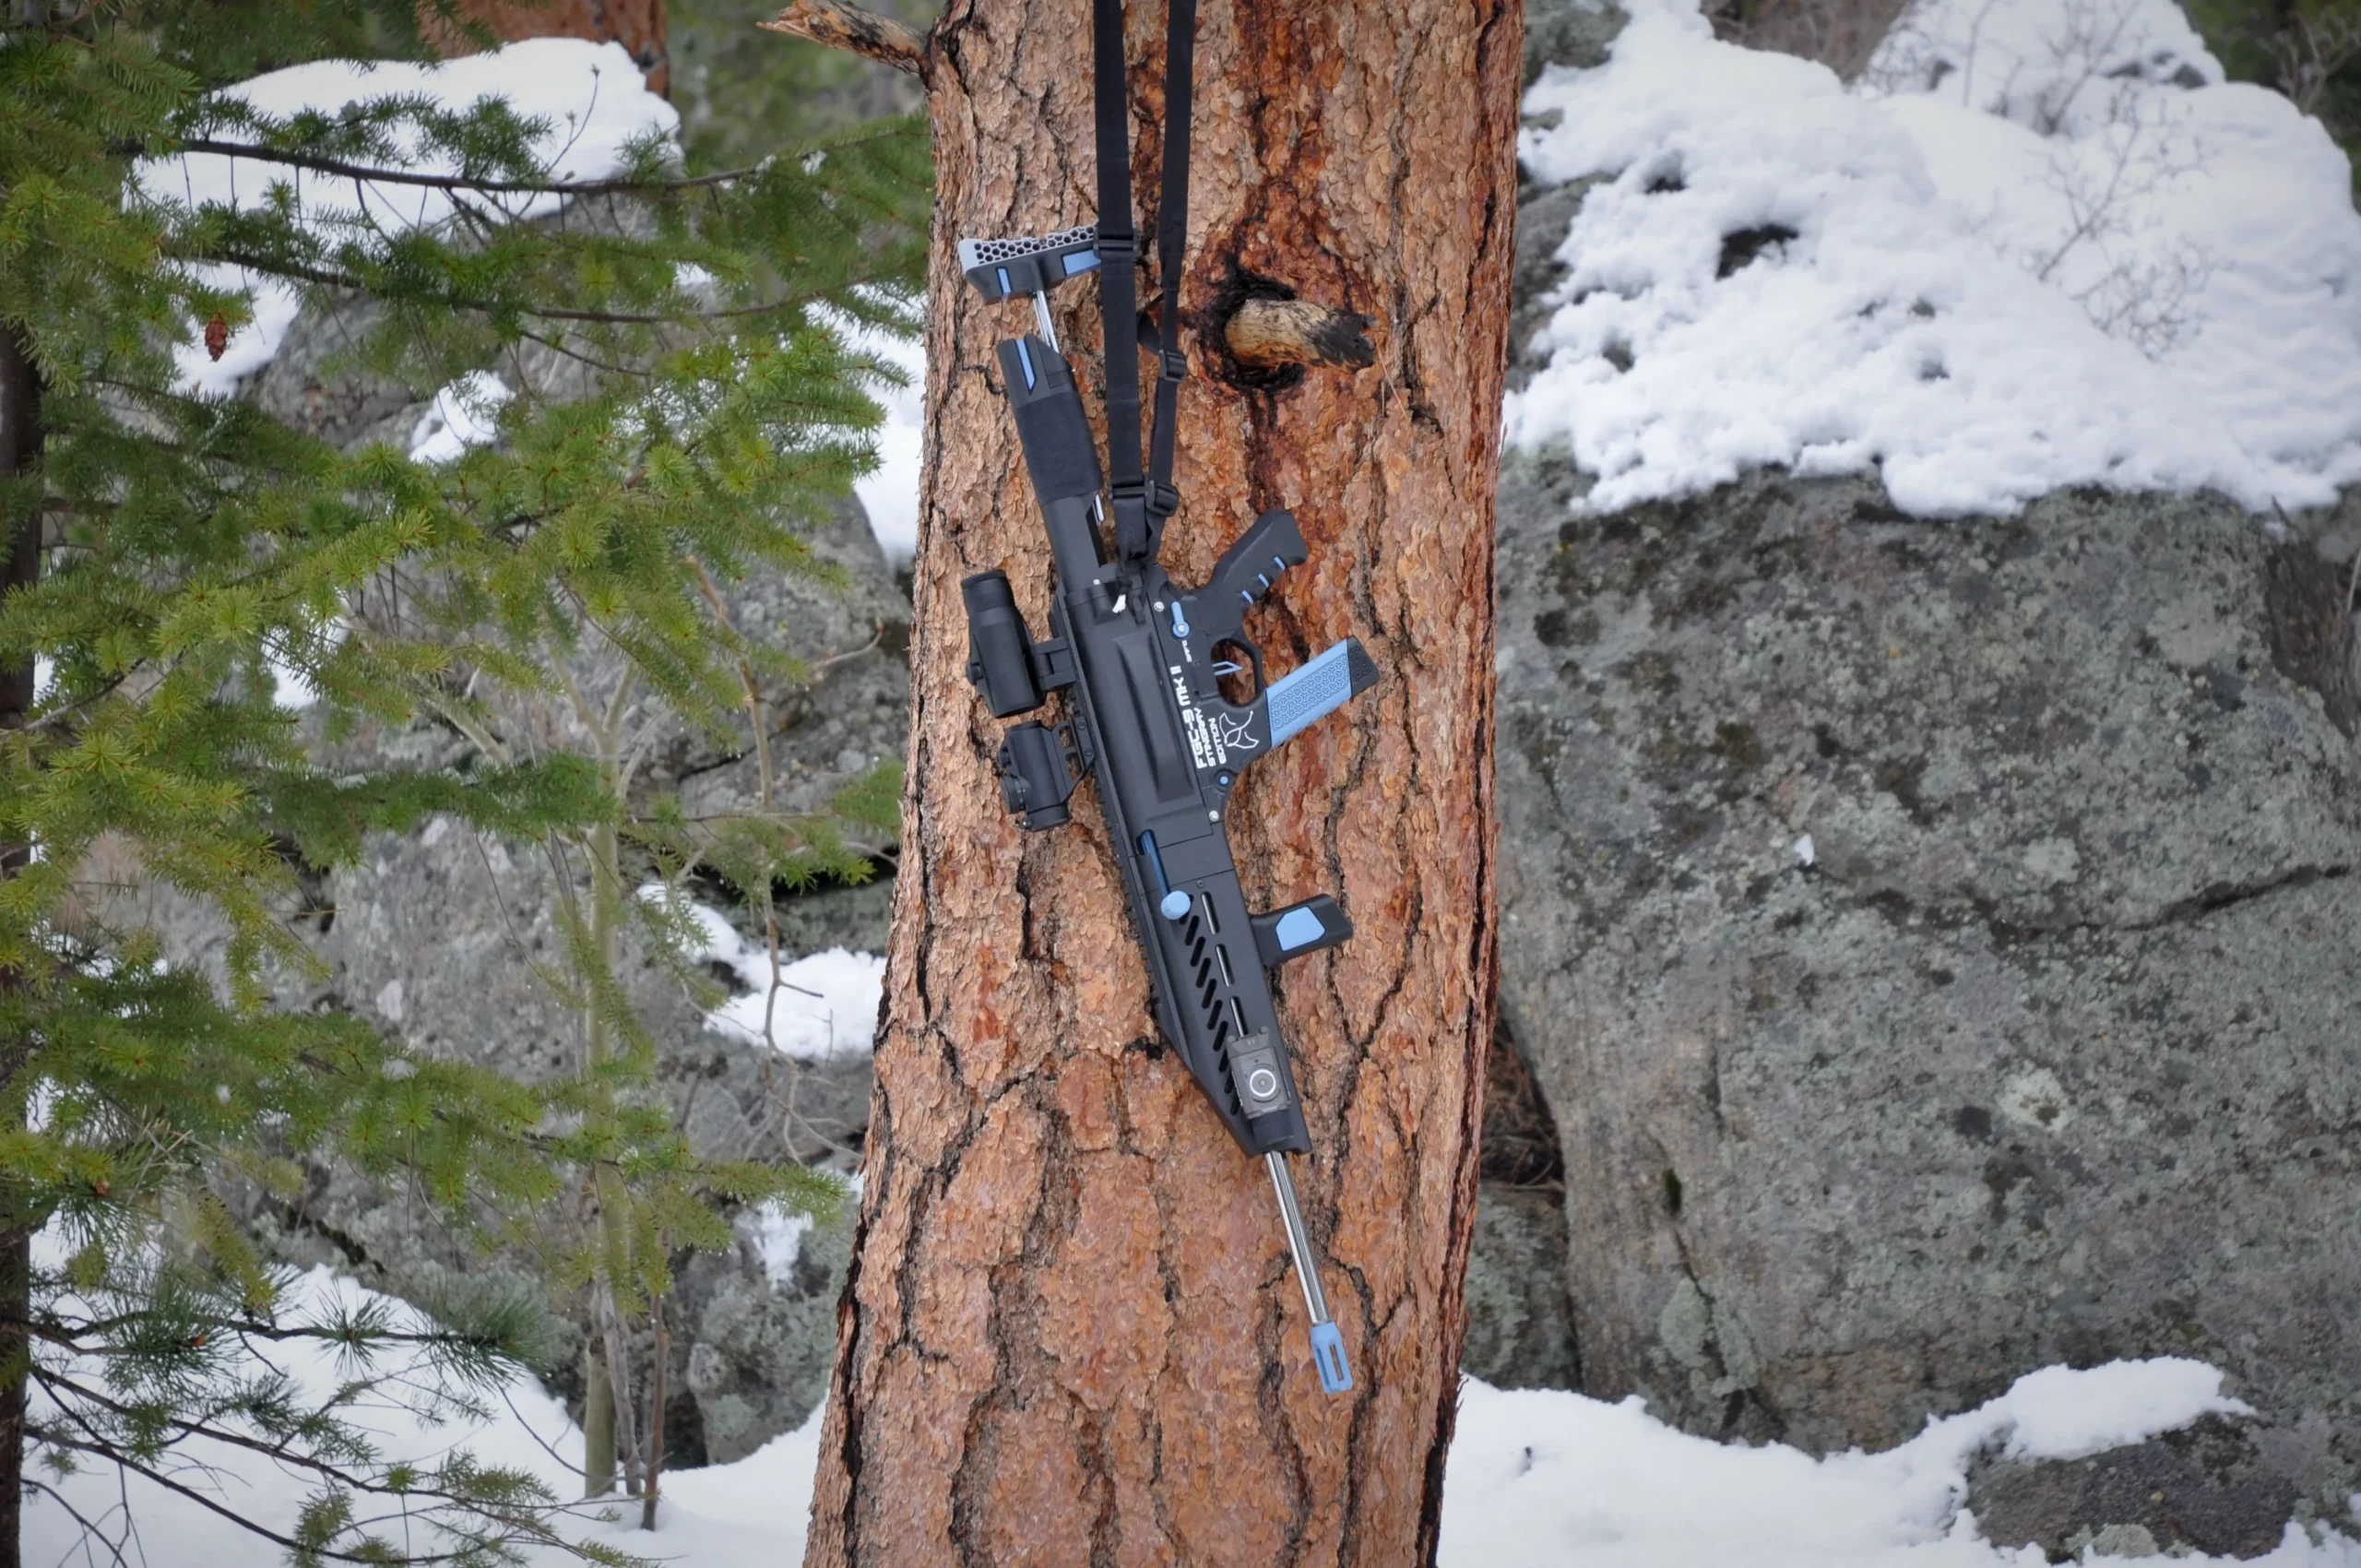
FGC-9 MKII Stingray in the Wild
Photos

Video
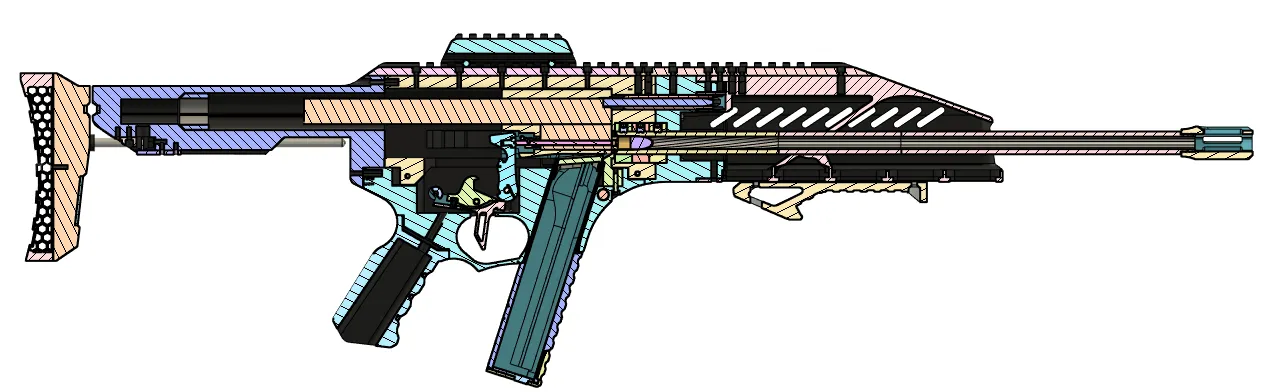
FGC-9 MKII Stingray Tech Specs
The FGC-9 MK11 Stingray is noted to have the following specifications:
Type: Pistol caliber carbine
Designer: Hotsauce
Designed: 2021-2022
Mass (without magazine): 2750 grams or 6 lbs.
Length (16” barrel, stock collapsed): 865mm
Recommended Barrel length: 275mm-406mm, 10-16 inches
Cartridge: 9x19mm Parabellum
Action: Closed bolt straight blowback
Feed system: 25 round printed box magazine, or any Glock compatible magazine.
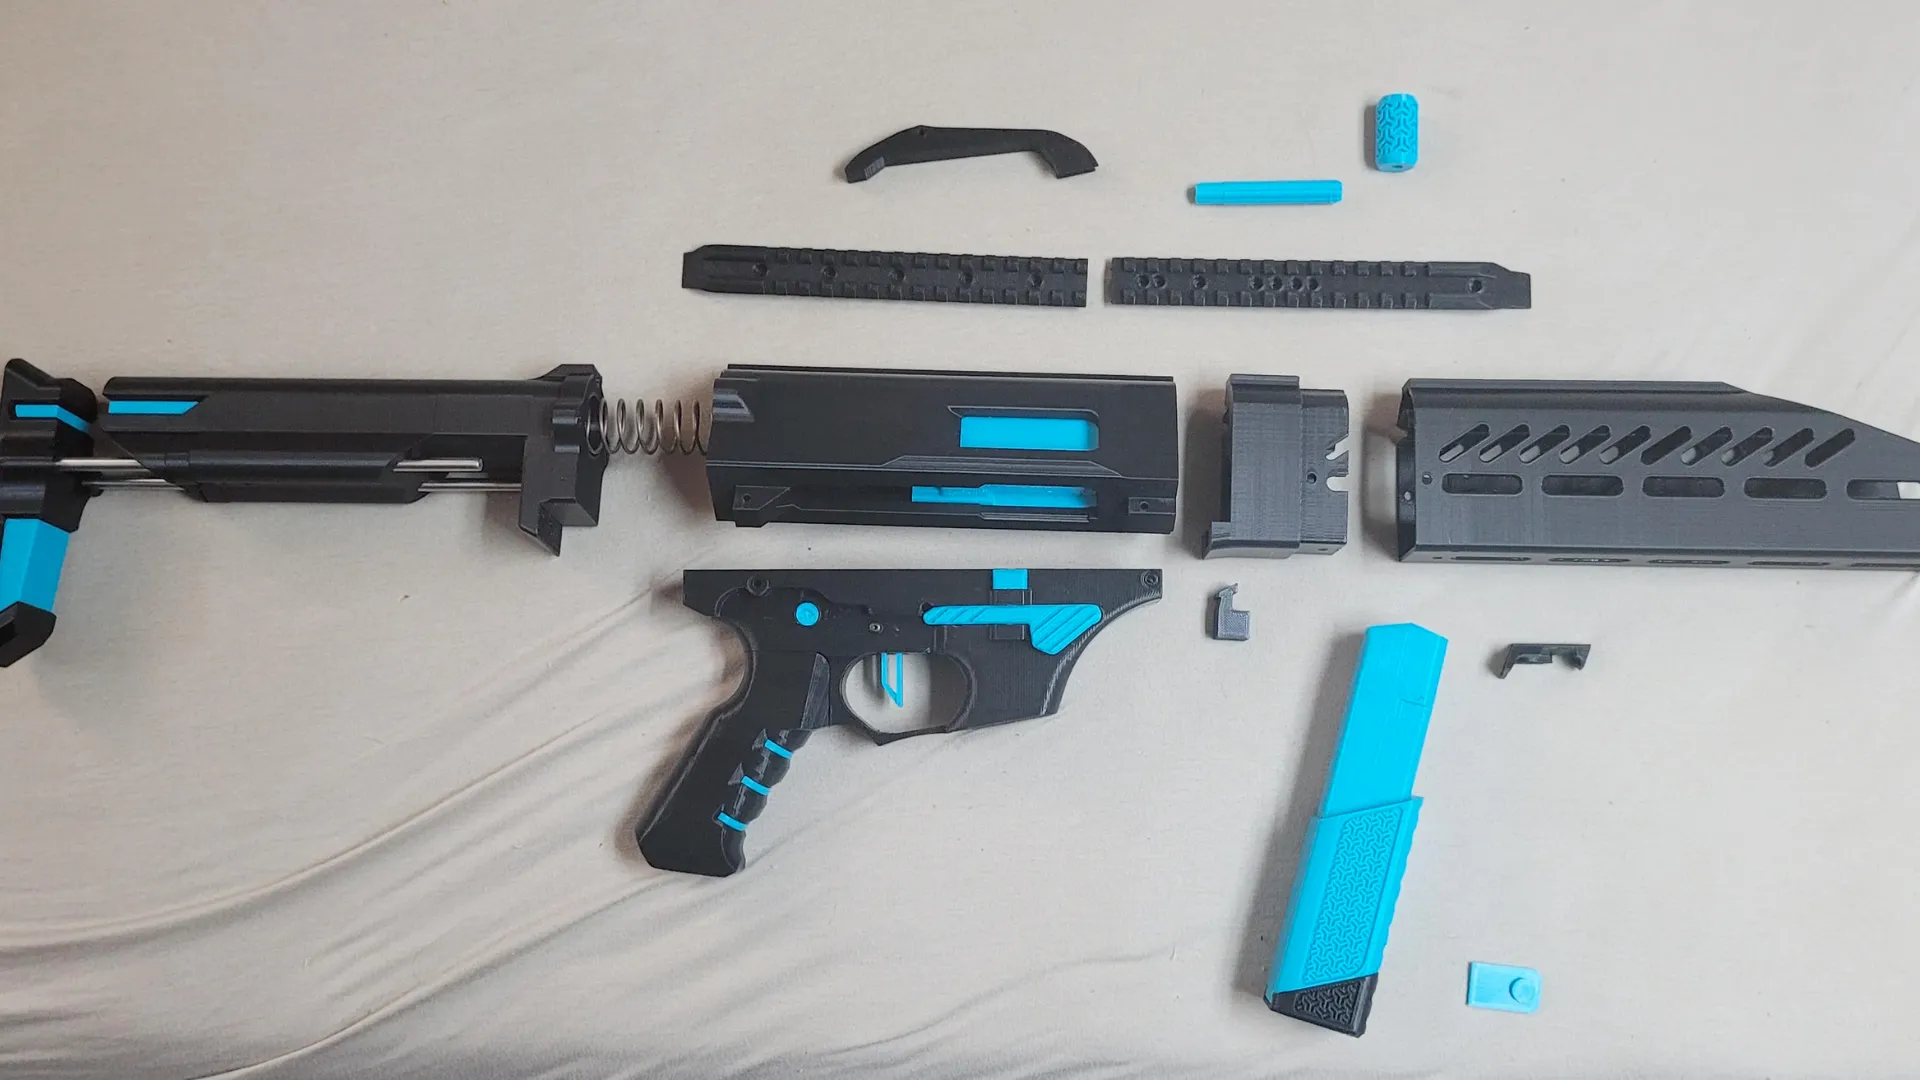
Required Parts for the FGC-9 MKII Stingray
Materials Required
The following materials and hardware is required to get your FGC-9 Stingray operational:
Round steel stock for adjustable stock option.
6mm diameter, 400mm length OR 2x 6mm diameter, 200mm length.
Round steel stock for DIY Bolt.
18mm Diameter, 1x 50mm long, and 1x 216mm long or one piece longer than 300mm cut into two respective parts. (If you buy a prebuilt bolt, you do not need this)
Round steel stock for DIY firing pin.
3mm +- 0.01mm diameter, 70mm length. (This is used for the DIY firing pin. You do not need this if you buy a prebuilt firing pin)
IMPORTANT FOR ALL STEEL STOCK: The round steel stock must be non-hardened, so no tool steel, for example! Uncoated! Use carbon steel (regular steel)! Any other steels are not recommended. For the. 3mm and 6mm stock, stainless steel is acceptable.
8x LM6UU bearings for the adjustable stock/buffer tube
JB Weld
1x package
Loctite thread locking fluid.
A small bottle of removable Loctite 243/242
Grease
Small bottle or container of standard grease. This will be used to lubricate all components that move or interact with other components.
Fire Control Group Purchased or Printed
1x AR-15 Hammer spring
1x AR-15 Trigger spring
2x AR-15 Fire control group pin
1x AR-15 Disconnector spring
1x AR-15 Fire selector spring – 1x AR-15 Fire selector detent
Tools Required
You will need a standard toolset with the usual firearm-focused tools to complete the Stingray.
- Drill
- File
- Hammer
- Punch Set
- Allen Key Set
- Needle Nose Pliers
- More if you are rifling your own barrel and building a bolt (see the documentation for more in-depth Stingray ECM barreling information
Suggested 3D Print Settings
The 3D print settings for the FGC-9 MK11 Stingray are pretty on par with most other 3D gun prints. As usual, 100% infill, rafts, and orientation are recommended according to the most minor required support structures.
Slicer Settings
Nozzle size: 0.4mm
Layer height: 0.1mm – 0.2mm. Recommended: 0.16mm
Infill density: 100% (99% when using Cura for shorter print time)
Nozzle temperature: 210°C +-10°C (or as specified by filament manufacturer)
Bed temperature: 50° (or as specified by filament manufacturer) Fan Speed: 100%
Support: As needed (Turn on tree supports!)
Build Plate Adhesion: I recommend using rafts for all prints. This eliminates print warping and elephant’s foot. However, if you are confident in your printers’ abilities, feel free to use skirts or brims at your discretion.
Print Orientation: As a rule of thumb, print all parts in the orientation that requires the least amount of support. Any exceptions will be noted below in the Printed Parts section of this guide.
Post Processing: In addition to the standard post-processing associated with 3D printing, I recommend giving each part a clear coat of spray paint. A matte clear finish helps to hide layer lines, provides a slightly protective finish, and gives a nice matte finish to your parts.
Filament
The standard for 3D printed guns is called for when it comes to the filament for the Stingray.
Filament type: PLA+ (Optional: TPU for stock butt pad and locking tab push button)