JB Weld for the Polymer 80 is pure magic.
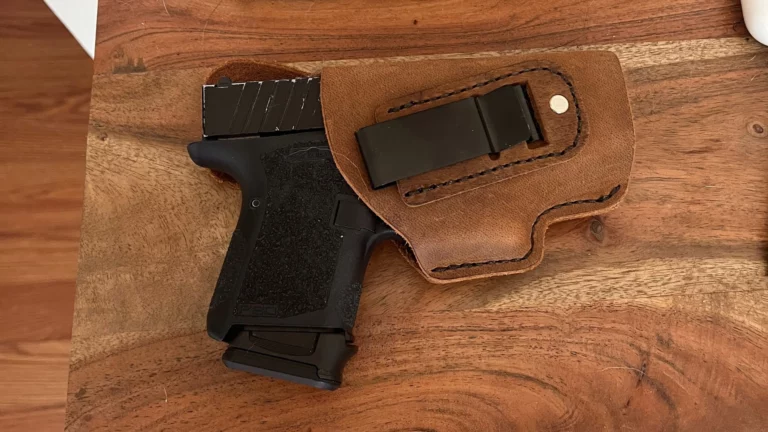
Building a Polymer 80 pistol frame can be a fun and rewarding experience, but it can also be a little frustrating if something goes wrong. Especially when you found an in-stock P80 in your favorite color you may not want to have to buy a new lower frame.
JB Weld is a great way to fix any mistakes while building your frame.
This guide will walk you through the steps of using JB Weld to fix a Polymer 80 frame. Let’s get started!
What is JB Weld
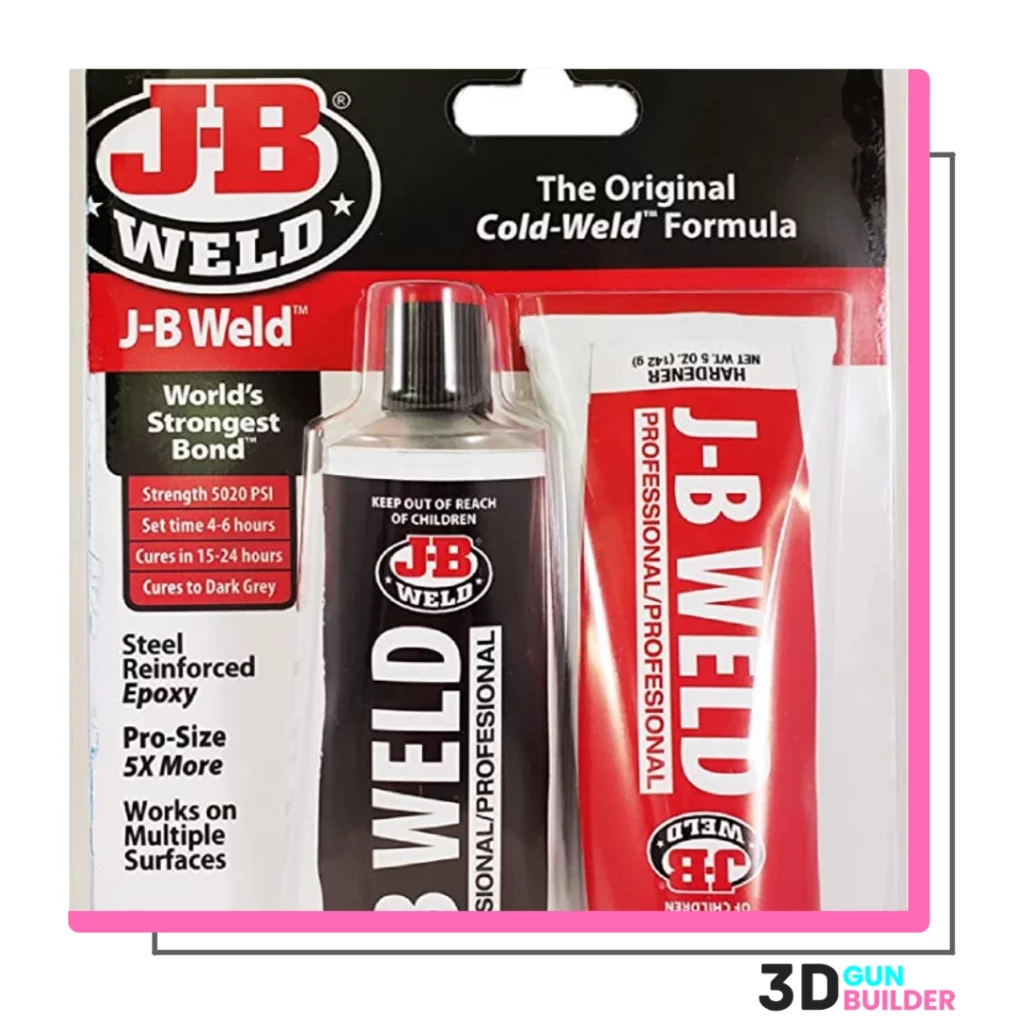
JB Weld is a two-part epoxy used to fix various materials, including metal, plastic, and wood.

It is an excellent option for fixing mistakes while building a Polymer 80 frame because it is solid and durable.
JB Weld also works exceptionally well when bonding to polymer-based compounds.
The bonus is that the color of JB Weld epoxy matches black Polymer 80 frames perfectly. You can visually erase mistakes when applied correctly, even by novice Polymer 80 builders.
How to Use JB Weld on your Polymer 80
Using JB Weld is a pretty simple process, but there are a few things you need to know before you get started.
Below are the basic steps to fixing any general mistake while building your “ghost gun”:
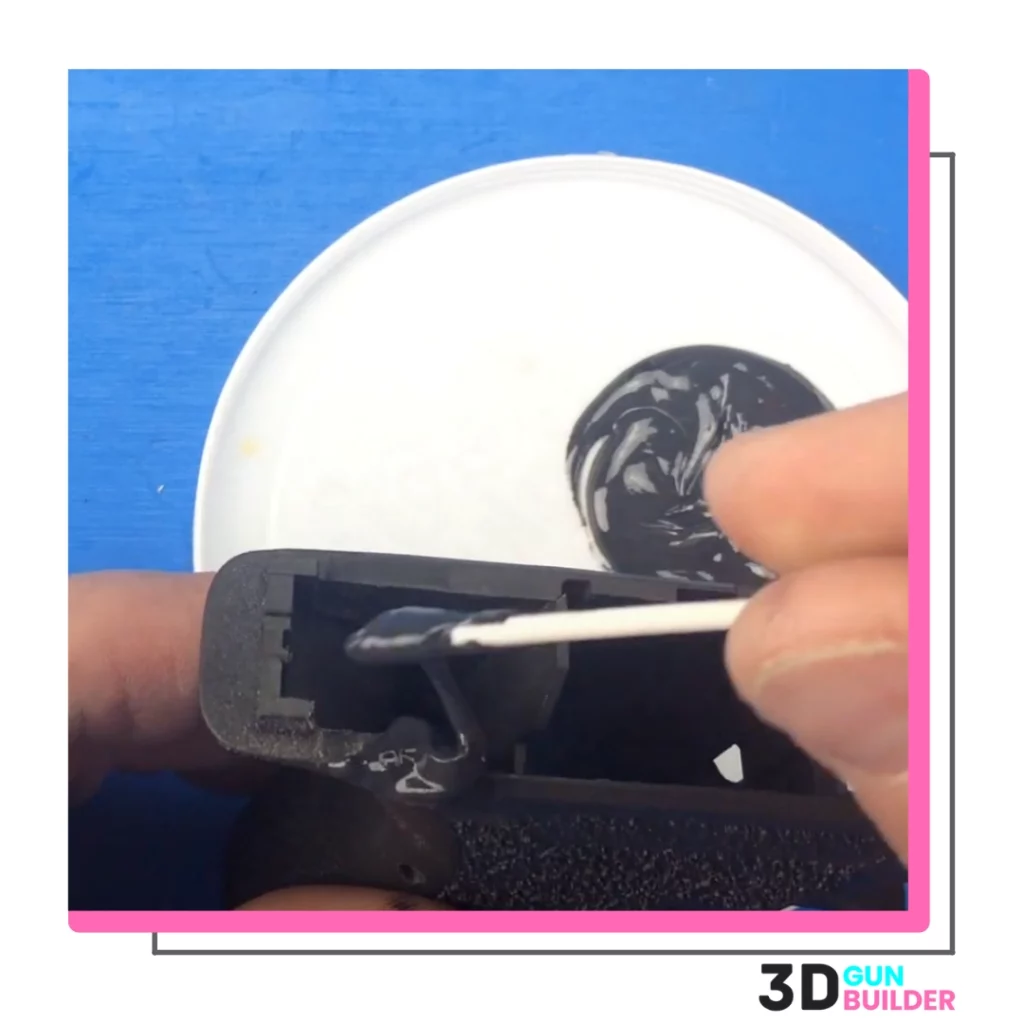
- You first need to mix the two parts of the JB Weld epoxy.
- Next, apply the JB Weld to the area you wish to fix, ensuring that the epoxy completely fills and seals the space.
- You then leave the JB Weld to “cure” on the Polymer 80 for the optimal time per the company’s instructions of around 15 – 20 hours.
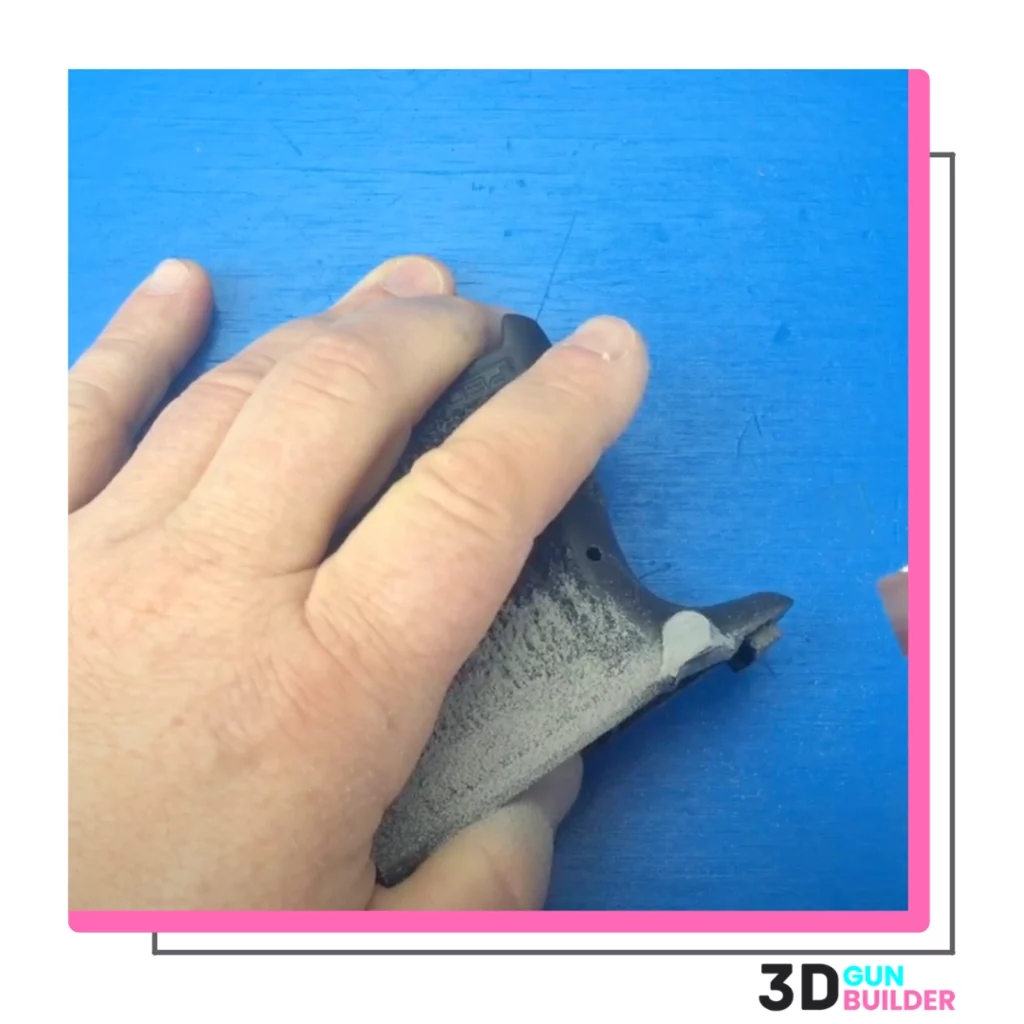
- Once thoroughly dried or “cured,” you can use incrementally higher grits of sandpaper to ensure the JB Weld is flush with your 80% pistol frame.
- Boom! Your P80 now looks like new.
Using JB Weld is simple and easy. Just take a deep breath, remain patient, and don’t rush.
Your small mistake will soon be fixed thanks to the magic that is JB Weld.
Common Polymer 80 Build Mistakes
Everyone who has taken the plunge into finishing a Polymer 80 frame has encountered one, if not all, of these mistakes.
There are often slight differences in build tolerances due to imperfections at the factor, and even more likely, part of what you are doing can be slightly off, causing issues with your new firearm.
Do not be scared!
Nearly any issue or mistake you make can be fixed by some quick handwork, including:
- Sanding/Filing
- JW Weld
- Brute Force (Maybe controversial in the P80 perfectionist crowd, but it works)
Read on to find the fixes for the most common mistakes. If you have a problem that is not listed, feel free to comment below, and we can help you find a solution.
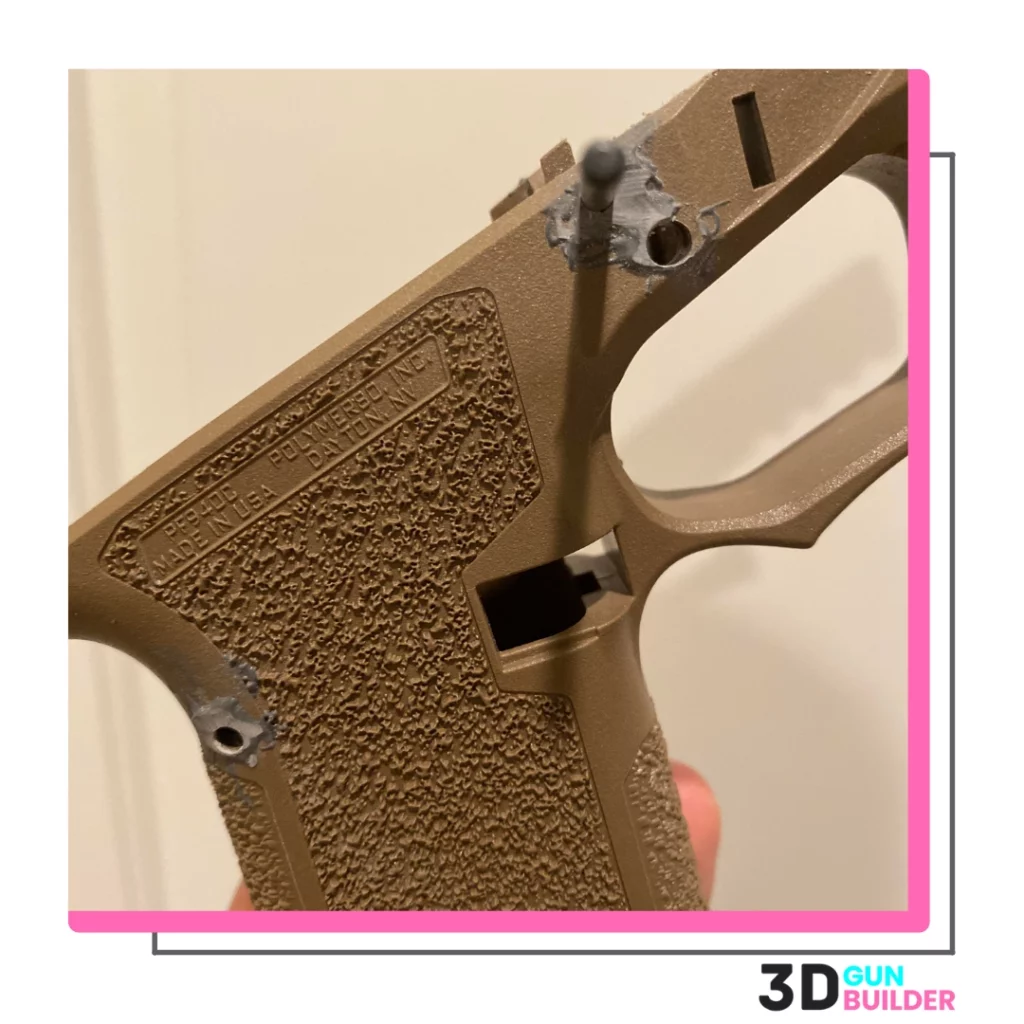
Ejector Pin will Not Go In & is Not Straight
Problem
The rear rail or ejector pins will not fit properly into your Polymer 80 frame. The pin holes appear misaligned and do not fit with the rear rails inserted.
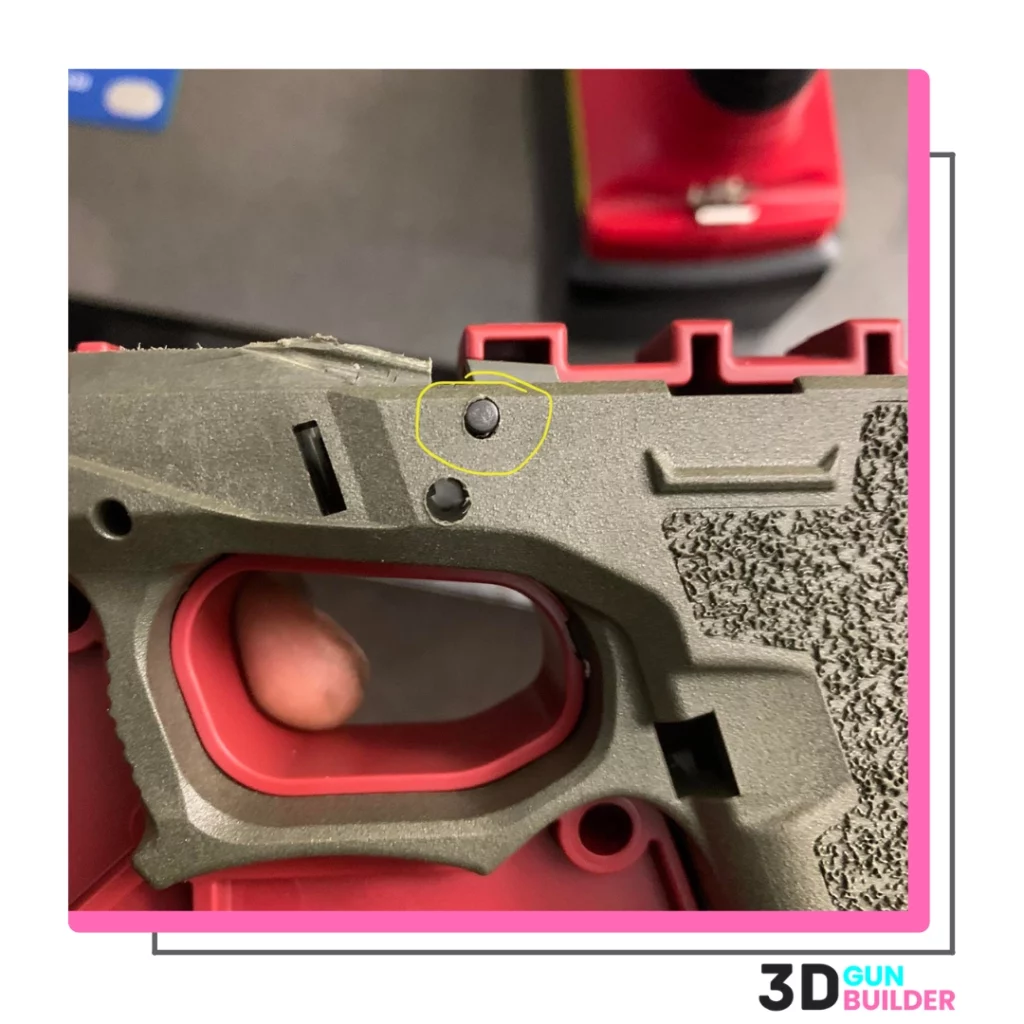
This issue I have dealt with personally where the ejector pins are not going in, and I feel as if they do not line up 100%
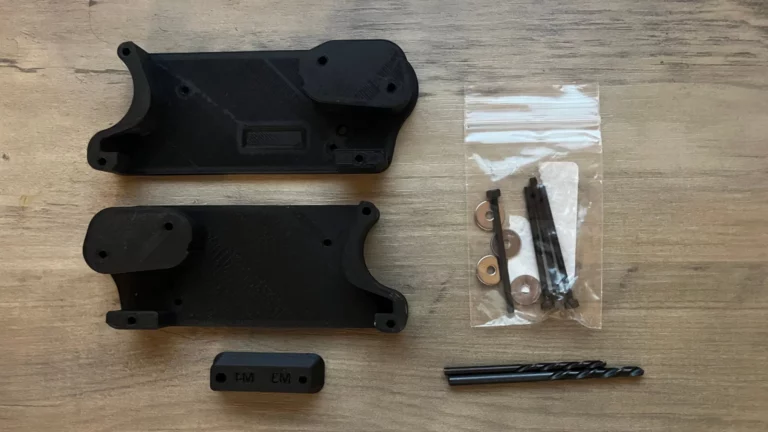
The P80 comes from the factory with four pins:
- Ejector Pin (1)
- Locking Block Pins (2)
- Trigger Pin (1)
Note: the Polymer 80 SC (Sub Compact) only requires one locking block pin. The other models need both locking block pins.
Fix
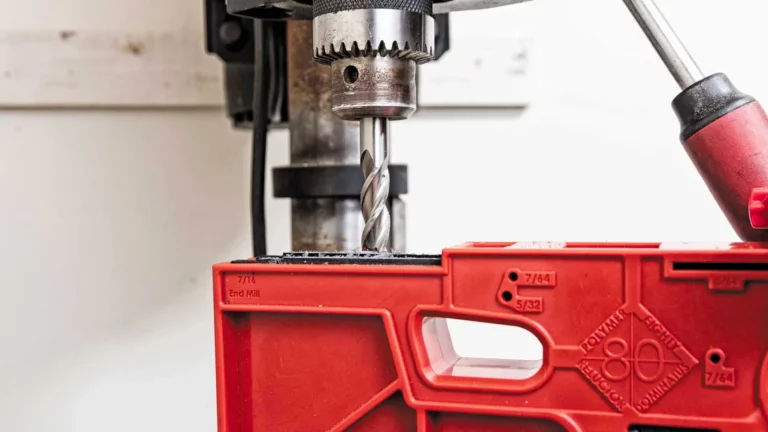
The issue here is that nine times out of 10, you did not drill the pin holes straight enough.
Remember, P80 suggests only using a hand drill instead of a drill press. You will also want the frame locked tightly into the frame jig.
If you are thinking, hey TwinGlockz, it’s too late. I already drilled them f***** up!
Rest easy and order a package of JB Weld off of Amazon.
Here are the steps to using JB Weld to fix your ejector pin fitment problem:
- Place painter’s tape inside the frame over the drilled ejector pin holes.
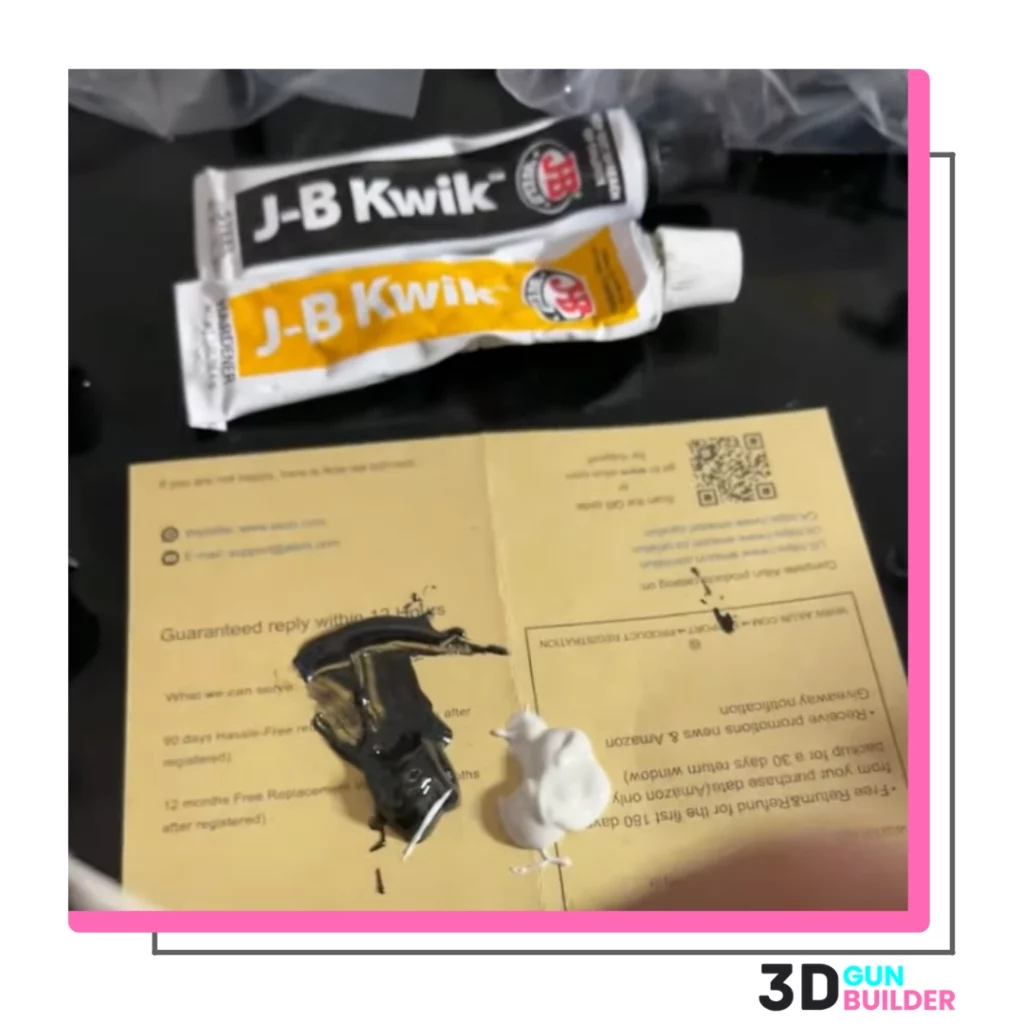
- Mix the JB Weld; there should be two included tubes. When these epoxies are mixed, it creates a reaction that hardens or cures over time.
- Fill the hole using painter’s tape to contain the JB Weld. You will want to fill slightly over to ensure no air gaps in the pinhole.
- Leave your frame in a cool/dry place for 15 – 20 hours to ultimately “cure”/dry.
- Using 100 – 200 grit sandpaper, carefully sand down the excess JB Weld, so the frame is flush. You should now not be able to see where the epoxy and the frame start. It should just look scuffed.
- Increase sandpaper grit up to 1500 to 2000 grit, so the blemish is no longer noticeable.
- At the highest grit of sandpaper, you may wish to “wet sand” or wet the frame a bit while sanding to achieve absolute perfection.
- Boom! Your frame should now look like it just arrived in the mail.
- Start with the drilling process. Be sure to do your research by carefully reading the instructions and watching videos online about drilling your ejector pin hole as straight as possible.
Locking Block Pins will Not Go In & is Not Straight
Problem
You have been pounding away with a mallet for hours, trying to get your locking block pins into place, but they won’t budge.
This may be another case of drilling your P80 a bit too far off while in the frame jig.
Fix
Now, this may be frowned upon, but I have personally completed several builds by sliding the pin ever so slightly into the first hole and using an angle plus some force via a rubber mallet and getting the pin to sit into place.
This is where slight build tolerance issues are sometimes at play, and the leverage of the pin angle can pull both the pin and Polymer 80 locking block into place.
If you have tried to every angle and feel your attempts to use force to get the pin in place will lead to the destruction of your frame. Stop. It’s time to get out the JB Weld.
Here are the steps to using JB Weld to fix your locking block pin alignment:
- Place painter’s tape inside the frame over the drilled locking block pin holes.
- Mix the JB Weld; there should be two included tubes. When these epoxies are mixed, it creates a reaction that hardens or cures over time.
- Fill the pinhole using painter’s tape to contain the JB Weld. You will want to fill slightly over to ensure no air gaps in the locking block pinhole.
- Leave your frame in a cool/dry place for 15 – 20 hours to ultimately “cure”/dry.
- Using 100 – 200 grit sandpaper, carefully sand down the excess JB Weld, so the frame is flush. You should now not be able to see where the epoxy and the frame start. It should just look scuffed.
- Increase sandpaper grit up to 1500 to 2000 grit so the blemish is no longer noticeable around the locking block.
- At the highest grit of sandpaper, you may wish to “wet sand” or wet the frame a bit while sanding to achieve absolute perfection.
- Boom! You’re ready for frame drilling; take two.
Trigger Pin will not Go In & is Not Straight
Problem
You have both the ejector and locking block pins slid into place but wait; the trigger pin refuses to go all the way through.
This could actually be an issue with the installation of the trigger itself. Take your time to look up a video of the Polymer 80 lower parts kit install that specifically covers trigger installs.
Fix
If you have verified that the trigger is set into place correctly, but the pin still won’t go in despite your best (possibly aggressive) efforts, it may be time to try the JB Weld Polymer 80 method.
These steps again look relatively similar but work perfectly for restoring your locking block pinhole to new:
- Get about 1/4 inches of painter’s tape, and be sure to seal the trigger hole tightly from inside the frame. Make sure that the tape is firm and flush with the Polymer.
- Mix the two JB Weld epoxies per the instructions with a toothpick or something similar.
- Fill the entire trigger pinhole with the epoxy, ensuring that it is filled with no excess air in the hole.
- Let the JB Weld dry in the trigger pinhole for 15 – 20 hours.
- Sand the excess epoxy off the frame with increasingly high grits until the epoxy and polymer are indistinguishable.
- You may want to finish with the “wet sand” method to make your frame look factory new again.
- You are ready to restart the process, going slowly and precisely to ensure your trigger pinhole is dead center.
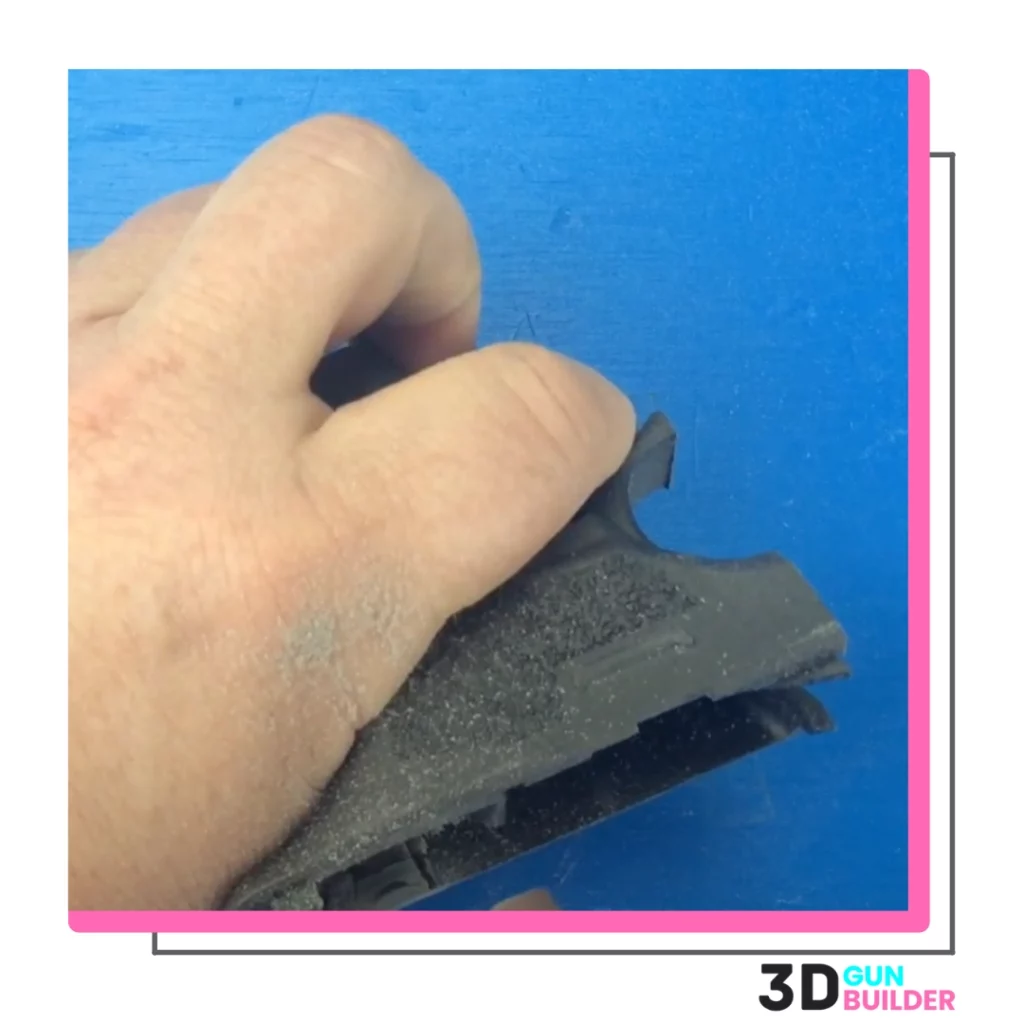
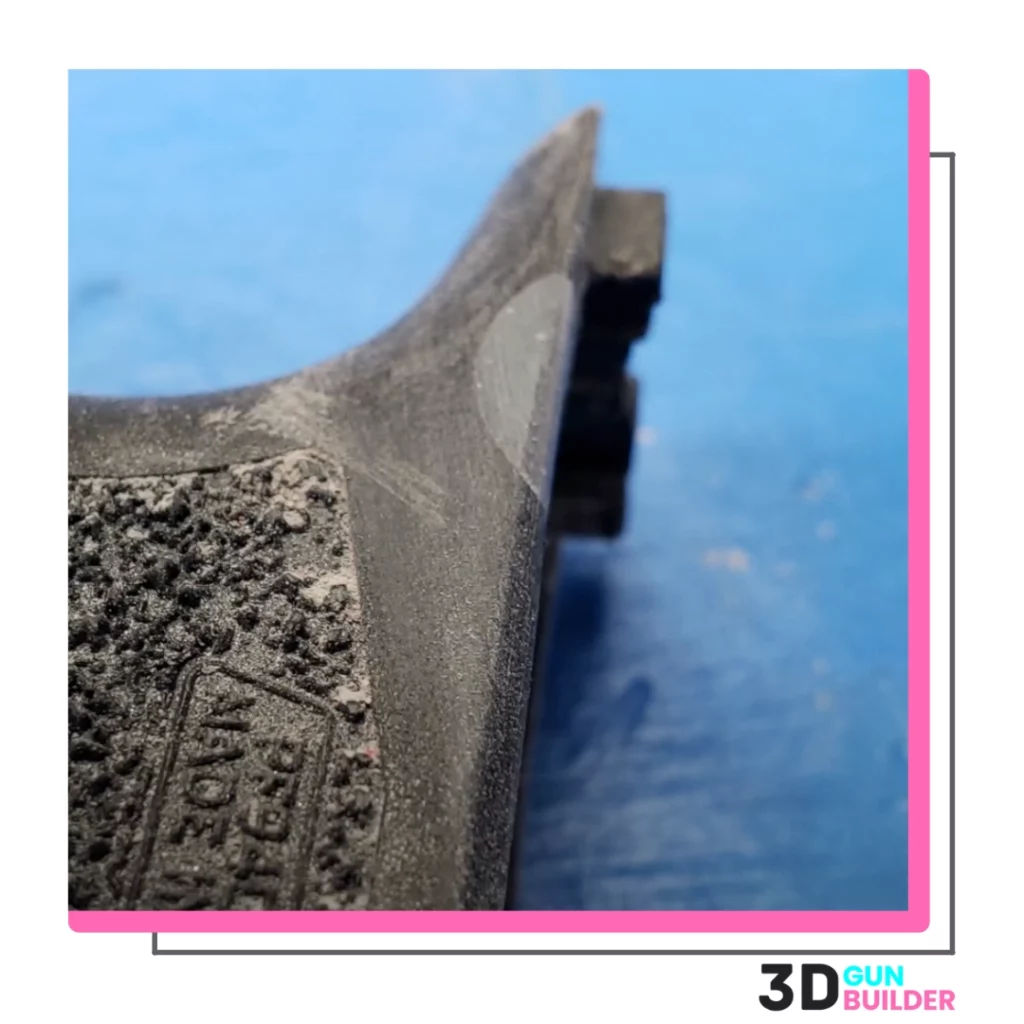
Problem
You where using a dremel to remove the rear rail or locking block tabs and you went down to far.
You may think no way can JB Weld still help in this situation. You would be wrong.
Fix
This repair will require quite a bit more JB Weld epoxy than was required for fixing small pinhole alignment mistakes.
- Mix the 2 JB Weld epoxies together.
- Fil the curved area where you went down to far with a sander or dremel on your P80 frame. This can be sticking out on any of the sides but make sure you Glock LPK is removed as to not get epoxy in the components.
- Allow the JB Weld to dry over 15 – 20 hours.
- Again, sand using slowly higher grit sand paper on the inside, outside, and top of the rear rail area.
- Finish with a “wet sand” and your rear rail or locking block Polymer should now be smooth and inline with the opposite side of the frame.
Verdict: JB Weld, The Eraser for Gun Builders
So, if you’ve ever made mistakes when drilling your Polymer 80 frame (and we all have), don’t worry – JB Weld can fix them.
With just a little patience, you can “control + z” your firearm building mistake and get a second chance to build your gun to perfection.
Have you used JB Weld to fix any other common P80 build issues? Are you having a problem with your pinholes that we did not cover?
Let us know in the comments below, and as always, we are here to help.


So…what are your thoughts about using JB Weld on an AR polymer lower to PREVENT failure at the rear takedown pin and buffer tube area?
Run out of stupid did you