Can you 3D print a gun?
3D printing a gun sounds like something out of science fiction or possibly fear-mongering from a large news organization.
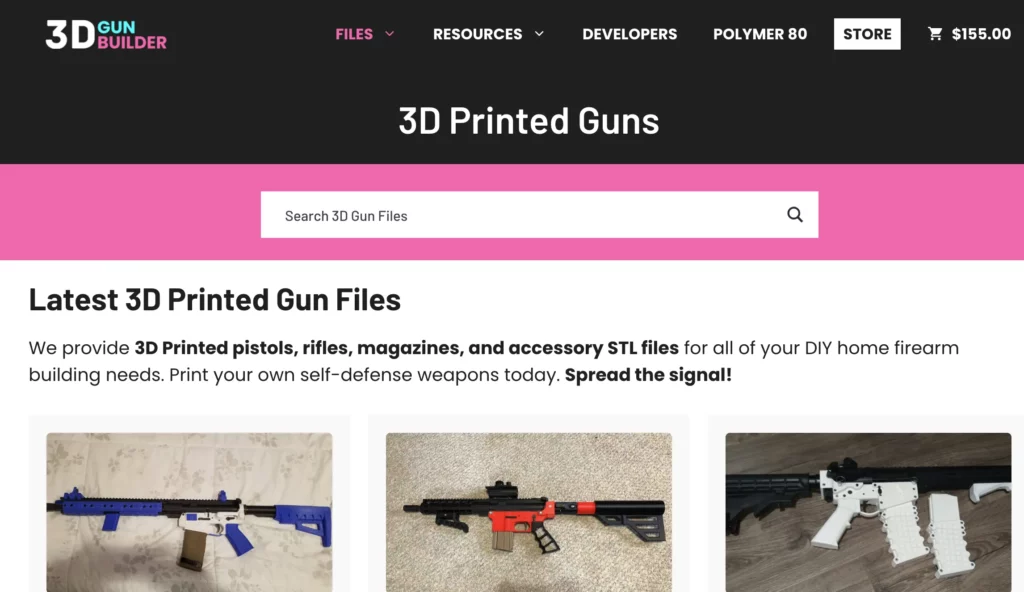
3D Gun Builder is here to tell you, yes; you can 3D print a gun from your home.
This post will show you what you need to buy, the tools required, and how to 3D print your first gun step-by-step.
If you go to Twitter and search for 3D-printed firearms, you will see large barrages of comments warning 3D gun makers that it will blow up in their hands.
Wrong. The 3D gun community thoroughly tests and puts new 3D gun designs through a “beta,” where veterans first test them in the space to ensure durability, safety, and longevity.
What Is and Isn’t a 3D Printed Gun?
Like most nuanced subjects, many people get lost in semantics.
Is it a 3D-printed gun if it’s not 100% printed? Do 3D-printed guns work? Is it legal to make a 3D printable gun at home?
Yes, they are legal to make at home and protected by the 2nd amendment.
The actual point of 3D printing technology related to firearms was about sidestepping unconstitutional ATF regulations. It was never to build some 100% plastic gun that you could sneak through metal detectors a la Jason Bourne.
So what exactly is a 3D printed gun?
A firearm built at home (this is legal) uses a 3D printer, standard hardware, and non-controlled gun parts from the internet.
Can you just hit print, and a Glock pops out one hour later?
Nope, 3D printers take quite a bit of time to build a quality and strong print. The average print time for a 3D gun is around 20 – 40 hours.
Won’t plastic blow my hands off after the first shot?
This was more likely to happen when thinking about the first 3d printed gun.
The liberator, most known as the single shot 100% 3D printed gun created by Cody Wilson of Defense Distributed, is most likely what comes to mind.
The majority of 3D-printed gun makers are focused on developing what is referred to as a lower receiver. This is the controlled part of most weapons, i.e., AR15s and Glocks, which requires a background check and serial number.
Many do not know that you can order most gun parts online and have them shipped directly to your home(this can vary by state/county).
As only the lower receiver or frame is 3D printed, most other parts are machined metals. This is why 3D printable guns do not blow up after the first or even thousandth round.
Many people also forget that one of the most popular pistols, the Glock, has a polymer (type of plastic) frame. Glocks are used by law enforcement and militaries all over the world. If they blew up in operators’ hands, the company would certainly not still be around, let alone procuring massive government contracts.
Enough background. Let’s jump into 3D printing your first ghost gun.
Step 1 – 3D Gun Printing Buyers Guide
Buying everything you need to bring 3D-printed gun blueprints to life is quite affordable these days.
There are several options for picking which 3D printing equipment fits your needs/budget. We will provide standard(commonly used and tested) and upgraded picks.
You will need the following things to get started printing guns(a serial number isn’t part of this list):
3D Printer
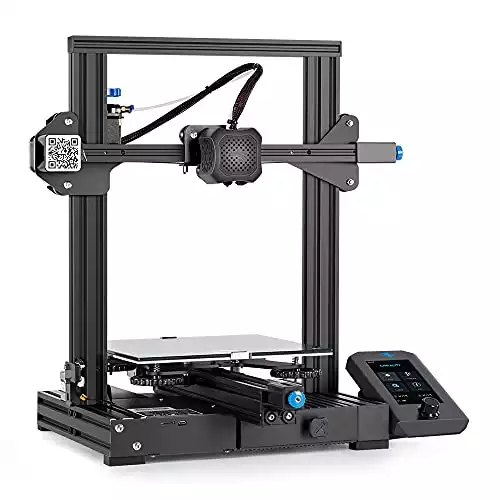
The Ender 3 is the most commonly used 3D printer in the gun-building community. The Ender 3 v2 is upgraded with a silent motherboard, better power supply, and a carborundum glass bed.
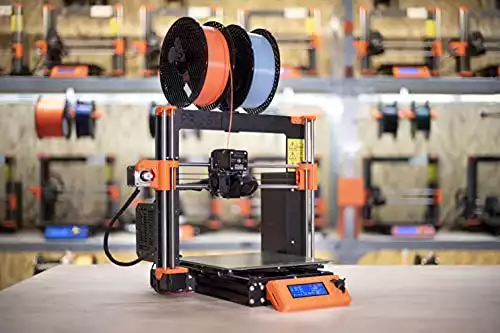
More straightforward setup, faster print times, and more consistent prints make the Prusa i3 an excellent upgrade over the Ender 3 v2.
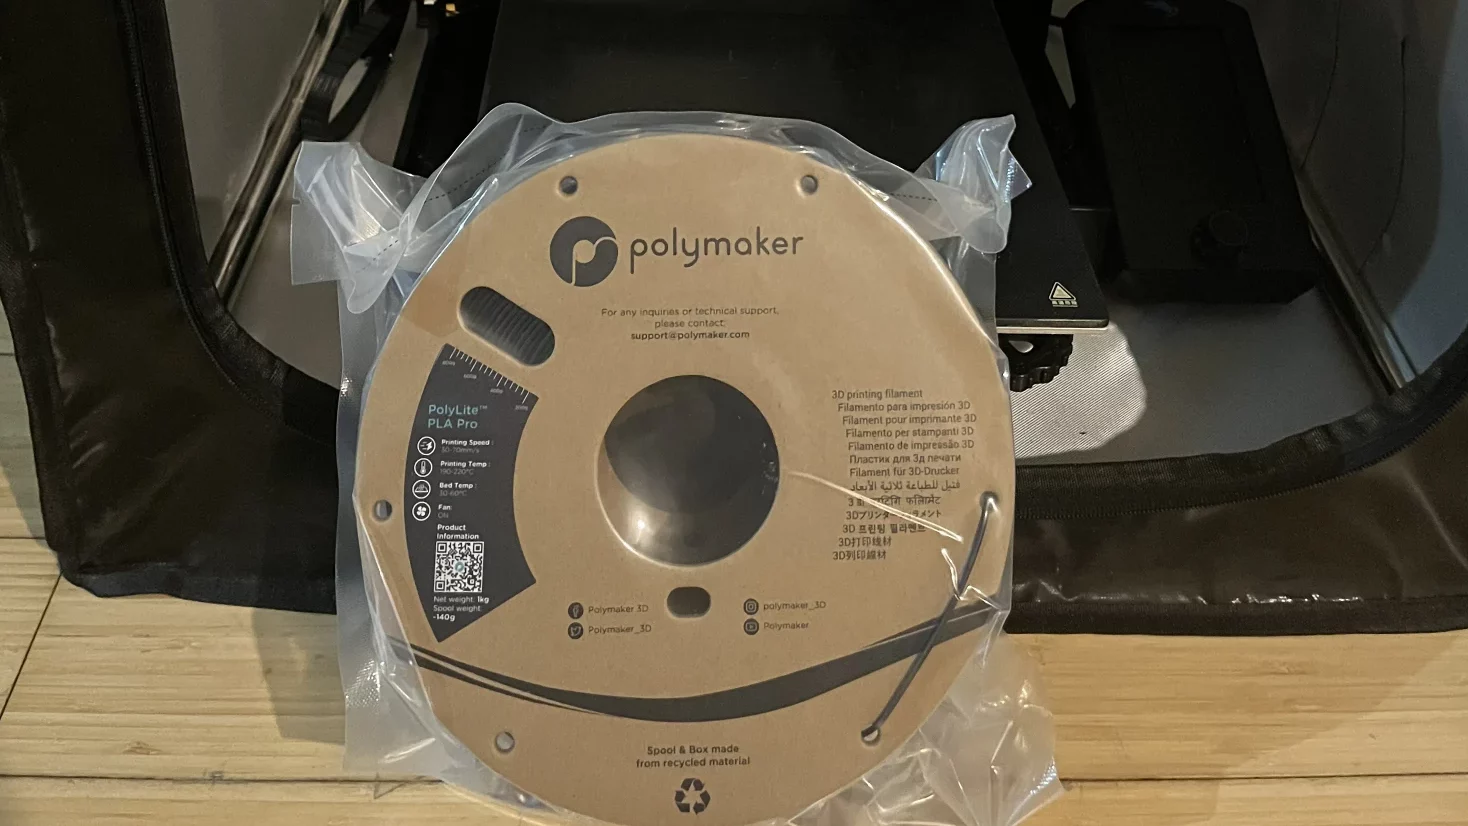
Filament
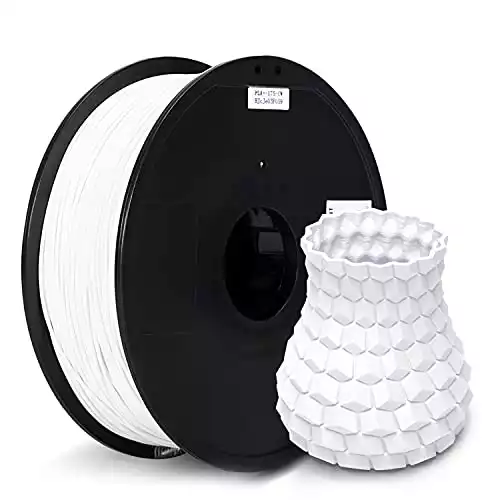
Inland PLA + is a great all-around filament that is optimal for testing and honing in your printer. The affordability and consistency make this our filament of choice.
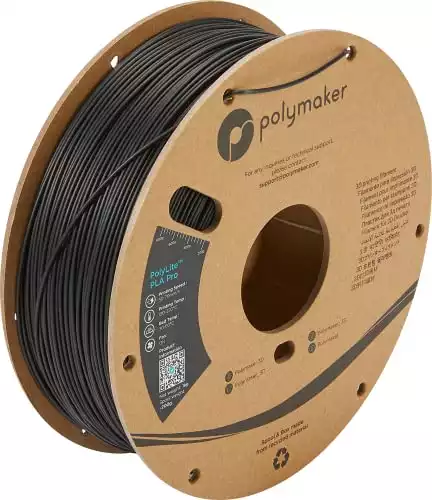
Polymaker's 1.75mm filament is suggested for final and live-fire 3D gun prints. It is stronger than most standard PLA + and produces a solid end-product.
Suggested Upgrades
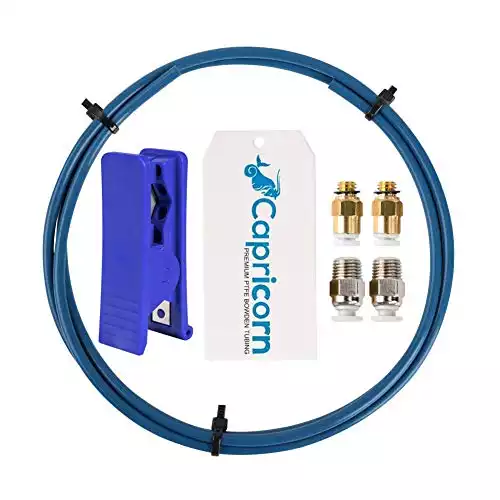
If you are using the Ender 3, you should upgrade to the Capricorn Bowden tubing. This will prevent clogs, better extract filament, and increase overall print quality.
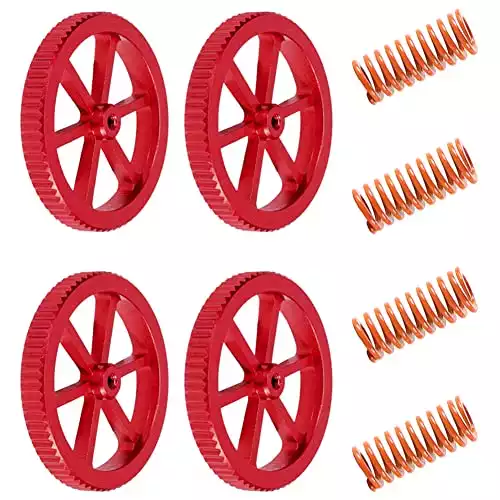
Leveling your print bed is one of the biggest challenges when 3D printing guns. These upgraded springs will keep your bed leveled and consistent.
Tools & Spare Parts
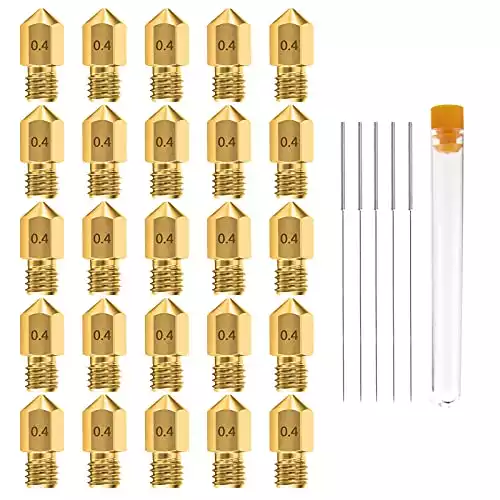
One of the common replacements you will have to do is the 3D printer nozzle. Having extra on hand is helpful and they are relatively easy to swap.

We spray this on the Ender 3 print bed before printing to help with print adhesion and increase the quality of the first print layer.
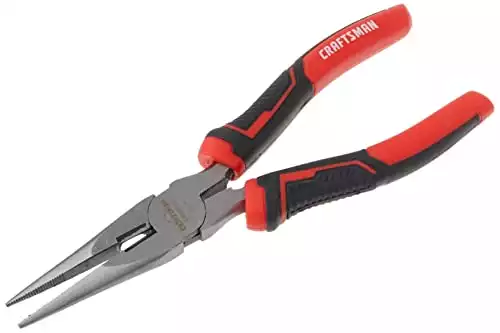
Great for removing supports and various tasks with finishing a 3D printed gun model.

Optional but comes in handy when designing 3D guns for measuring small spaces and verifying tolerances.
Step 2 – Slicer Guide
3D printing a gun can be broken down into four essential components:
- Bed Leveling
- STL or 3D print Slicing
- Printing the Gun
- Cleanup or Post Processing
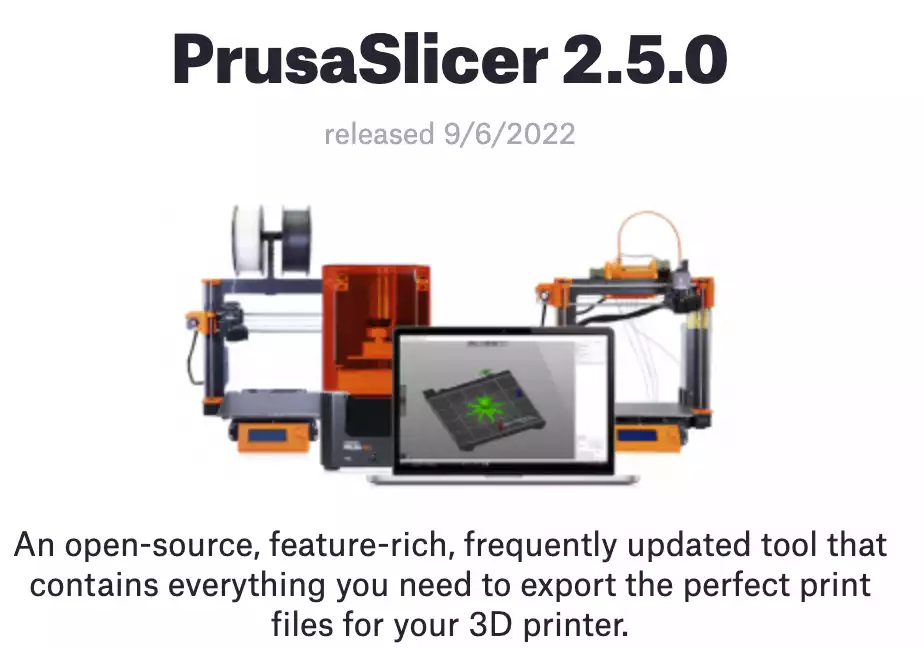
There are many options for 3D printer slicer software, but we found Cura Ultimaker and PrusaSlicer to be the two most often used.
Software
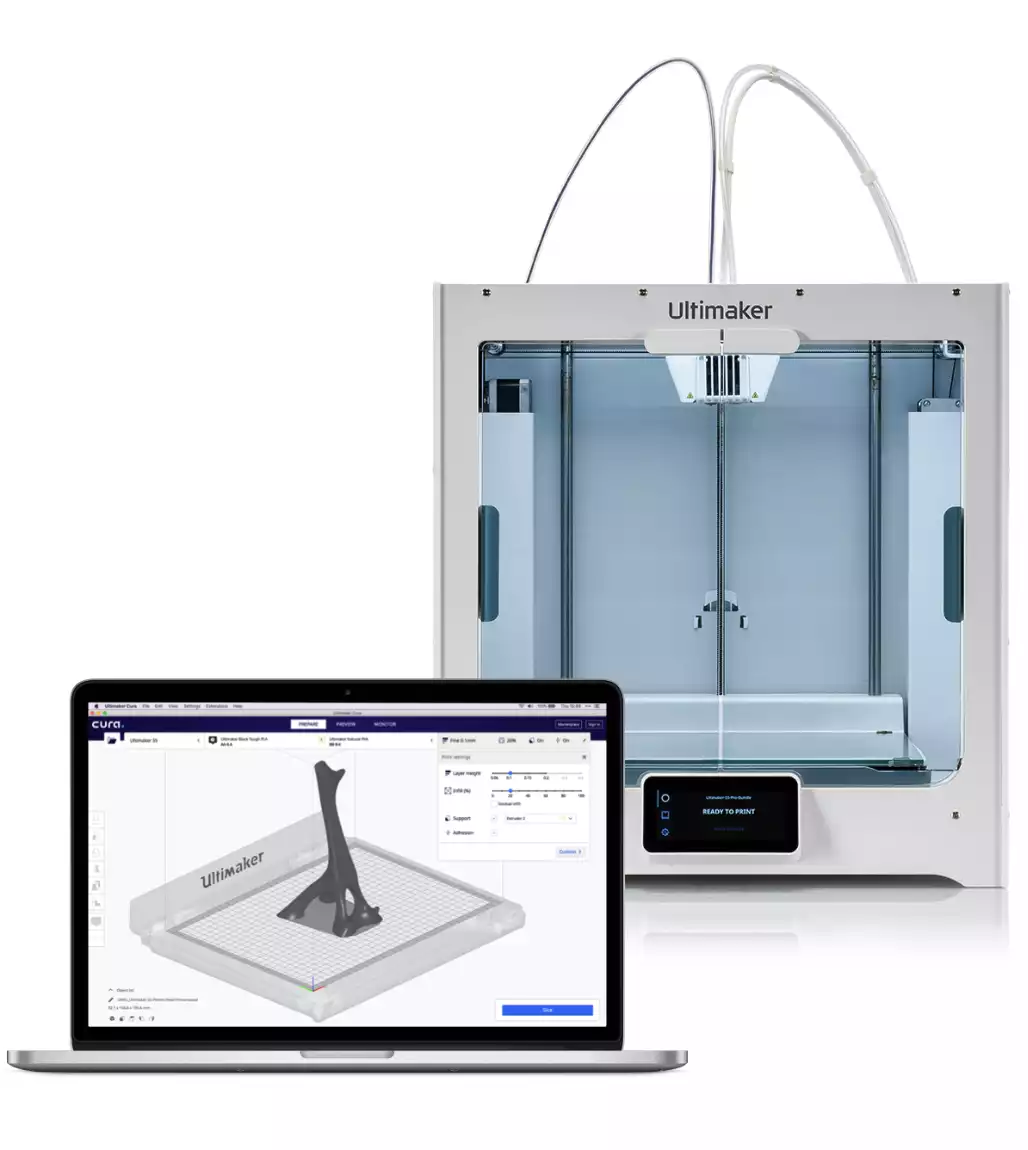
Solid slicer software for 3D printing guns. The only negative is it has some unnecessary settings and is a bit more convoluted then PrusaSlicer.
Slicer Setup
1. Download Cura Ultimaker
2. Go through the initial setup Wizard and choose the 3D printer you own. This will set all the defaults to be compatible with your printer. i.e., Creality Ender 3 v2
3. 3D gun developer Vinh Nguyen is kind enough to provide his optimized Cura settings in his Github Repository: https://github.com/nguyenkvvn/vinhs-slicer-profiles-for-cura
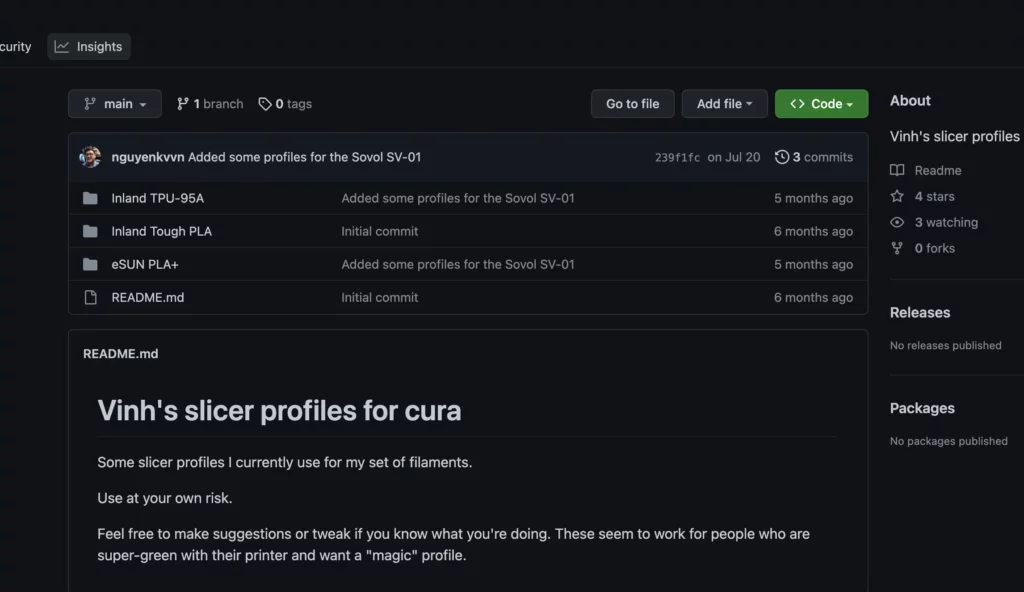
4. Select the filament you are using in the Github Repo. (eSUN PLA+ profile is a pretty good standard) and download the “firearms” Cura profile
5. You can then import the profile into Cura by clicking “Profile” > “Manage Profiles” > “Import”.
Slicing 3D Gun File
1. Find a file you wish to print. It may be wise to start with something simple from thingiverse.com before moving on to 3D-printed guns on 3dgunbuilder.com or odysee.com.
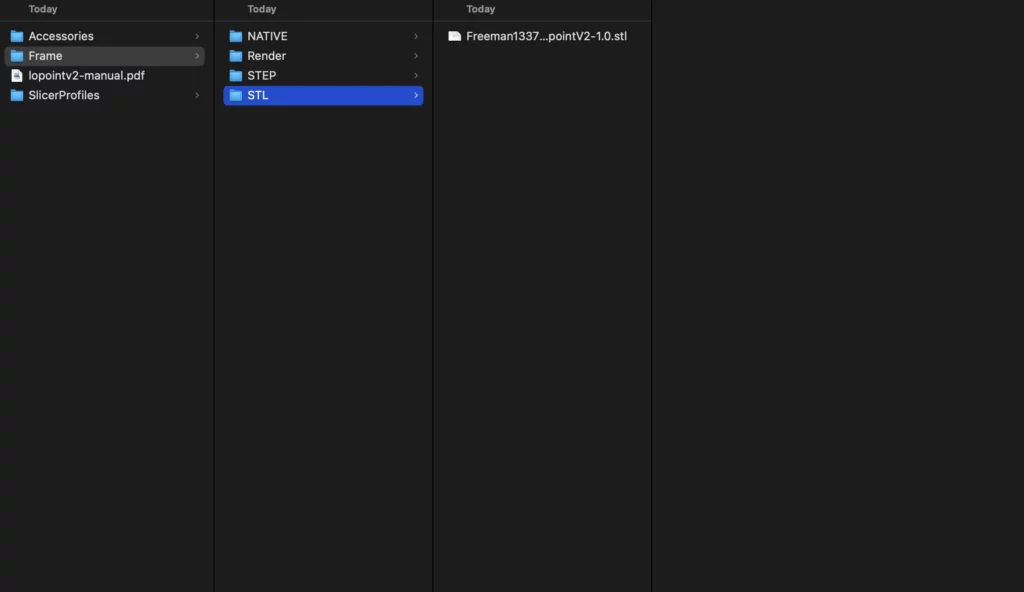
2. Download the file and locate the STL within the 3D file archive. STLs are 3D CAD drawings that can be imported into Cura or other slicing software.
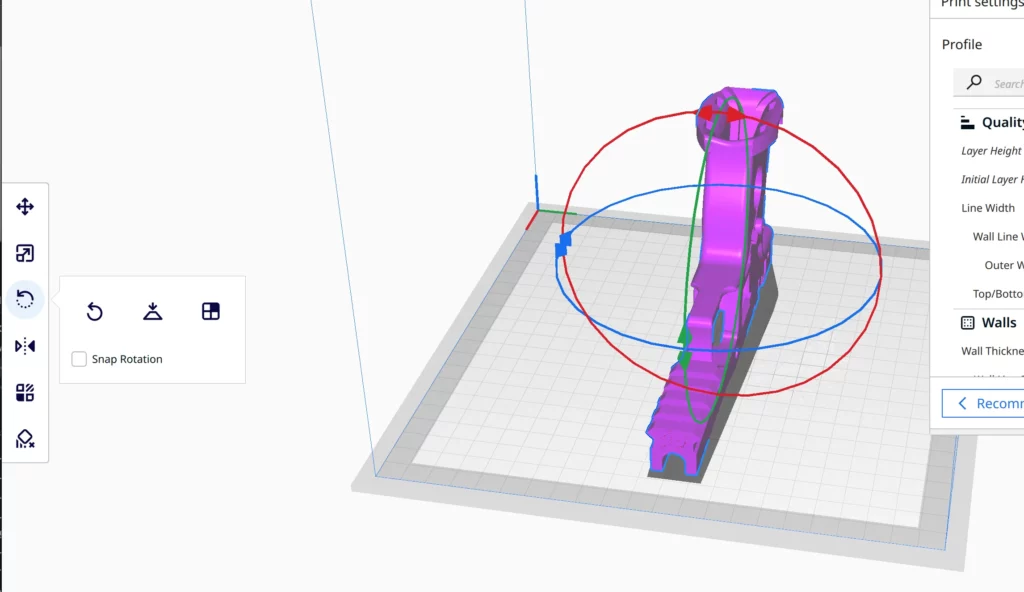
3. Use the Rotate feature on the left if you need to realign your print to the build plate(a highly debated topic is the print orientation for guns, but we suggest “rails down” until you are more experienced
4. Open the readme file, usually in a text document, pdf file, or markdown format.
5. Here, you can usually find the developers suggested slicer settings. These settings are known to work and, therefore, best to use.
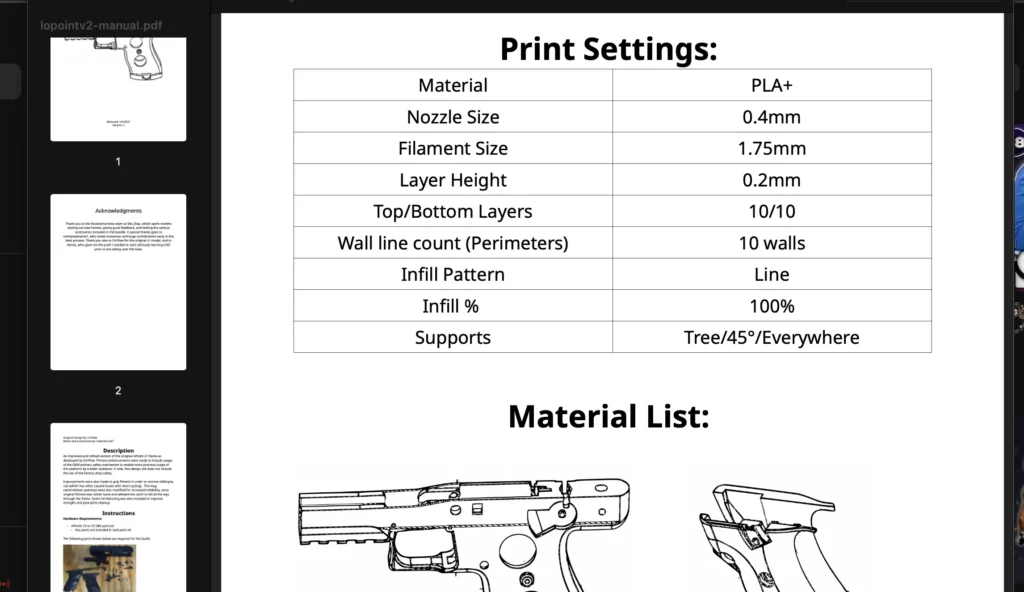
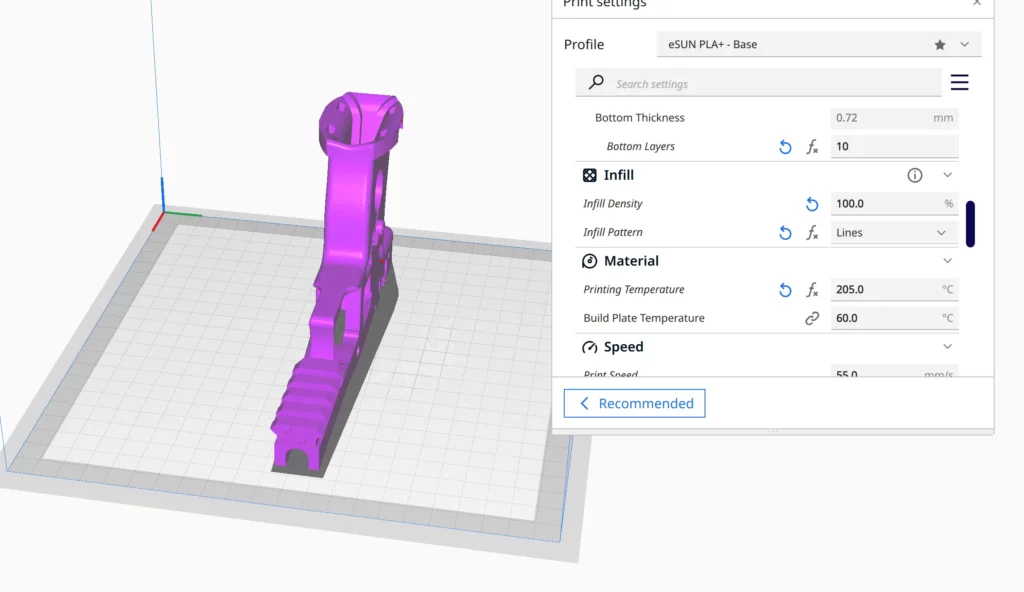
6. Now, we will adjust the print settings based on the documentations suggestions:
Material: PLA+ (Already Default)
Nozzle Size: 0.4mm (Already Default)
Filament Size: 1.75mm (Already Default)
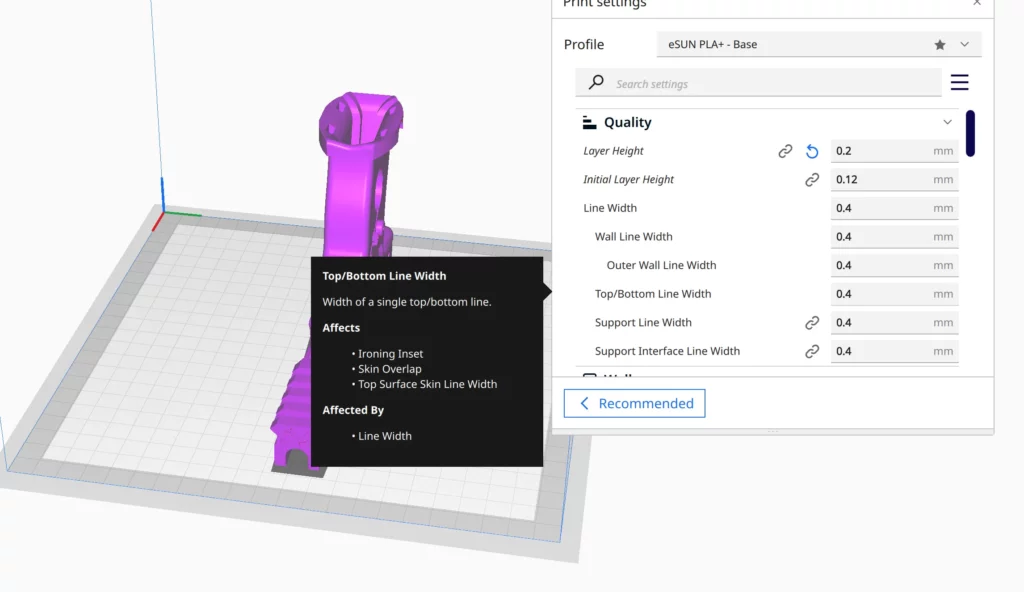
Layer Height: Adjust to 0.2mm
Top Layers: Adjust to 10
Bottom Layers: Adjust to 10

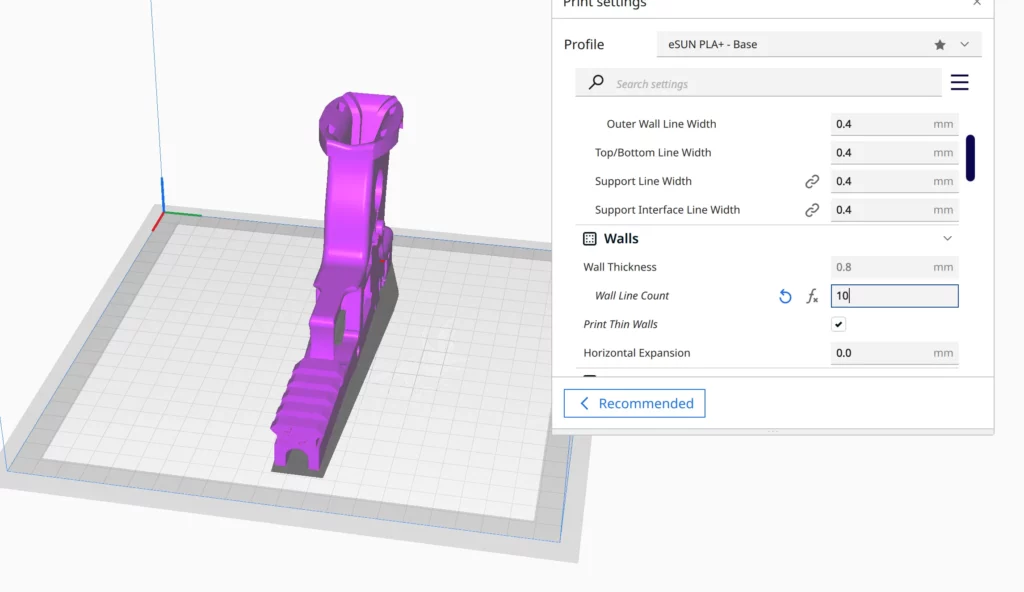
Wall Line Count: Adjust to 10 Walls
Infill Pattern: Adjust to Line
Infill %: Adjust to 100%
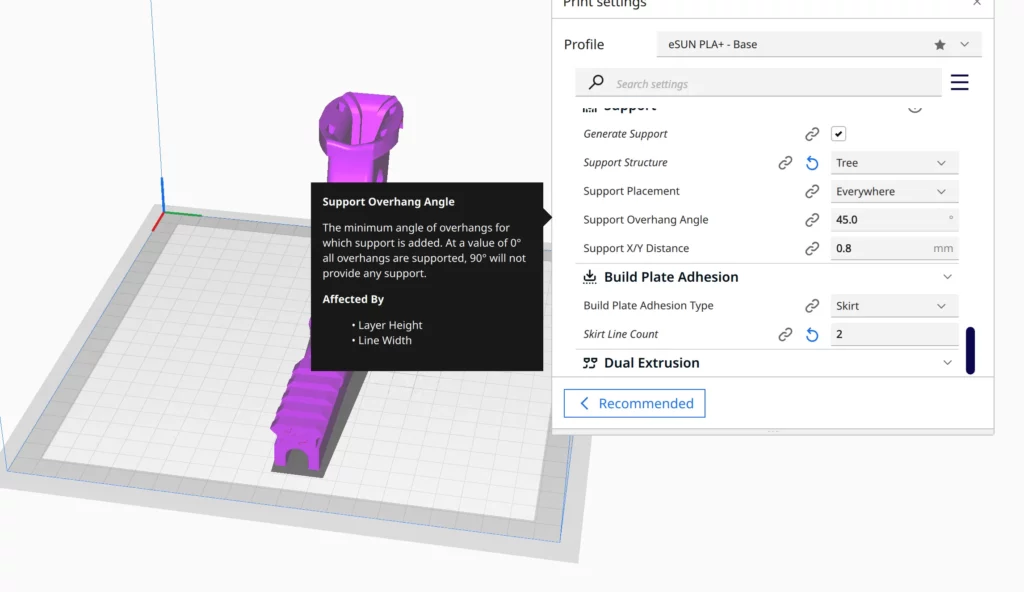
Support Structure: Adjust to Tree
Support Placement: Adjust to Everywhere
Support Overhang Angle: Adjust to 45.0 Degrees
Woohoo, almost there!
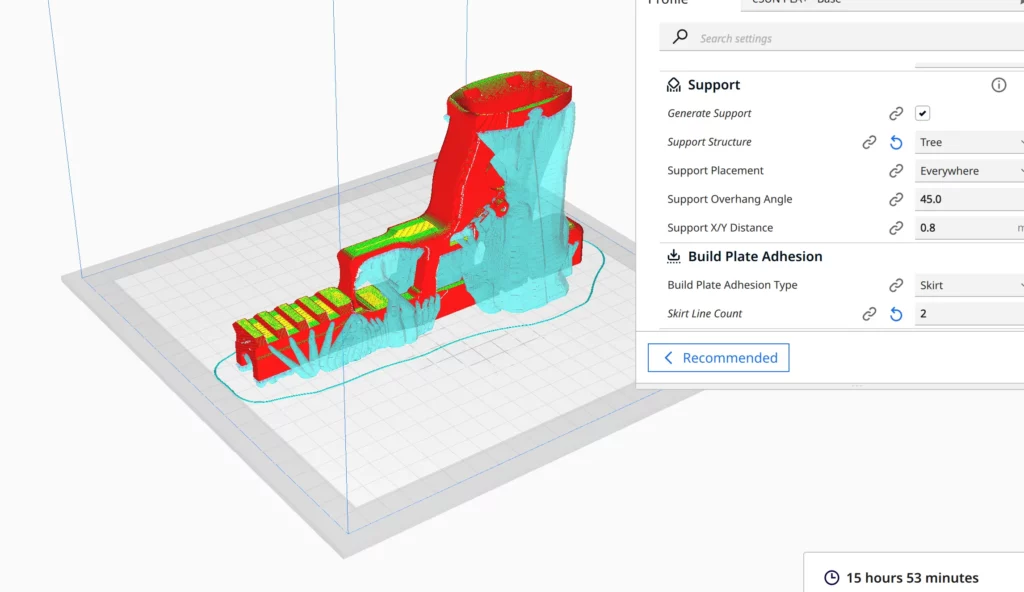
7. You can now click “Slice” in the bottom right of Cura. This generates the supports and final .gcode file that is readable by your 3D printer.
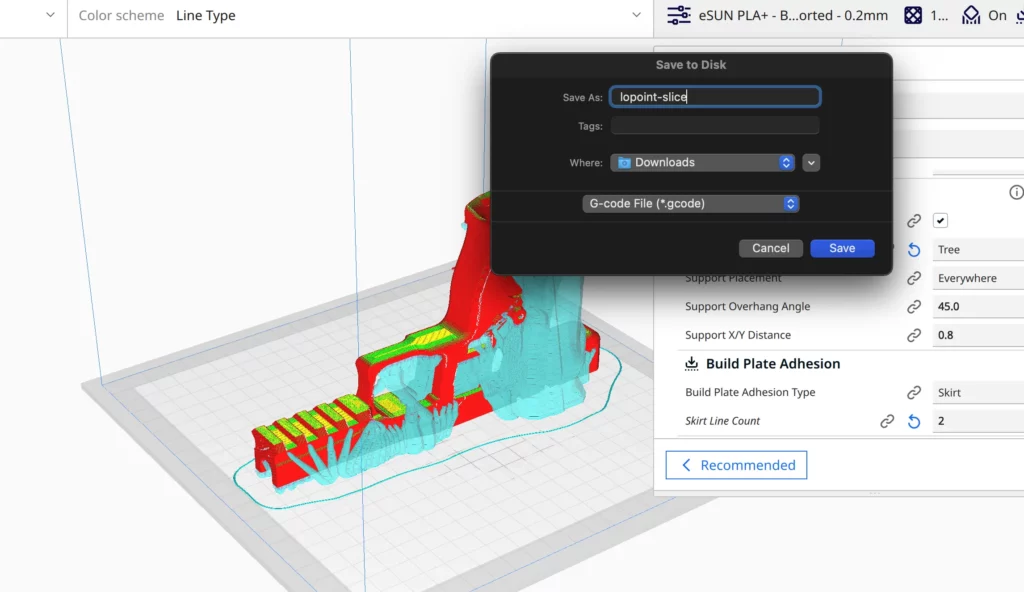
8. Select “Save to Disk,” and you can either save the .gcode file to your hard drive or directly to your 3D printer’s SD card if it is connected.
Congratulations, you have successfully set up your slicer, imported a 3D gun STL, and prepared the file for 3D printing.
Step 3 – Preparing 3D Printer
Assembling your 3D printer out of the box is a whole other beast in and of itself, and we will not cover that here.
If you are using an Ender 3 v2 for gun printing, we highly suggest this tutorial for assembling your printer for the first time the “right way”.
We will, however, be covering two basics for preparing your 3D printer for optimal gun prints:
- Inserting filament
- 3D Print Bed Leveling
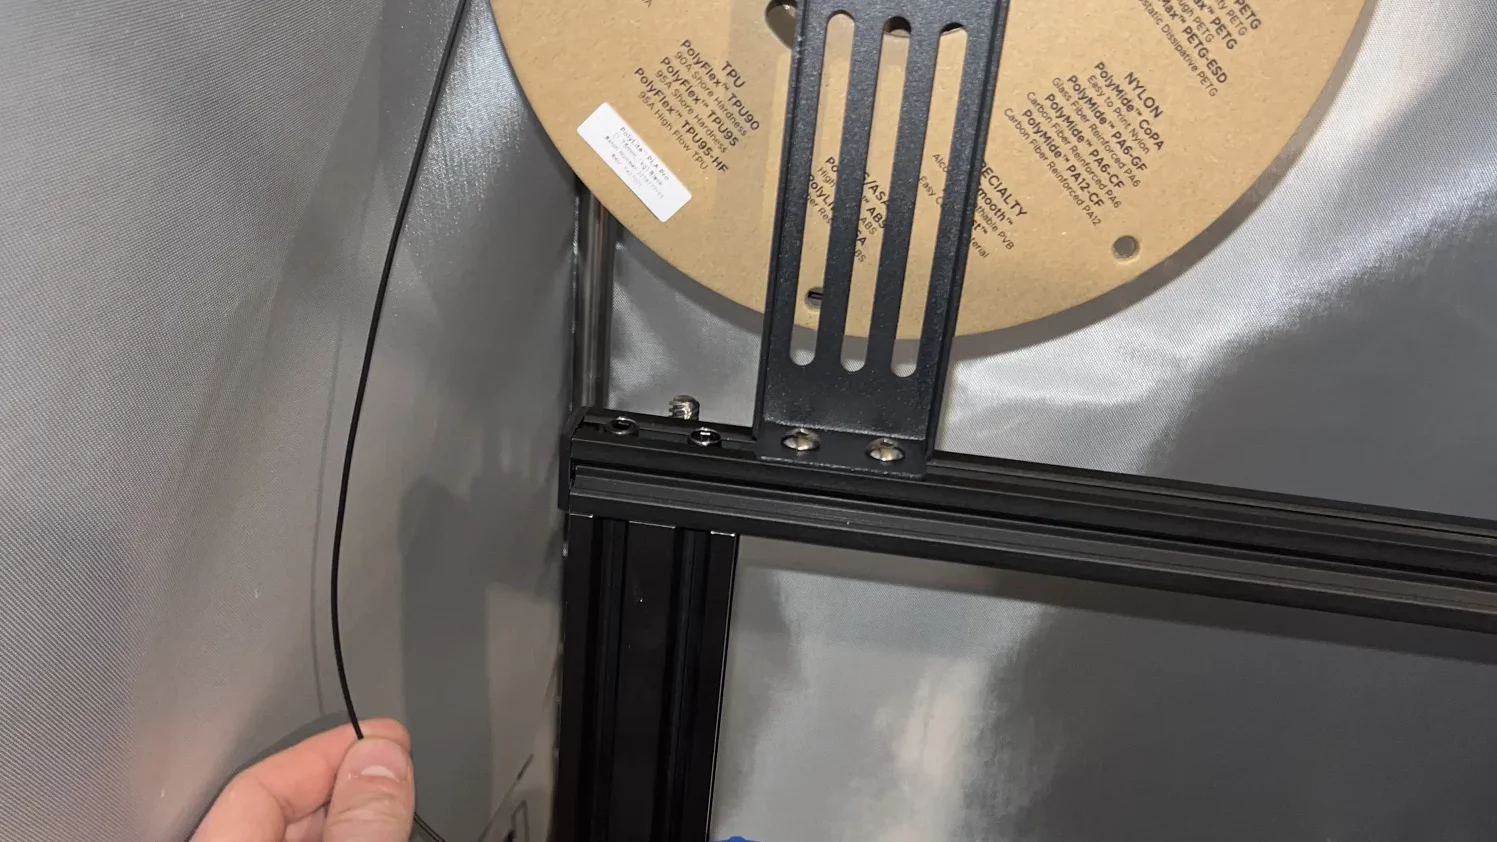
Inserting Filament
Inserting and setting up your printer with filament can be tricky the first time.
We will run through installing PLA filament in an Ender 3 v2 to get you acquainted with some of the critical components of your new 3D printer.
1. Place the filament on the holder with the PLA hanging over the outside or left side of the printer.
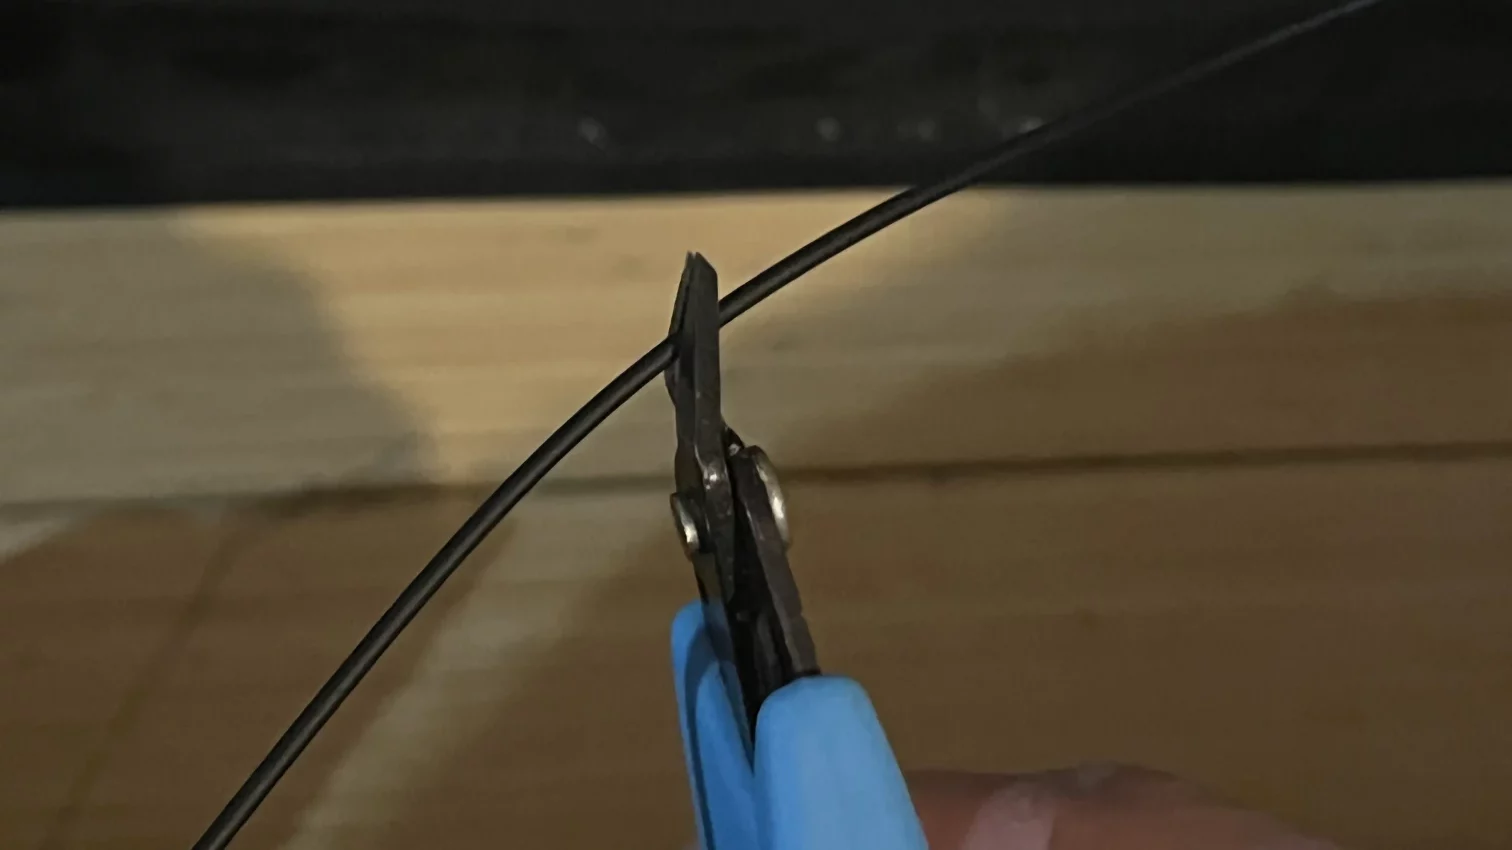
2. Find the filament at the end, removing any bent or damaged parts (the end is always from the packaging.
3. Cut the filament at an angle to help with feeding into the extruder.
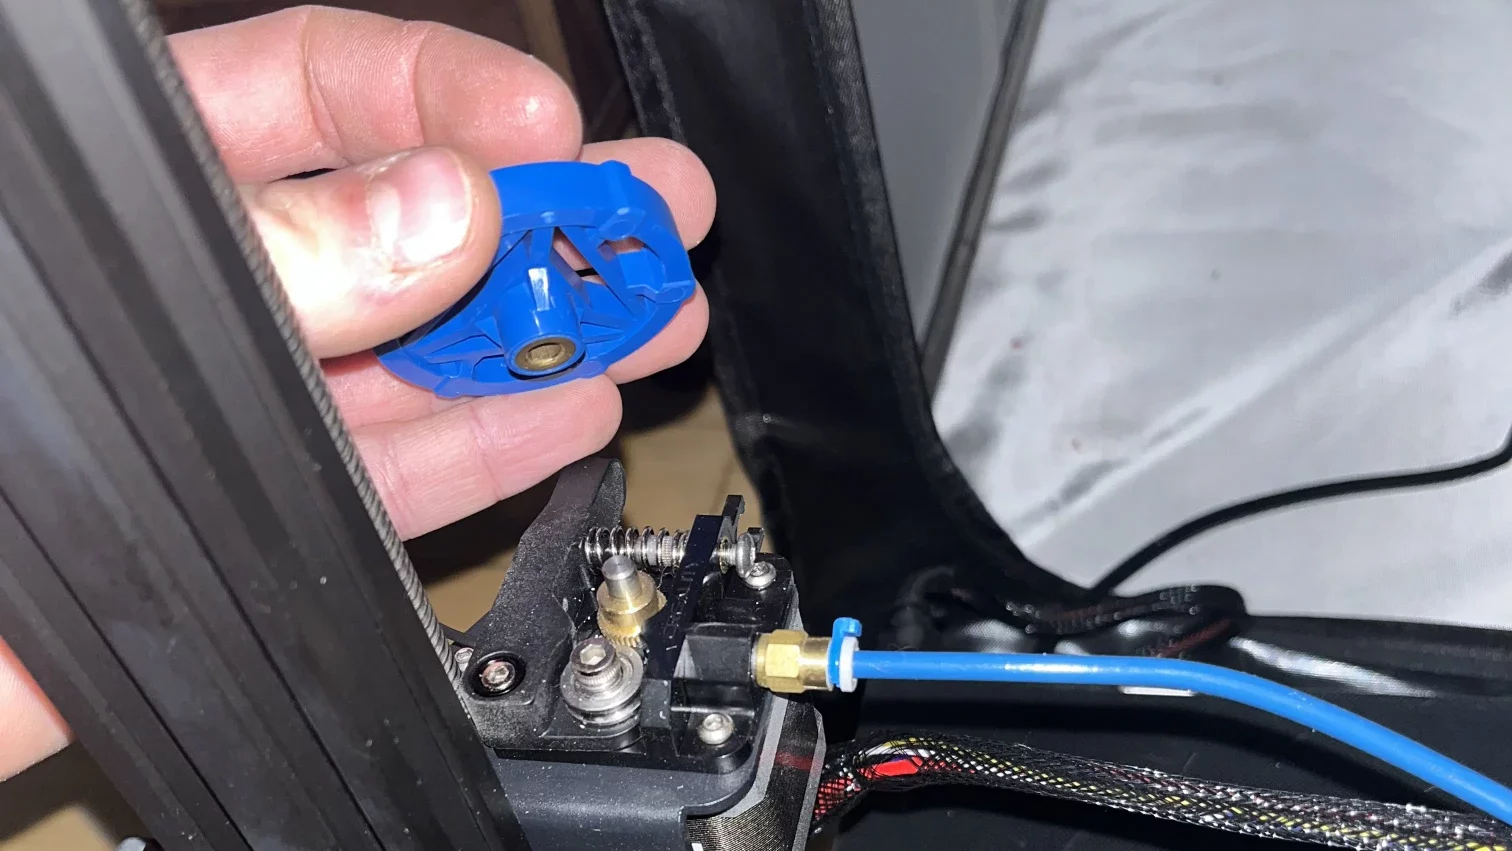
4. Remove the extruder knob (only for the Ender 3 v2 and above) for easier inserting of filament.
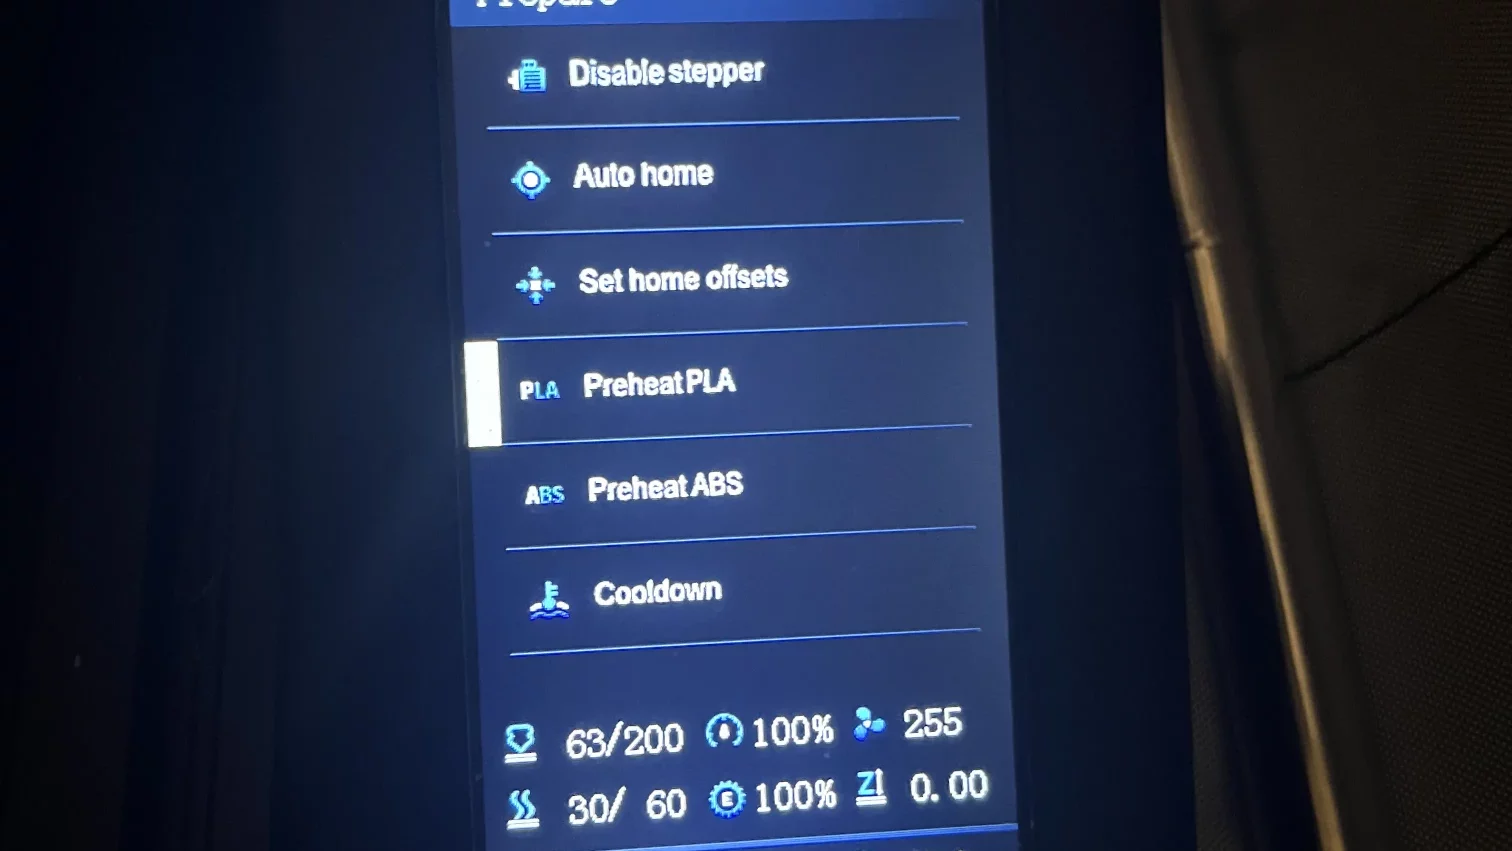
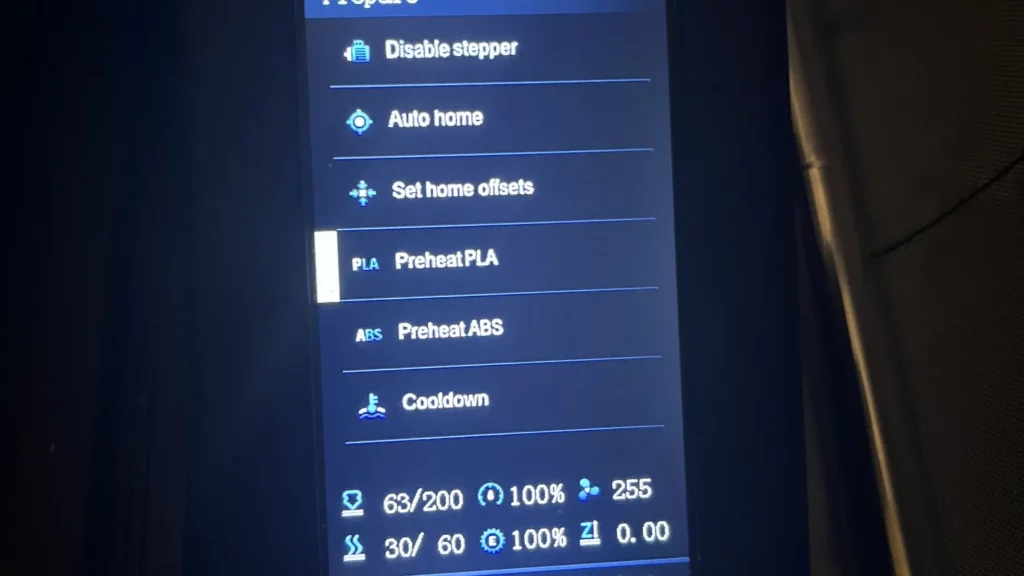
5. Preheat the 3D printer by clicking “Prepare” > “Preheat PLA”.
6. Push the filament into the extruder, then feed through the Bowden tubing to push out the old excess filament. When you see the color changing, you have successfully loaded up your new filament (if it’s the same color filament, this will require some simple guesswork).
Done! Your new filament is ready to be used to shoot out 3D printed guns.
Bed Leveling
The final and often most irritating step before you are ready to print guns is leveling the bed of your 3D printer (build plate).
We will break this down as simply as possible, but we have found that it takes hands-on practice and usually watching/reading multiple tutorial videos.
We have printed with over a dozen printers, and sometimes you get lucky, and it levels like a champ. Other times you will want to throw your new printer into traffic.
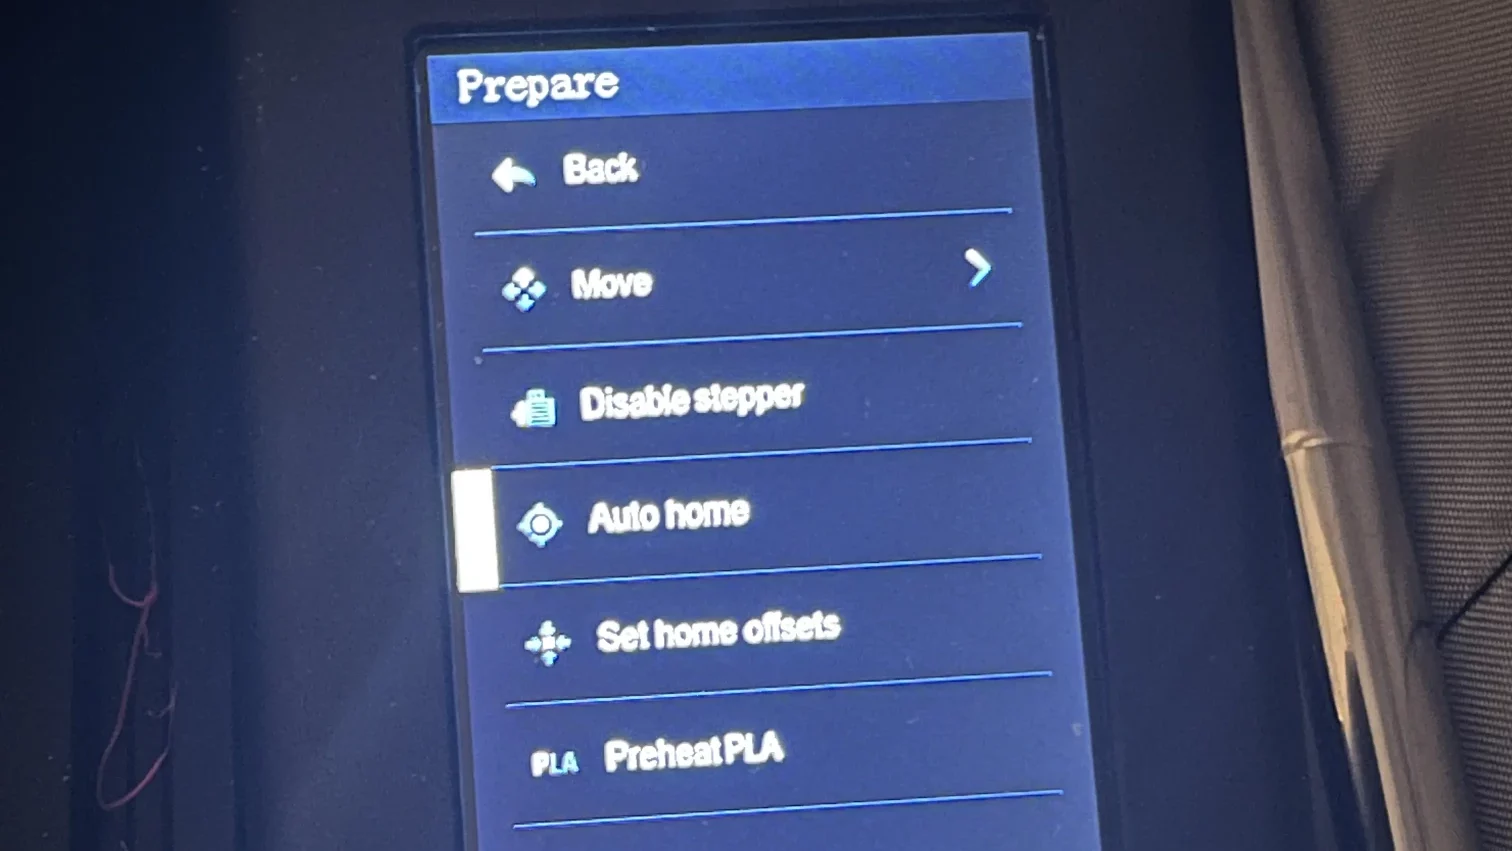
1. Turn on your printer and select “Prepare” > “Auto Home”.
2. Pre Heat your print bed for PLA.
3. Select “Prepare” > “Disable Steppers”. This will allow you to move around the print bed for the leveling process.
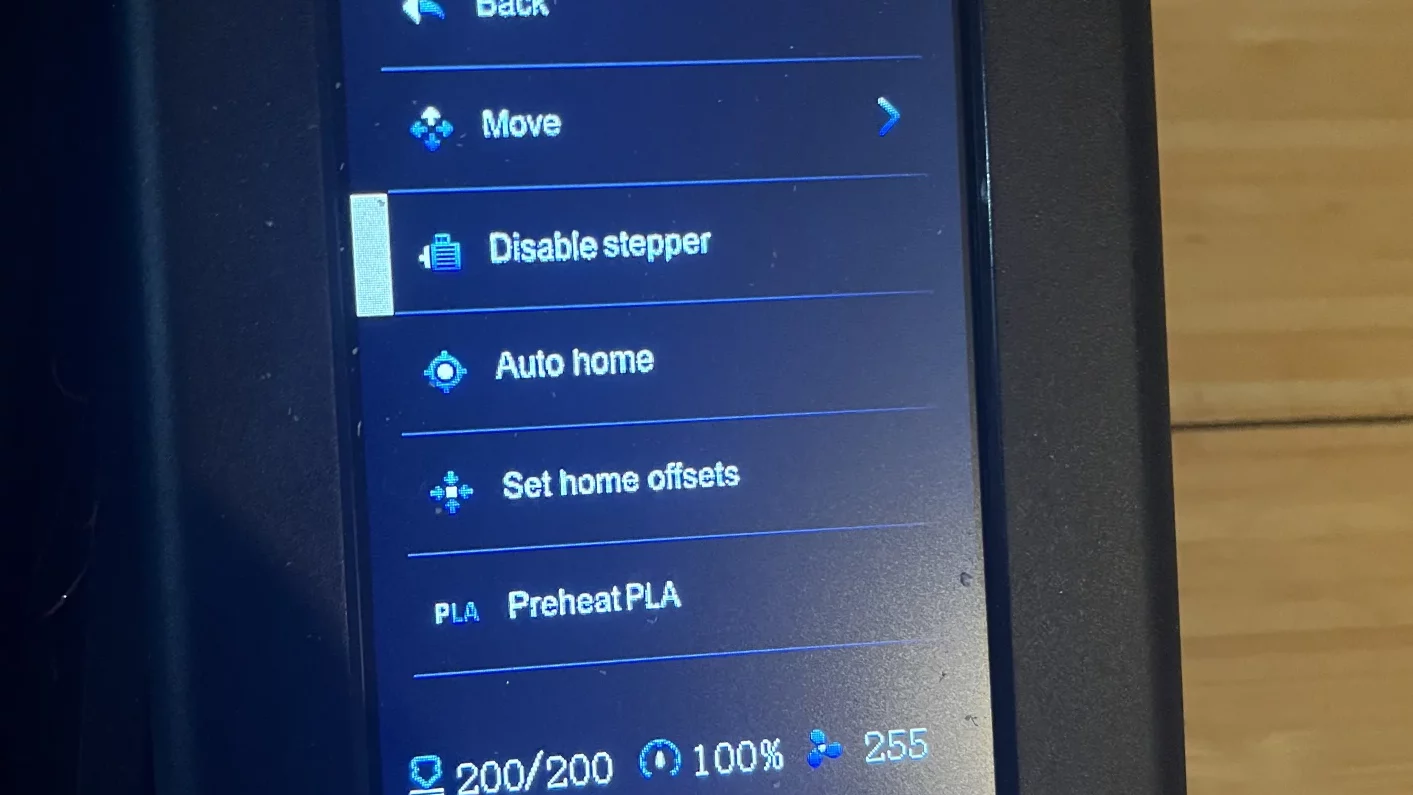
4. Move your bed and hot end assembly so that the hot end is closer to you or the front left corner.
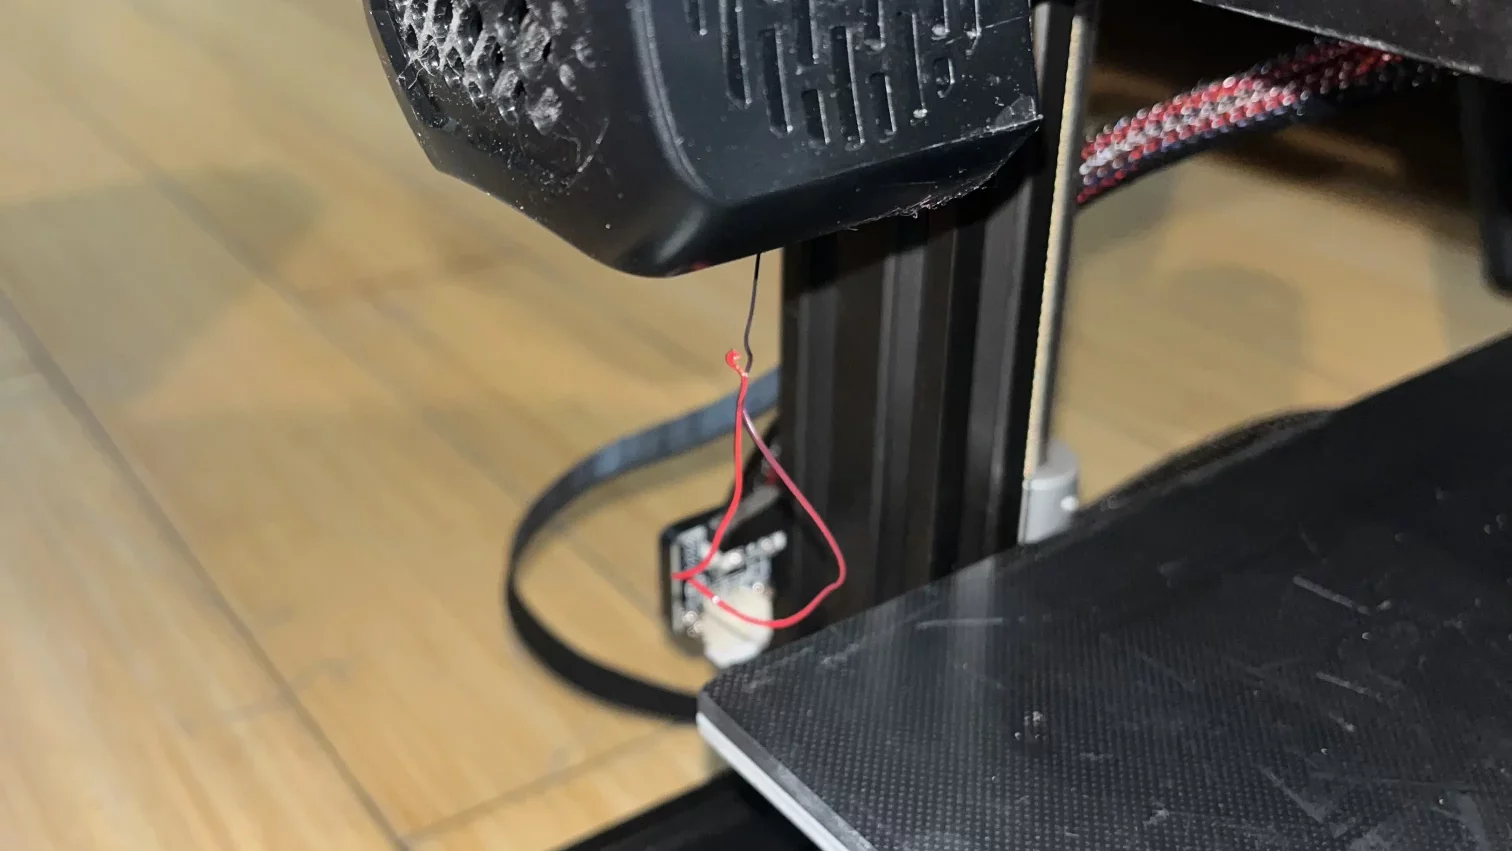
5. Slide a piece of paper between the nozzle and the print bed. You want to be able to move the paper back and forth while feeling friction but without the paper folding/bending(this takes some experience to get the feel).
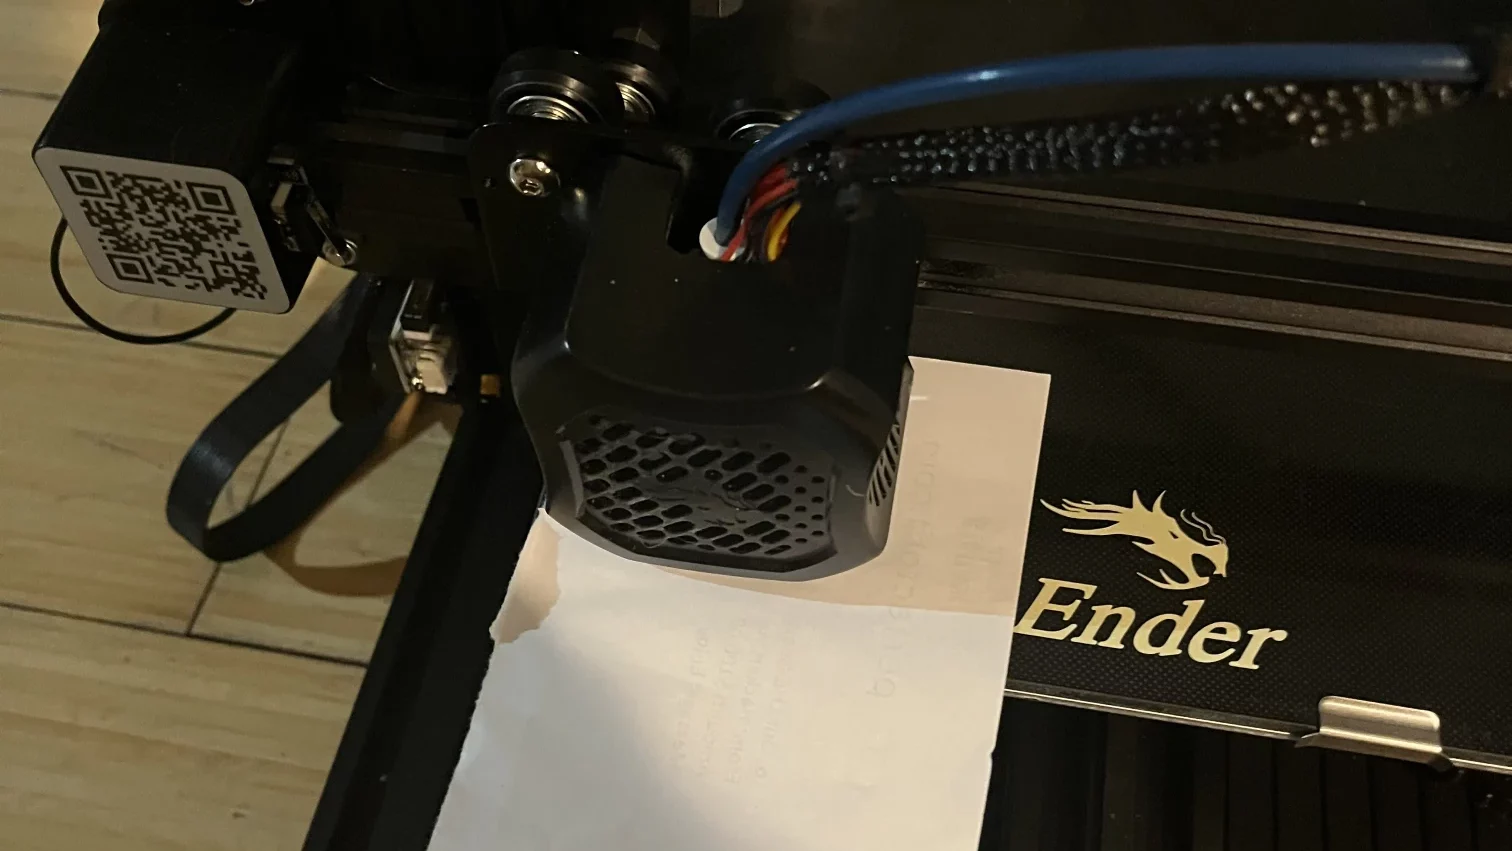
You will rotate the corresponding knob under the build plate left to lower the bed if the paper is too tight/bending or right to raise the bed, so the nozzle and plate are closer together.
Here is a solid video covering the leveling process and the paper trick:
6. Repeat on all four corners, going around 3 – 5 times. As you adjust one corner, the others are slightly moved to require further leveling.

Having an outer skirt is suggested in the slicer settings. This will have the printer make a perimeter around the printer bed allowing you to adjust the “Z Offset” on the fly if necessary.
You want the extruded filament to look slightly above flat on the first layer. To stringy and you will get under adhesion; to flat and you will get over adhesion leading to clogs or ghost layers.
Step 4 – 3D Print a Gun
If you have made it this far, you should feel proud of your accomplishment.
You will also now know how hilarious it is that politicians think any 60 IQ moron could be spitting out AR15s on a 3D printer.
This takes persistence, mechanical know-how, and the ability to self-teach, which is less than typical.
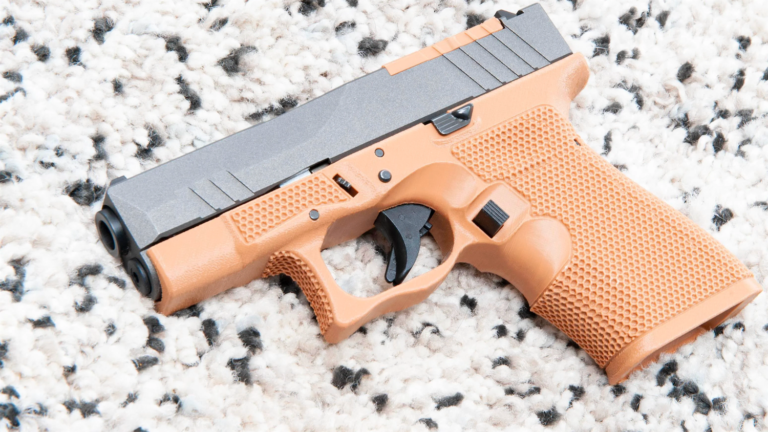
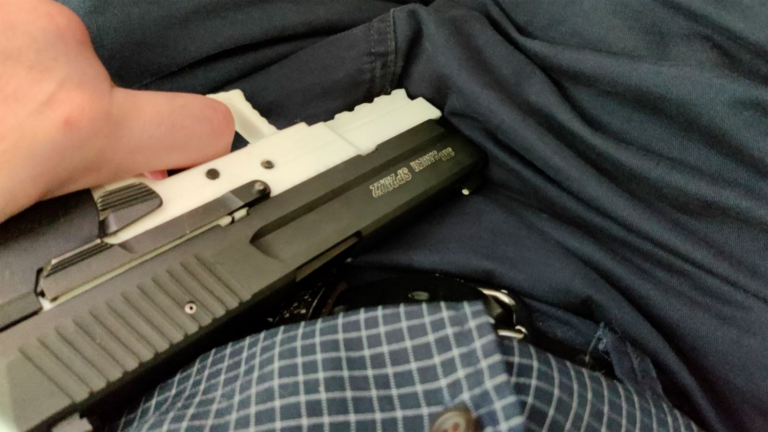
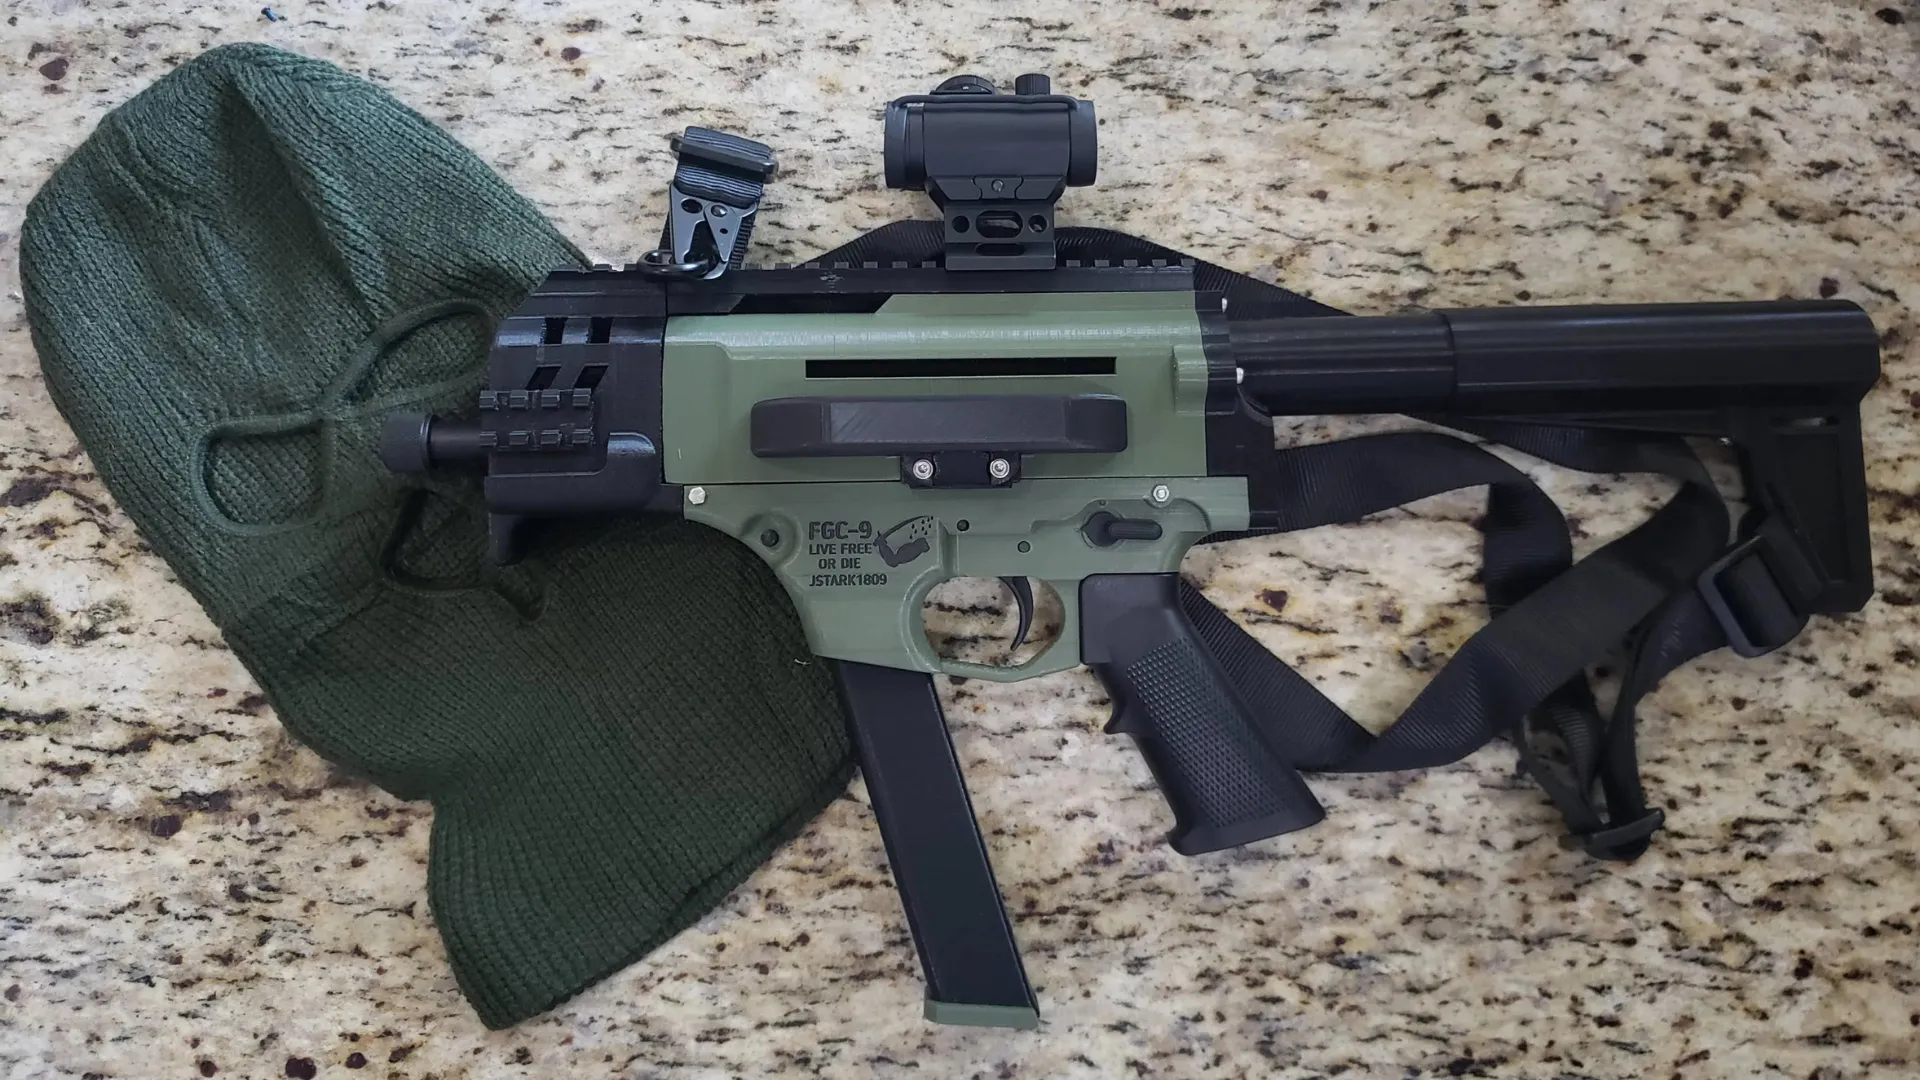
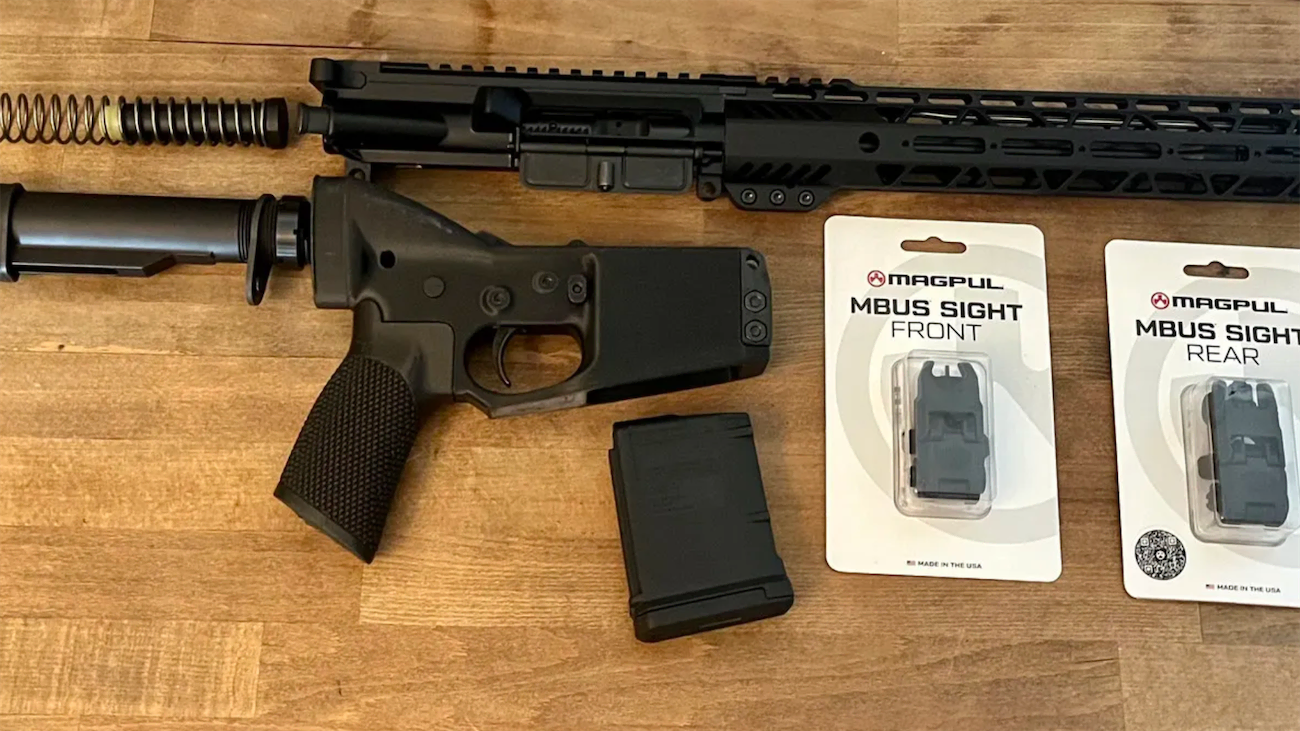
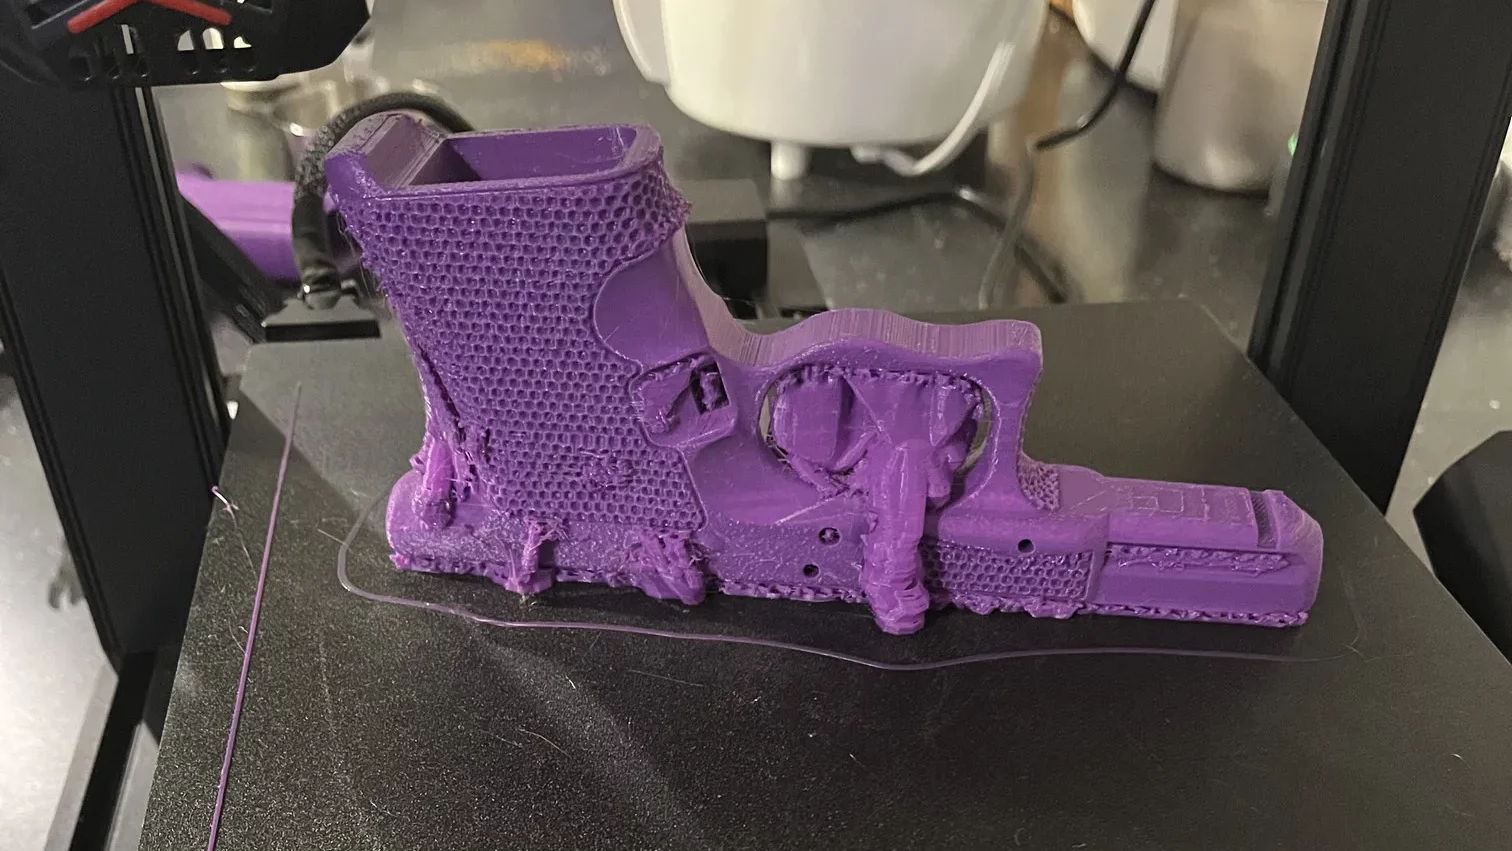
Here is a 3D-printed Glock, hot off the printer, before “tree” support removal:
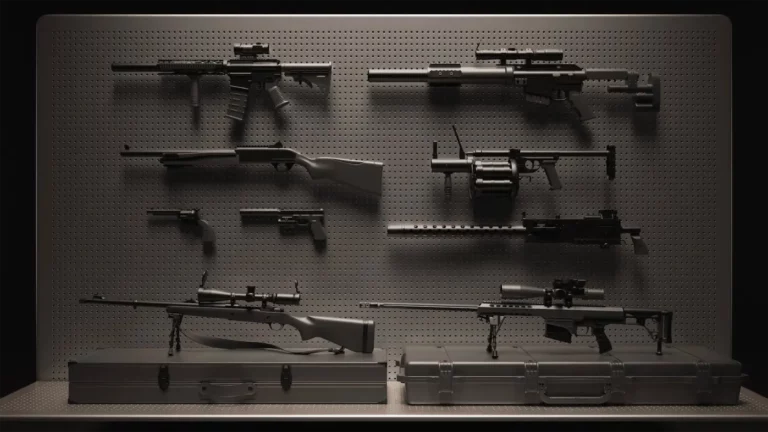
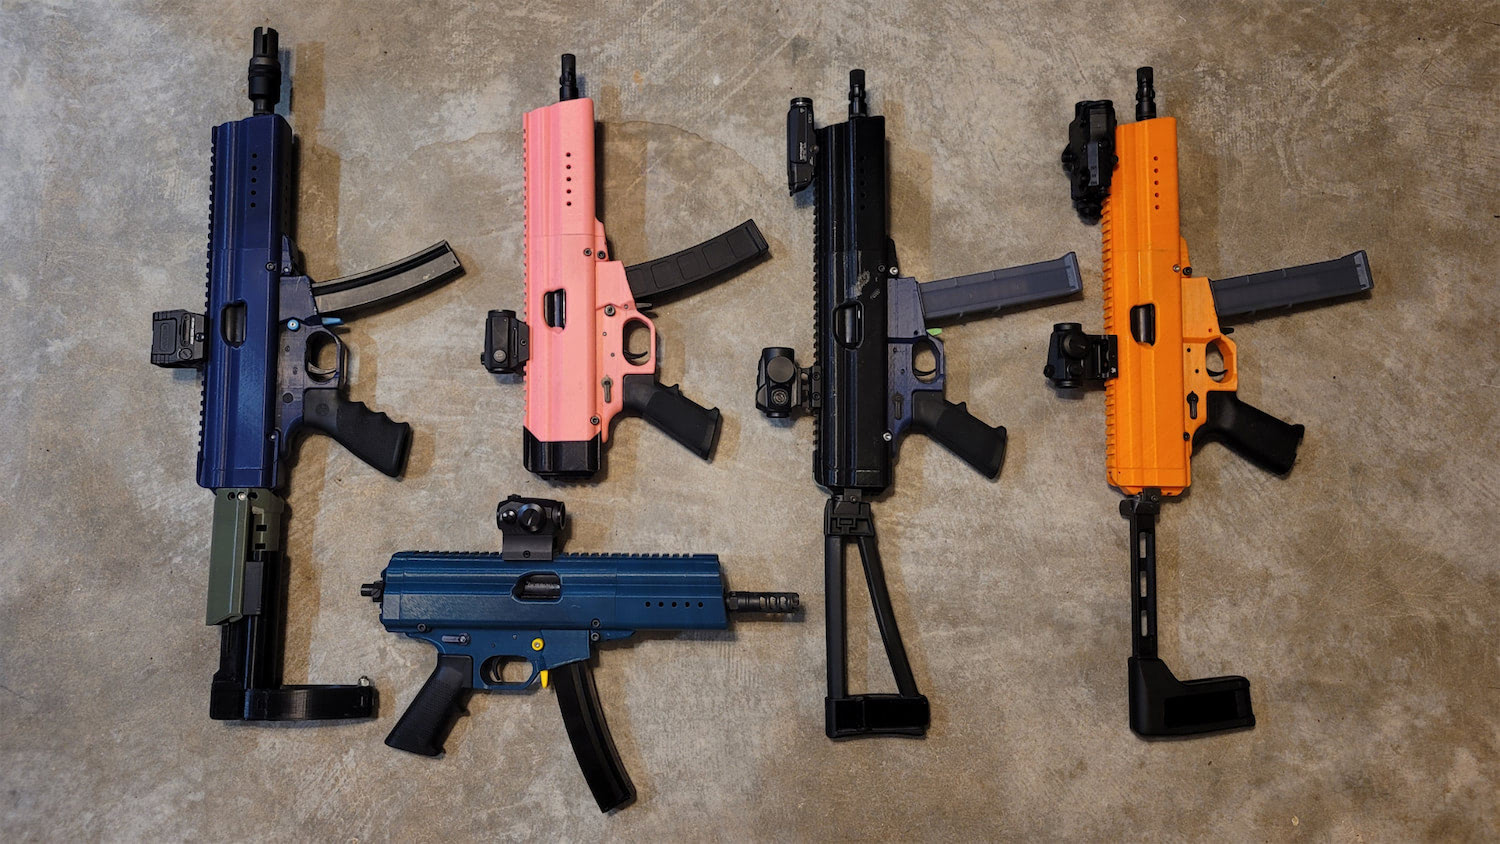
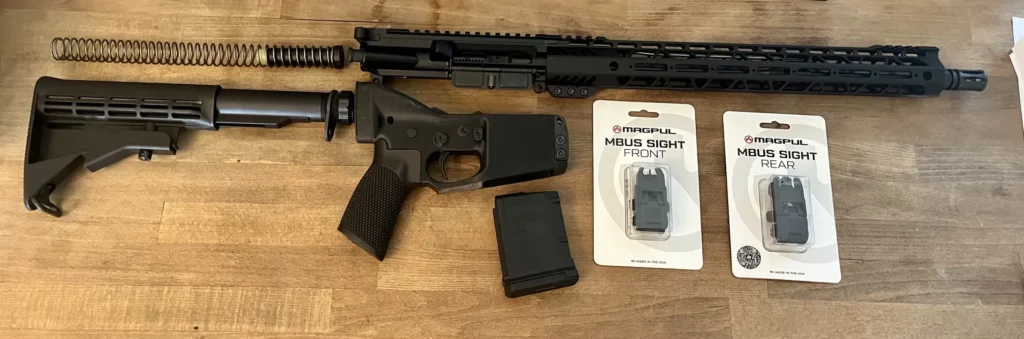
Here is a taste of what a complete 3D-printed AR15 build looks like:
Let’s 3D Print your Glock, AR15, or Other Firearm
All that said, don’t give up you are nearly there.
1. Pop the SD card in containing your 3D Gun .gcode file into your printer.
2. Select “Print” > “Filename”.
3. The most challenging part of all…wait 16 – 40 hours for your print to complete while praying to the 3D printing gods that it doesn’t get f***** on hour 39.
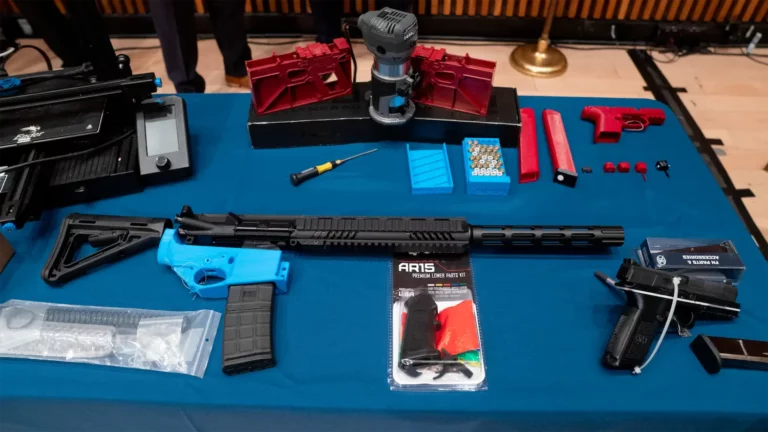
Step 5 – Procuring Parts Kits
Procuring a parts kit for your “hot off the printer” 3D gun sounds like pulling out your credit card.
It’s not that easy.
With the rise and growth of 3D-printed guns, it is now difficult to find available parts kits and uppers to complete specific 3D gun builds.
Your best bet is printing Glock and AR15-type firearms, as there is a surplus of parts and kits for those two types of weapons.
Finding many other 3D gun parts kits is difficult but not impossible.
Online Parts Kit Stores
- 3D Gun Builder (Shameless Plug)
- Parts Dispensed
- Wojtek Weaponry
- Gun Broker (Ofen Low Availability)
- MAF Arms (Unique Offerings)
- eBay (Occasional Good Deals & Hi-Point Kits)
- Aves Rails
- JSD Supply
Troubleshooting
99% of the 3D printed gun game is troubleshooting your 3D prints and printer when an issue arises.
Since printing, we have found several resources and places to ask for help around the internet.
One of the more positive aspects of 3D printed gun culture (and 3D printer culture in general) is everyone’s desire to help their fellow printers without ulterior motives.
Here are some of the best resources and places to ask for help when the time comes.
It will come.
Ask for Help
3D Gun Chat
The Deteracnce Dispensed Rocket Chat(ask politely, and someone will help you).
There are channels for all of the various 3D gun builds, so you can find super relevant advice if you have begun the pew pew printing:
https://chat.deterrencedispensed.com/home
3D Printer Reddit
Most helpful 3D printing Reddit subs:
https://www.reddit.com/r/FixMyPrint/
https://www.reddit.com/r/ender3/
3D Gun Twitter
Our personal favorite 3D Gun Twitter. Get to know your fellow ghost gun community members.
There are no central channels on Twitter, but following developers and some of our recommended accounts is a good place to start:
https://3dgunbuilder.com/resources/
Resources
The bible for learning how to diagnose and repair all desktop 3D printing issues.
Anyone getting into the 3D firearms hobby should have this book on their desk.

This is possibly the most in-depth post on the internet with as it claims all problems & all solutions for 3D printing.
Wrap Up
Again, truly congrats if you have made it this far.
3D Gun Printing and building is a rewarding hobby, and the community is filled with some genuinely stand-up contributors.
The 3D gun community is single handily beating back unconstitutional laws brought down on everyday citizens. This work is not only fun but also meaningful.
Keep within the laws by checking up on your local laws.
Going Forward
We plan to make this a living guide on how to 3D print guns in the comfort of your own home.
We will provide periodic updates, so feel free to stay connected via Twitter @3DGunBuilder.
I am sure we missed something, or there may be tips that are better than what is provided here.
Please feel free to reach out via email at signal@3dgunbuilder.com or Twitter: @3DGunBuilder; you can also leave a comment below.
Thank you and as always, Spread the Signal.