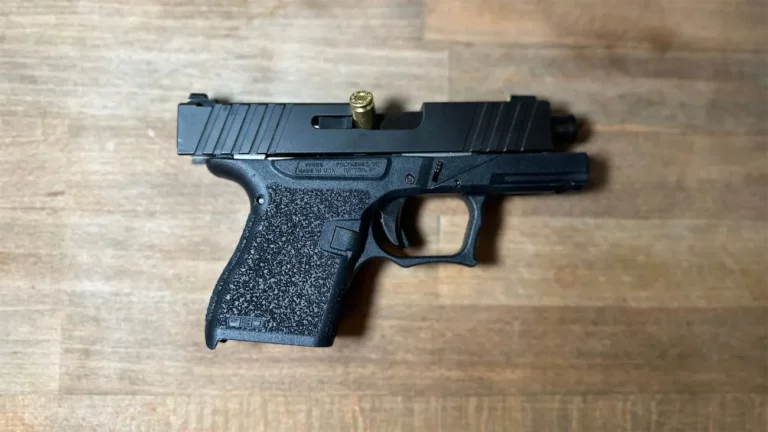
It is often the smallest of things that can throw you off when building a Polymer 80, such as the P80 slide lock spring.
Buy Polymer 80 Slide Lock Spring Replacement online
The slide lock spring replacement can be a bit tricky.

The Polymer 80 Slide Lock Spring
What does it do?
For the newbies, this is where the confusion comes in when trying to ascertain what precisely these parts do.

The Slide Lock Spring does not actually lock the slide, rather it pushes up on the slide lock lever to stop the slide from coming forward while the Slide Stop is the actual locking mechanism of the slide once the last round is fired.
Polymer 80 Slide Lock Spring Installation
We are going to put this out there before we begin explaining the installation and replacement process, there is NO reason for you to be clipping or manipulating any section of the Slide Lock Spring. If it doesn’t fit, you have the incorrect spring.
On many forums and videos, builders suggest clipping the front of the spring to make it fit. Doing that will reduce the tension in the spring and it will not function correctly.

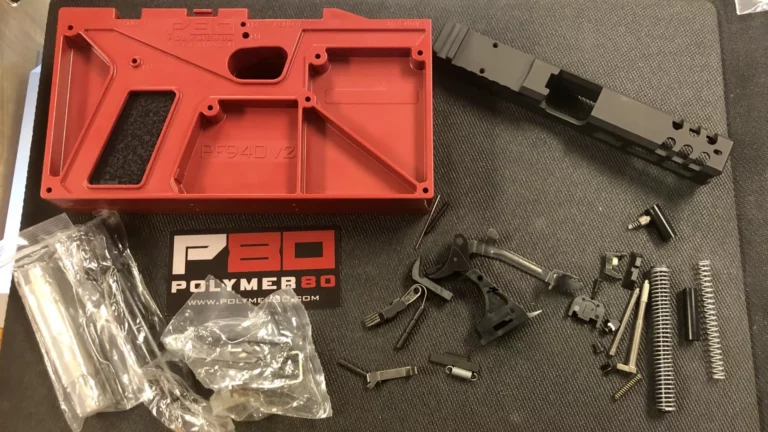
As with most Polymer parts you need to ensure the Slide Lock Spring is the correct spring for either the sub-compact, compact or full-size. For example, the Slide Lock Spring for the PF940SC looks entirely different.
Sub-Compact & Single-Stack Frame Installation
- Drop the included slide lock coil spring into the hole at the center of the slide lock area.
- Use a small punch through one side of the slide lock slot to completely cover and depress the spring to the bottom of the slot.
- Insert the slide lock lever into the opposite side of the slot at an upward angle and push over the top of the punch.
- Pull out the punch while simultaneously pushing the slide lock further into the slot.
- Fully insert slide lock and check for functionality when complete.
Full-Size Frame Installation
Once the Locking Block has been inserted into the frame, the Slide Lock Spring can be installed.
- Insert the spring into the slot/opening towards the front of the locking block. A small screwdriver or pushing tool can be used to insert the spring correctly.
- Do not force the spring or try to bend the shape to make it fit.
- Insert slide lock lever through the hole on the outside of the frame, with the groove of the lever facing towards the rear of the pistol.
- With your tool or small screwdriver gently depress the slide lock spring down and push the lever over the top of it, until the lever protrudes from the opposite hole.
- Test the spring is working correctly by pulling down on the lever three or four times.
Replacement
Signs of the Slide Lock Spring needing to be replaced are fairly obvious and the lifespan of the spring is between 10,000 to 30,000 rounds.
The most obvious sign is the lack of “spring” in the lever on the frame. If the lever does not jump back up when pulled down, chances are the spring is faulty.
To replace the Slide Lock Spring, simply remove the slide and using a punch tool or small screwdriver, press down on the spring. With the spring down, tip the gun to the side and the lever will fall out of the frame.

With a pair of needle nose pliers, the spring can be easily removed and a new one inserted.
Conclusion
To recap on a few important points on the Slide Lock Spring
- Get the correct spring for the Compact, Semi-Compact, Single Stack, or Full-Size frame as they all differ.
- Do not modify, clip, shave or bend the spring in any way.
- Check your spring regularly to ensure the Slide Lock Lever is functioning correctly.
- There is only one way the spring can be inserted into the frame.
Drop a comment below if you have had any interesting experiences with a Slide Lock Spring or maybe any other signs that the spring is faulty and needs to be replaced.